

The LACMA team is working together from our respective homes to bring you interesting content and creative activities while the museum is temporarily closed to the public. We may not be able to gather together, but we can still create something beautiful.
Did you know the Kuna people of Panama and Colombia have a longstanding tradition of working with fabric using vibrant colors, patterns, and representational images? The Kuna people create these textiles, called Molas, by layering several pieces of fabric, cutting patterns into the upper layers of fabric, and stitching the layers together. The central part of the mola is often an animal, with geometric symbols around the center.
For this workshop you will make your very own mola, although you won’t be using fabric and thread. You will use paper, glue, and scissors.
Step 1: Look Closely at the Molas
Take a close look at the molas above from LACMA’s collection, and think about the following questions:
- What animals do you see?
- How did the artists use different colors to create the details on the animals?
- What do you notice about the areas around the animals?
Step 2: Gather Your Materials
There is no need to buy anything—look around your home for materials.

For this lesson you will need:
- Paper—6 sheets of construction paper in different colors, or as a substitute, wrapping paper, magazines, newspapers, etc. The more vibrant the colors are, the better.
- Scissors—you may also carefully tear the paper if you do not have scissors handy.
- Glue stick, tape, or any non-toxic adhesive
- Pencil
Step 3: Create Your Mola
Now let’s make our own molas by following these step-by-step instructions.
Instructions:
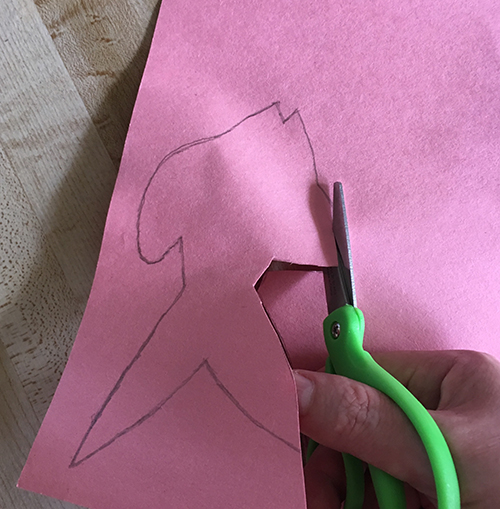
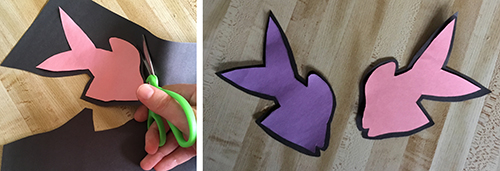
1. Choose an animal and draw it on paper.

2. Cut out the animal shape.
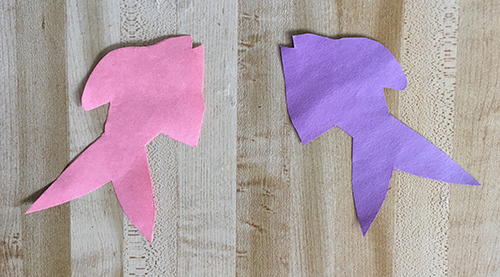
3. Choose a different color of paper and trace around the animal shape.
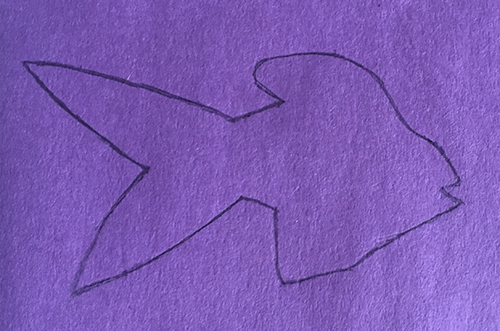
Then cut out the second animal. Now you should have two different colors of the same animal shape.
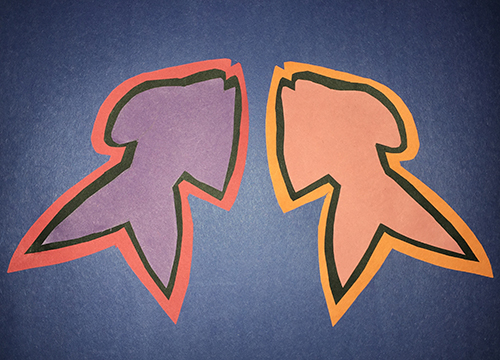
4. Choose a contrasting color of paper, and glue (or tape) one of the animal shapes on top.
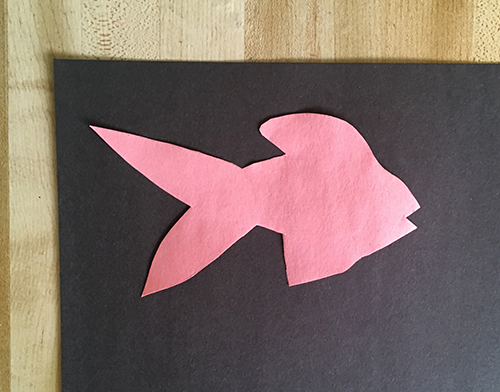
5. Cut out around the shape of the animal, leaving a thin, even margin, so that the contrasting color is visible beneath—like a border. Do the same with the second animal shape. Remember to leave a margin.
6. Repeat steps #4–5 as many times as desired. You can layer two sheets of paper at a time if you like.

7. Glue (or tape) the layered animal shapes onto a piece of paper that will become your background.
8. Cut out geometric shapes and glue (or tape) them around the layered animal shapes. You can use the same steps as above to layer the geometric shapes, if you like.
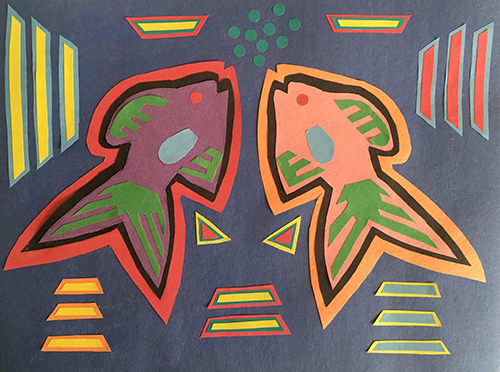
And you're done!
A Bit Extra
If you enjoyed the workshop:
Pick a new animal, add more cutout layers and have fun making another paper mola.
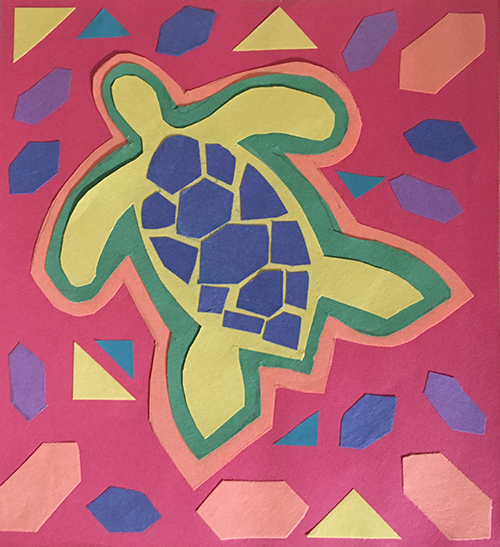
Exhibit Your Work at Home
If you make several paper molas, you can display them together! Punch one hole in the top corners of each mola. Then take a string and weave it through the holes. Put a piece of tape over the holes to help hold the string in place. Then hang your molas on the wall, using tape on the ends of the string.
We would love to see your artwork! Ask an adult to post photos of your art to social media and tag @LACMA.