
The LACMA team is working together from our respective homes to bring you interesting content and creative activities while the museum is temporarily closed to the public. We may not be able to gather together, but we can still create something beautiful.
Resist dyeing is a textile embellishing technique that has been used throughout time and around the world. Artists use a variety of materials such as wax, clay paste, starch paste, thread, and chemicals to protect areas of a textile. These protected areas “resist” the dye during the dyeing process and will remain the original color of the fabric before it was dyed. These techniques allow artists to create patterns and motifs. Tie-dyeing is a type of resist dyeing and in this blog, we will experiment with some tie-dye and shibori (Japanese for tied or knotted) resist dyeing techniques. LACMA's Community Made video describes some other resist dyeing processes.

You can give this a go just with materials that you might have at home!
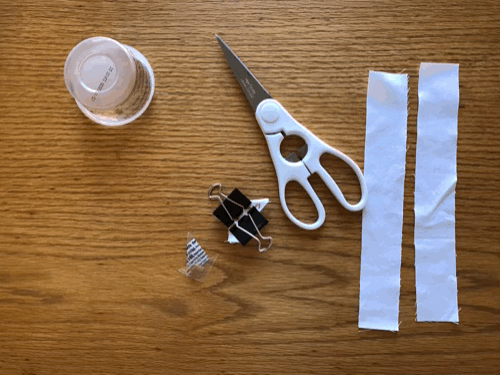
Step One: Gather Your Supplies
Supplies:
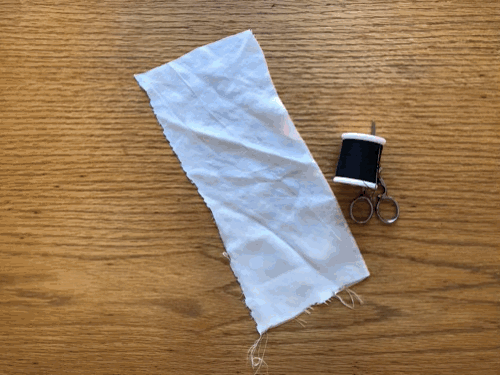
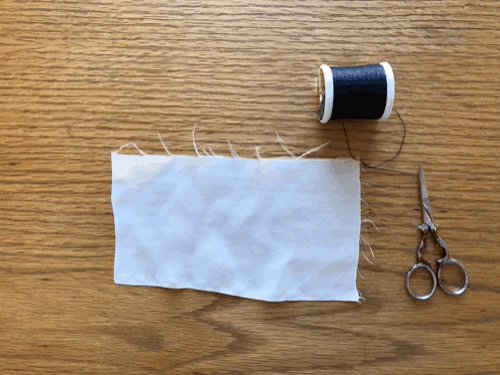
- Bits of fabric
- Rubber bands, hair ties, or binder clips
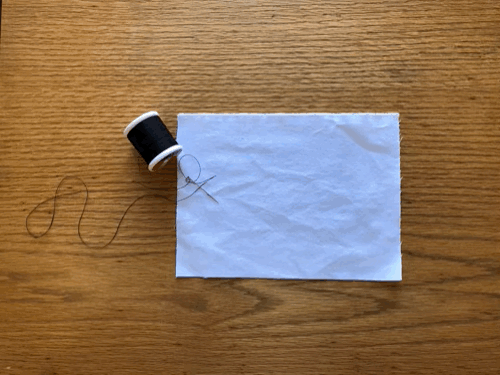
- String or sewing thread and needle
- Plastic yogurt tub or popsicle sticks
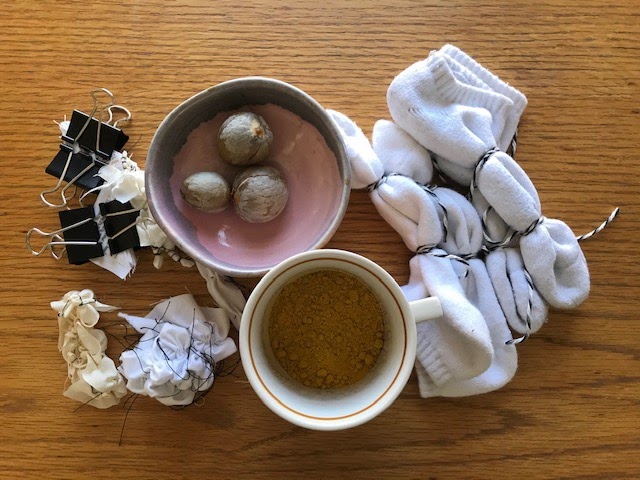
- Natural dye from your kitchen! (I am using 3 avocado pits and 2 tablespoons of turmeric powder)
- Small saucepan
- Optional: rubber gloves and kitchen tongs

Resist dyeing is most effective on fabric that is made out of natural fibers. I recommend fabric with a high percentage of cotton, linen, or silk. I am using some left over quilting cotton fabric, silk scraps, and two pairs of ankle socks.
Check with an adult to see what you can use—you might have some tea towels, pillow cases, or a t-shirt knocking around at home!
TIP: To find out what your fabric is made out of, have a look at the tag.
Dye: If you don’t have avocado or turmeric, you can also try this with onion skins, dried black beans, red cabbage, or beets.
Step Two: Preparing Your Fabric
There are quite a few preparatory steps for this but I promise you it will be worth it!
If possible, put all the fabric that you plan to dye through the wash. Once your fabric is all clean and dry, have a look at different examples of resist dyeing and think about the designs you want to make on your fabric. The key for these techniques is to make sure the ties and stitches you use are as tight as possible to stop the dye. Here are the binding methods I tried:
Tying Off Sections with a Combination of Rubber Bands and String

Stitching with a Needle and Thread to Change the Shape of Different Sections of the Fabric
Using a running stitch, I stitched circular shapes into the fabric, gathered the fabric up along each section of thread, and tightly knotted them. Experiment with different shapes—you can do squares, ovals, or even a cat!
I also bunched the fabric into clumps and stitched through the base of the clump. Then I wrapped the thread tightly from the bottom to the top of the clump. I secured the thread by tying a half-hitch knot around the top.
I also experimented with just using the half-hitch knot, looping around small sections of the fabric working in horizontal rows along the fabric. At the beginning of each row, I anchored the thread with a back stitch, this helps to keep the thread tight when you do the half-hitch knots.
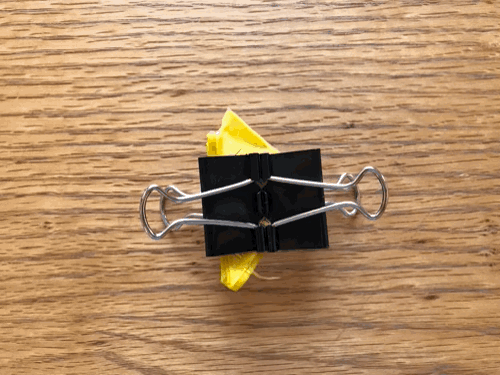
Itajime Shibori (shape-resist) Technique
This is a traditional Japanese shibori dyeing technique, where a piece of fabric is accordion folded and then clamped between flat shaped objects. Inspired by the Child’s Kimono in LACMA’s collection, I cut right-angle triangles out of a plastic yogurt tub and clamped them onto either side of my folded fabric.
Step Three: Dyeing
Now that you have everything stitched, tied, and clamped it is time to do some dyeing!
The ratios and processes that I go into below are just a guideline. Both of these dyes are very flexible and forgiving. If you add more dye, the color will likely be more intense—more saturated. Leaving your fabric in the dye for longer will also do the same thing. The fiber content and the weave structure of the fabric will also affect the way they take on color.
Making Dye from Turmeric Powder:
- In a clean saucepan, put 2 tablespoons of turmeric powder and 4 cups of water. Give this a stir and bring it to a boil. Note: Make sure you watch this like a hawk, turmeric has a tendency to boil over and you will end up having to scrub your stove top for quite a while (speaking from personal experience).
- Meanwhile, soak your fabric in water. Make sure the pieces are completely wet. This will help the fabric dye evenly.
- Once the turmeric solution is boiling, turn it down to a simmer and add your fabric. Use a pair of tongs or a spoon to submerge the fabric in the dye.
- I left my fabric in the dye for 20 minutes and then carefully removed them. Experiment with leaving your fabric for different amounts of time. If you have more than one piece you can even take them out at different times.
- Let your fabric cool for a few minutes and then rinse the pieces under tap water until all the excess dye has been washed away.
- Tips for drying: You can roll your fabric up in a tea towel or hand towel to squeeze the last of the water out.
Cleaning Tip: If, like me, you manage to get turmeric all over your stove, you can scrub it with warm water and baking soda. Unlike man-made dyes, turmeric does not last very long under sunlight or heat. After using the same burner a few times the last of the yellow color has completely faded away.
Making Dye from Avocado Pits:
- In a clean saucepan, put 3 avocado pits and 4 cups of water. Bring the water to a boil and then turn it down to a gentle simmer.
- I left the pits to simmer for 1 hour. During this time, I noticed that the water in the pan changed from a light peach to a dark pink. The color that you see will depend on the number of pits and types of avocado you use.
- Add your fabric and submerge. I simmered the fabric in the dye for 20 minutes and then took the saucepan off the heat.
- I left the fabric in the dye for 3 hours. Again, feel free to experiment with time, in previous dyeing adventures I have left fabric in the avocado dye anywhere between 20 minutes to overnight.
- Remove the fabric, rinse, and squeeze dry.
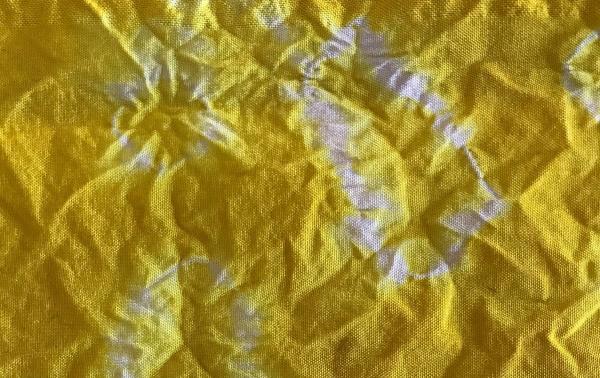
Step Four: Untie and Admire!
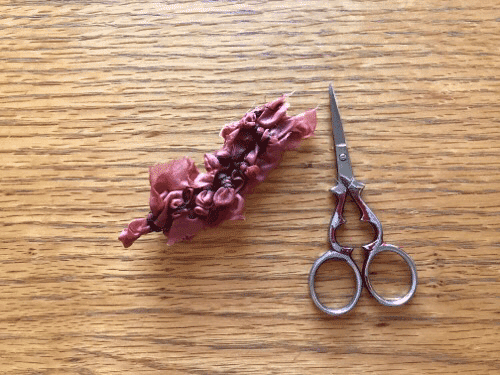

I hope you enjoyed this tutorial! There are so many different types of natural dyes that you can find in your kitchen. Have a look on the internet for how to create dye from onion skins, dried black beans, red cabbage, or beets. You will also notice that depending on the fiber type of the fabric, the color or your tie-dye artwork will be different.
These natural dyes will react differently from the man-made dyes that have been used to dye your clothes and other fabrics around your home. Another experiment that you can do with your tie-dye creations is to see how they react to sunlight by making a color fading checker!
We cannot wait to see your artwork! Have an adult post your creation to social media and tag @lacma.