
The LACMA team is working together from our respective homes to bring you interesting content and creative activities while the museum is temporarily closed to the public. We may not be able to gather together, but we can still create something beautiful.
Listen and follow along as we learn how to darn a hole in this Make Art @ Home activity!
Hello! My name is Catherine McLean and I'm LACMA's Senior Textile Conservator. In this Make Art @ Home activity you will learn how to darn. I'm starting with a short story called, "That Darn Cat!"
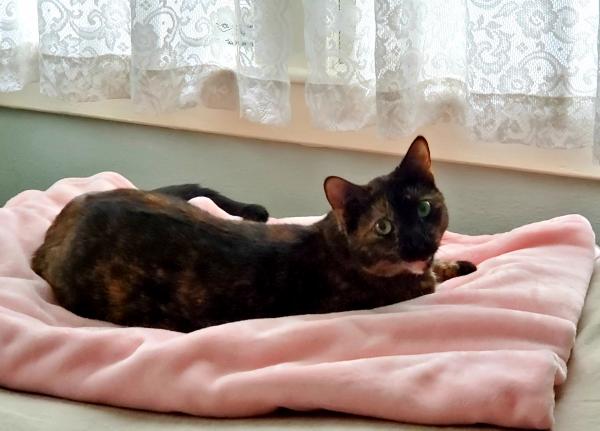
Meet Mystery!
This cat is named Mystery. We are taking care of Mystery because her owner can’t have a cat right now. Her orange and black markings make her a Tortoiseshell cat.
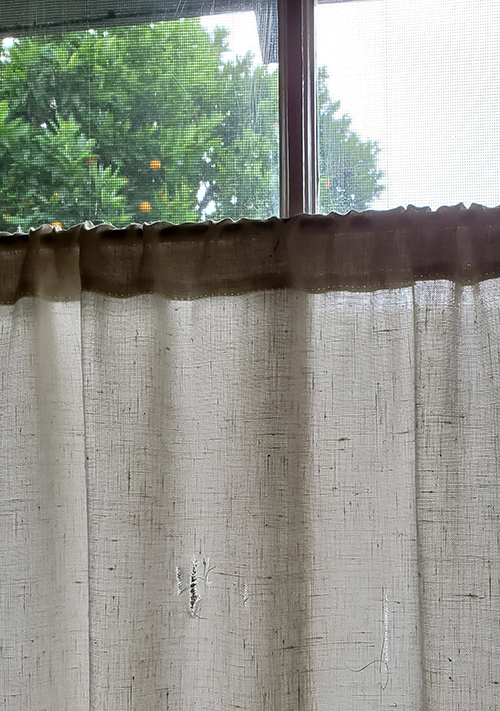
When Mystery arrived, everything was strange and new to her. Mystery explored her new home and she discovered something called window curtains. "What are those?" she wondered. "I see a bird. I see a squirrel. I want to catch them, but these THINGS are in the way!" Mystery did something that cats are tempted to do. She tried to climb up the curtains!
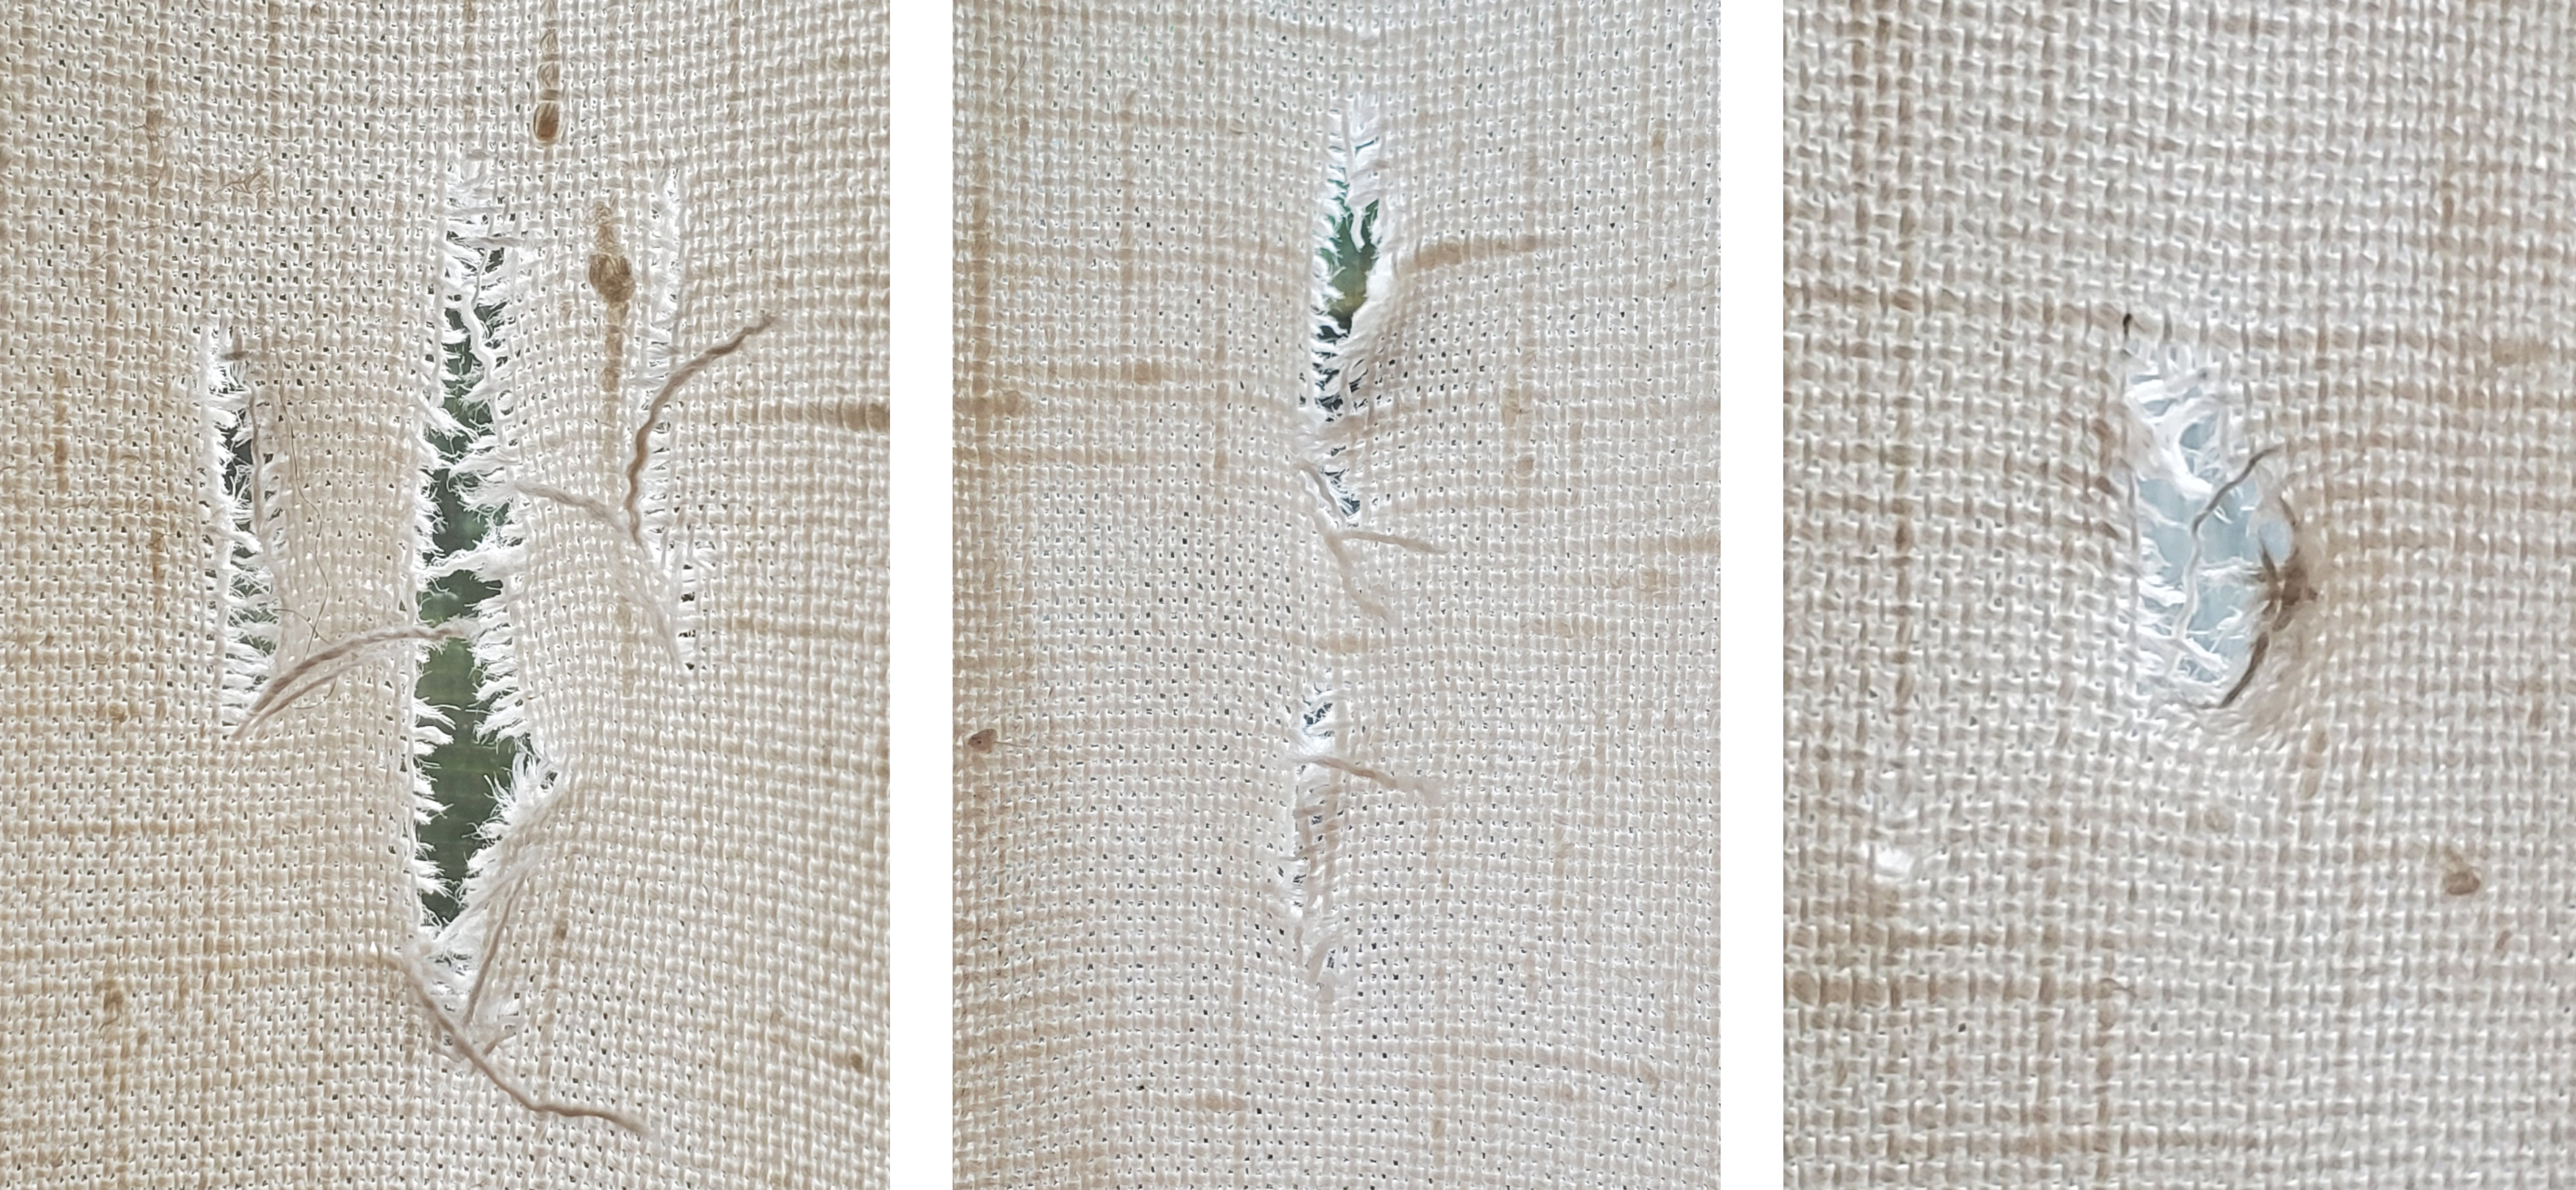
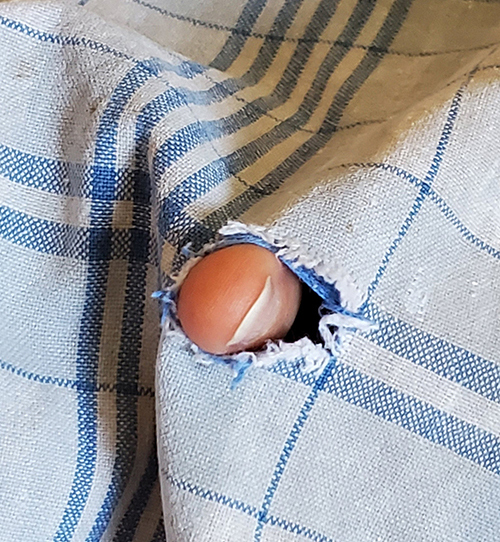
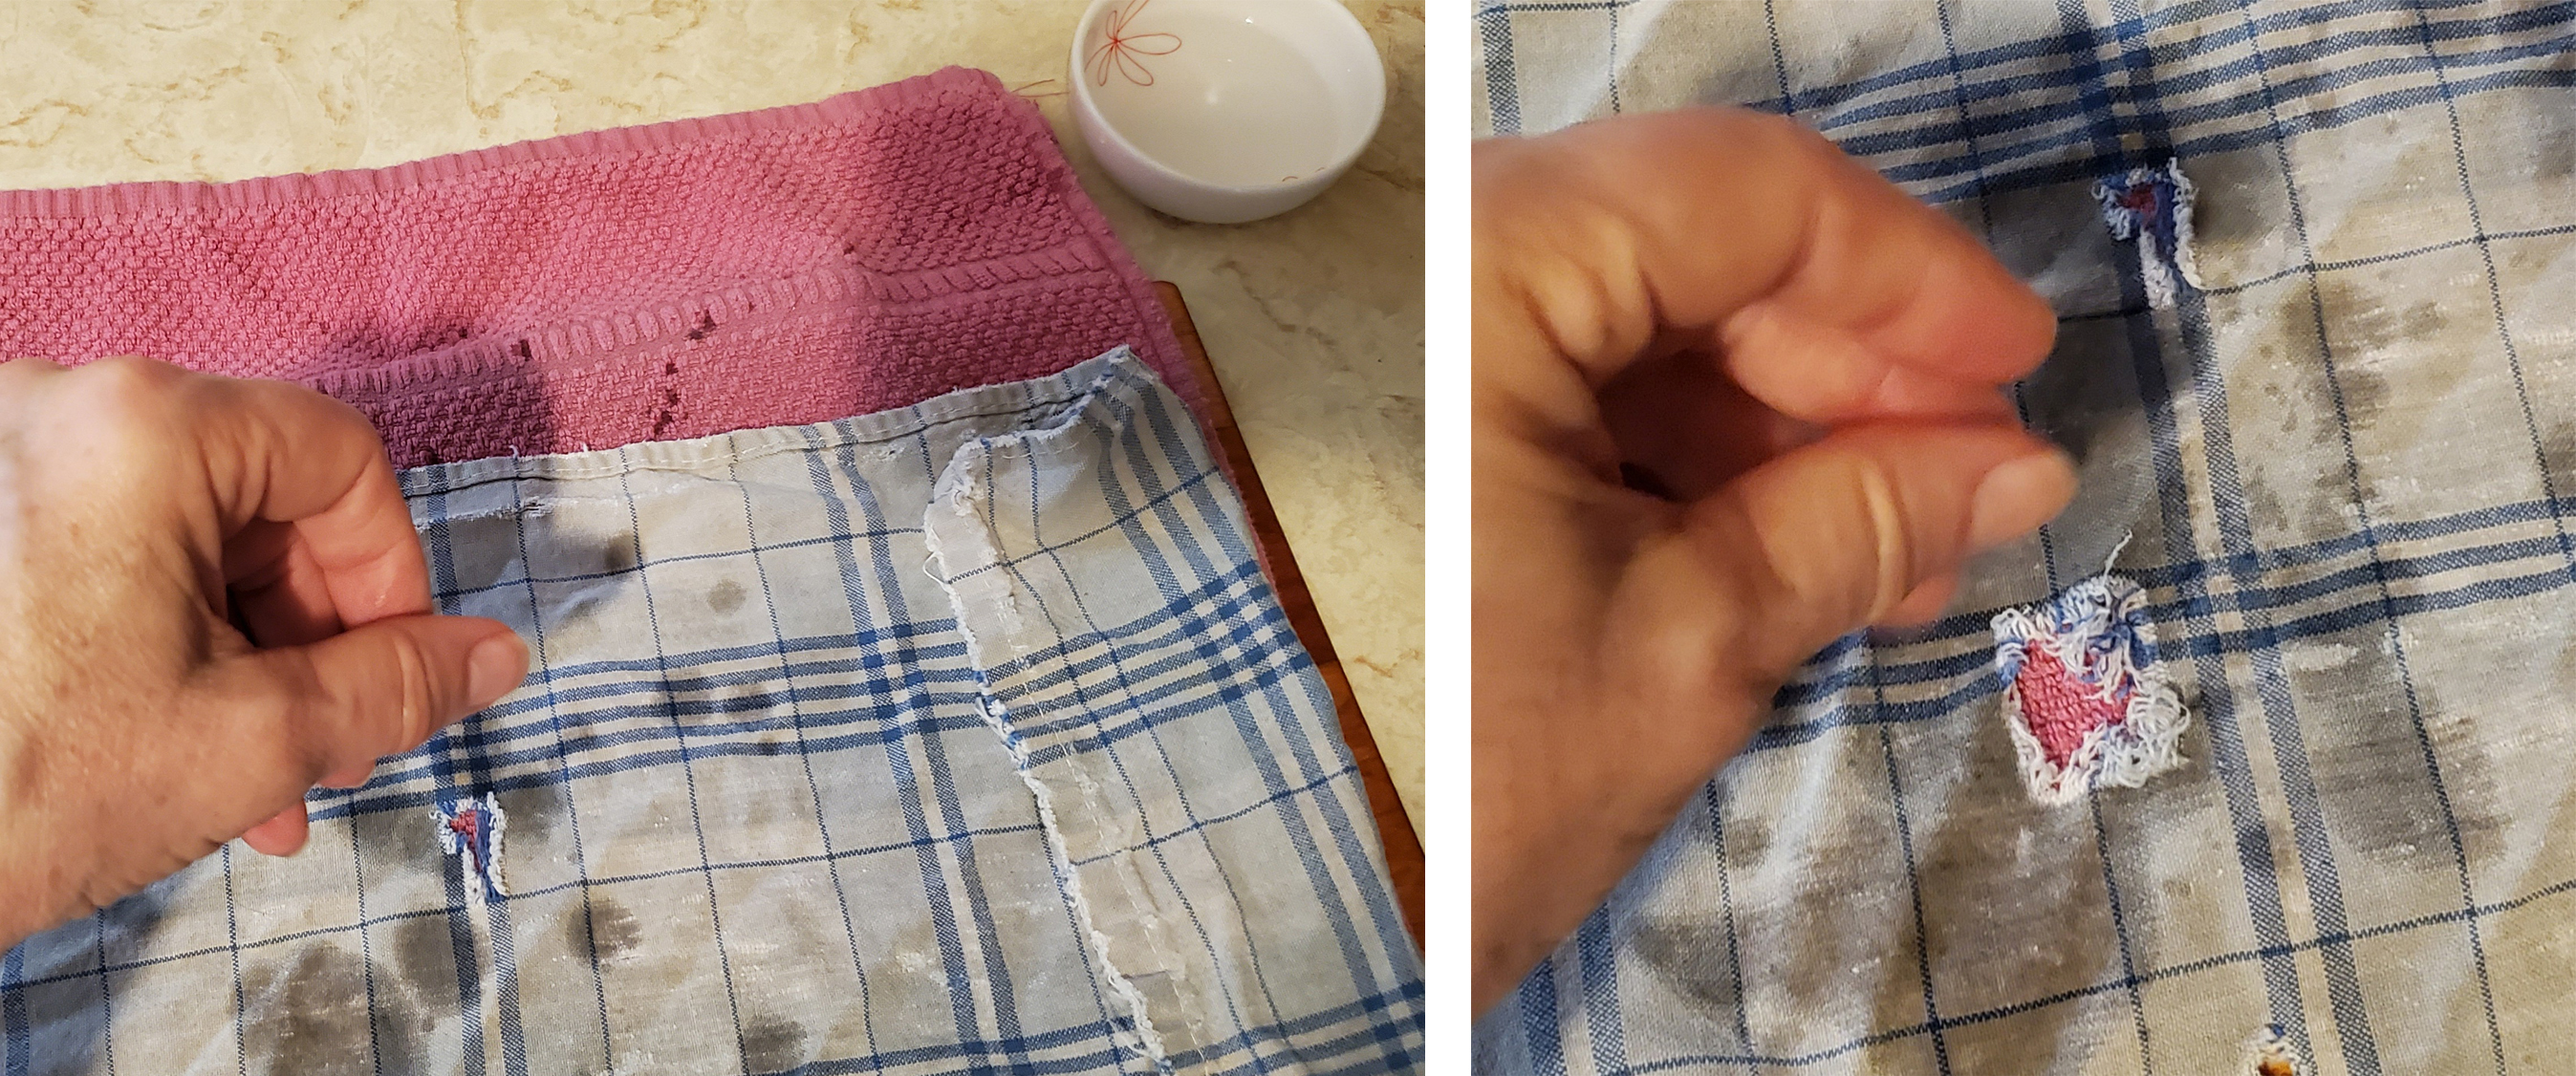
Oh, my! Look at the tears that Mystery’s claws made in the curtains. There are so many tears and holes! If my finger gets caught in a hole, it might get bigger! These holes must be fixed before the curtains go into the washing machine. But how?
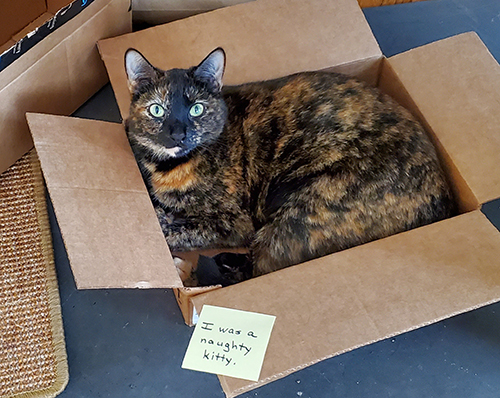
This cat didn't know that climbing curtains was not a good thing for a cat to do. Her humans told her that she was very naughty.
Cats have claws and cute beans, or pads, on their paws. Cats cannot hold a needle and thread. Mystery could not fix the curtains even if she wanted to. But she doesn’t care. The humans care. So the humans have to fix the tears and holes.
What is Darning?
For hundreds and hundreds of years, humans have repaired their clothing and household textiles with a sewing method called "darning." "To darn a hole" means to use a sewing needle and thread to stitch a hole closed.
![Darning Sampler, Netherlands, 1801, Los Angeles County Museum of Art, gift of the Horowitz Family, [photo credit]](/sites/default/files/attachments/ma-319681-WEB_0.jpg "Darning Sampler, Netherlands, 1801, Los Angeles County Museum of Art, gift of the Horowitz Family, [photo credit]")
A long time ago, you were judged by how well you could darn a hole. That was more important than getting an "A" in school! Children began practicing darning when they were about eight years old. When they practiced on a small pieces of fabric, they made something called a "darning sampler." These children had no idea that their darning samplers could end up in a museum!
Above is a darning sampler from LACMA's collection. It comes from the Netherlands in Europe. It looks a bit dull and boring, doesn’t it? Well, that's a very good thing. After all, most people want a darned hole to look invisible so that no one will notice. For a beginner, some of the practice stitches are done with different colors of thread, which makes it easy for an adult to see how well the stitching is done.
![Darning Sampler (detail), Netherlands, 1801, Los Angeles County Museum of Art, gift of the Horowitz Family, [photo credit]](/sites/default/files/attachments/darning_sampler_SK_1801_overall-new.jpg "Darning Sampler (detail), Netherlands, 1801, Los Angeles County Museum of Art, gift of the Horowitz Family, [photo credit]")
Sometimes children also stitched their name or initials, along with a date. This darning sampler was made by someone with the initials "S. K." and it was made in the year 1801. That was made over 200 years ago. What initials and year would you use? ANNO, A-N-N-O, is the Latin word used for "year."

, Mexico, c. 1785, Los Angeles County Museum of Art, Costume Council Fund, photo © Museum Associates/LACMA")
Some samplers were made to demonstrate the alphabet and numbers, flowers and animals, or religious subjects. Above is a colorful sampler made by a person living in Mexico. It's even older than the darning sampler from the Netherlands and it's dated to about 1785. Imagine, the 13 American colonies had become the United States only nine years earlier! Look at the close-ups of this amazing hand stitching.
How Can I Darn a Hole Right Now?
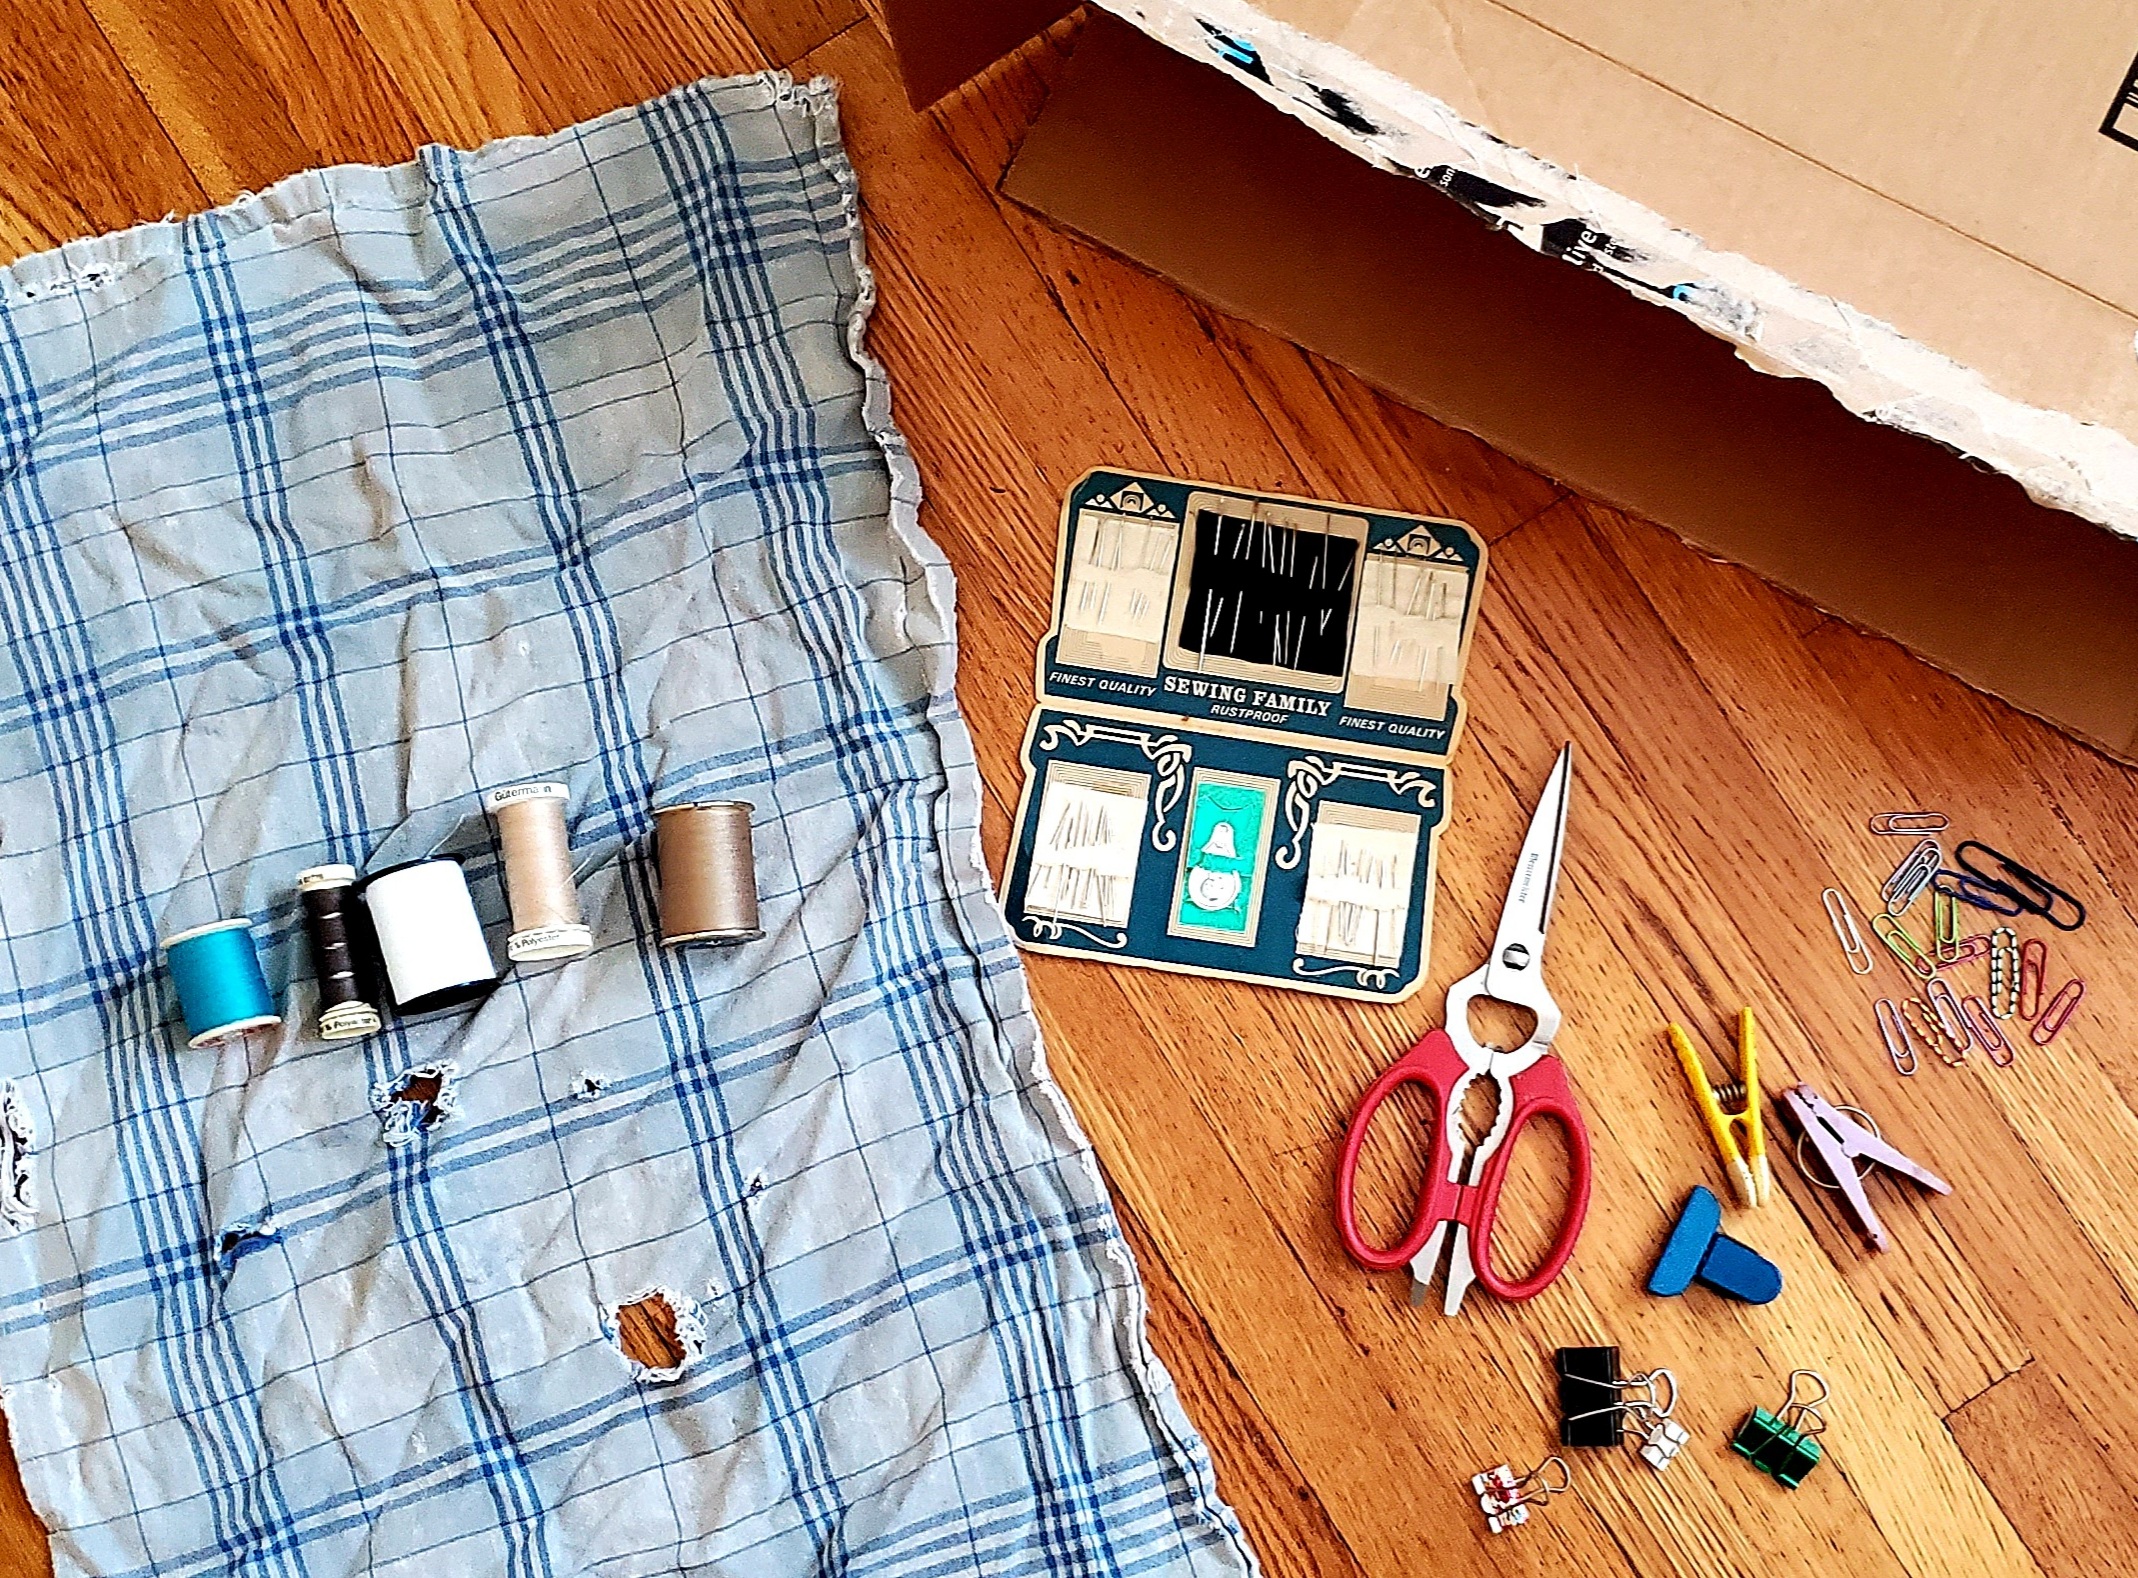
You can darn a hole with a few simple things that you have at home. Ask an adult to help you find these six things:
Supply list:
- A piece of cardboard
- Scissors
- Four paper clips or four bulldog clips or anything that clips, like clothes pins, maybe. You can be creative!
- Sewing needle. This has a very sharp point at one end, so you might ask an adult to help you.
- Thread
- Something with a tear in it. Maybe blue jeans? Or a shirt? Or you can practice on a cleaning rag, that's what I'm going to use.
Here are the Basic Steps:
Step 1
To begin, find a damaged piece of fabric with a hole in it. Ask an adult if it is okay to use this for a stitching project.
Step 2
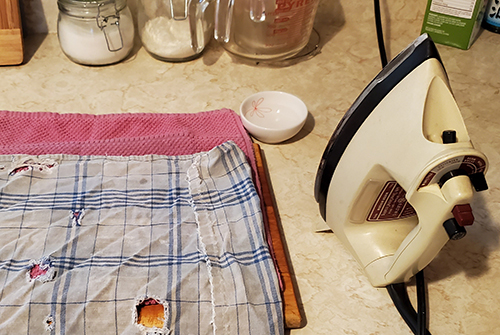
Is the fabric wrinkled? Did the hole or tear make the threads look all messed up? If yes, ask an adult to iron the piece of fabric for you. Irons get very hot, so you'll need help with this. If you want, you can skip this step and go to steps three and four instead.
Step 3
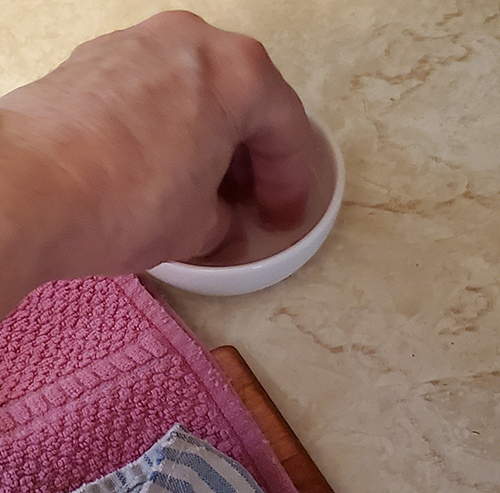
You can help smooth out the fabric by sprinkling it with a little water using your fingers. Here, I'm getting my fingertips all wet.
Now I'm flicking my fingers so that the water is sprinkled over my hole. Smooth the area flat with your hands or by ironing.
Step 4
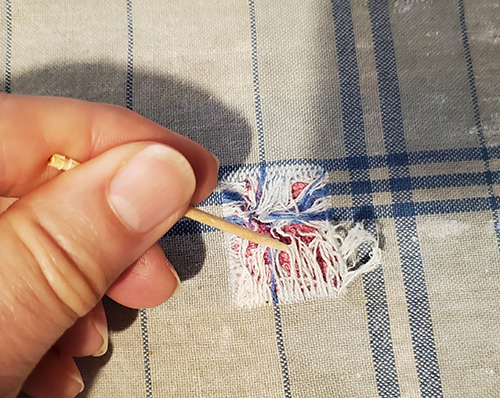
Also, you can help by getting a toothpick or a fork. Use the pointy end to untangle the broken threads so they lay straight up and down or side to side. Don’t worry if they aren’t perfect. Threads stretch out when torn. Be sure that the fabric is dry before going to the next step.
Step 5
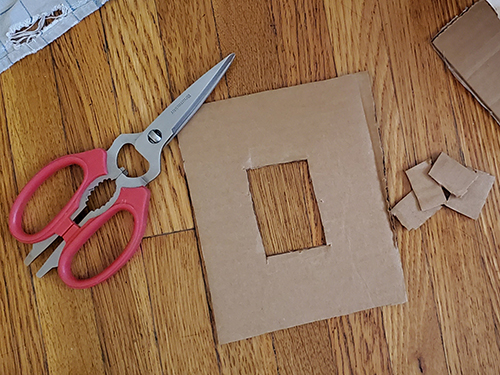
Next, get a piece of cardboard and cut a hole in the middle of it. You will be darning in the space where the hole is. Make the hole a little larger than your tear.
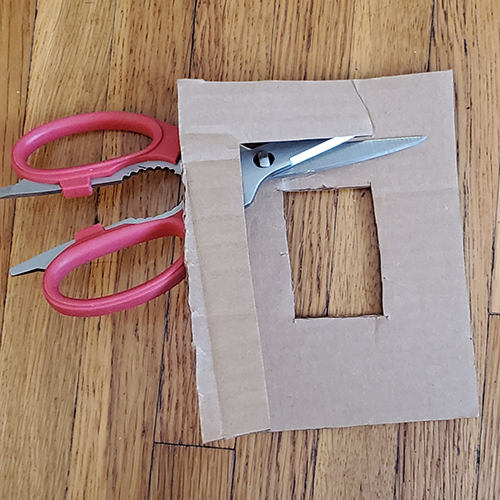
If your hands are small, make the outside smaller, maybe three by five inches.
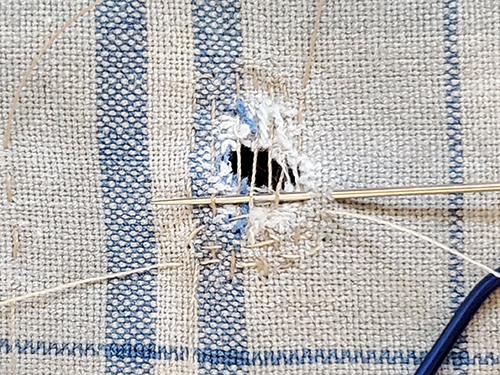
Step 6
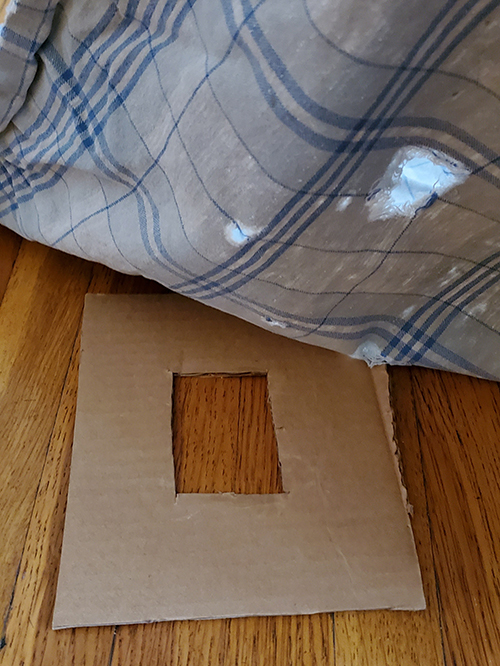
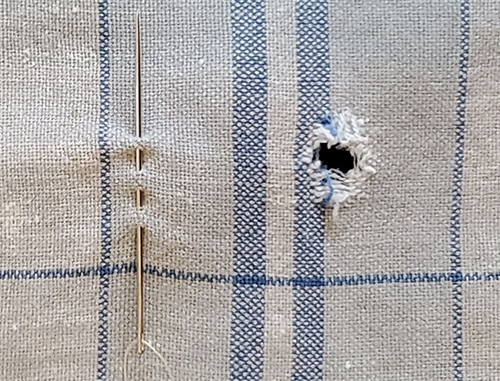
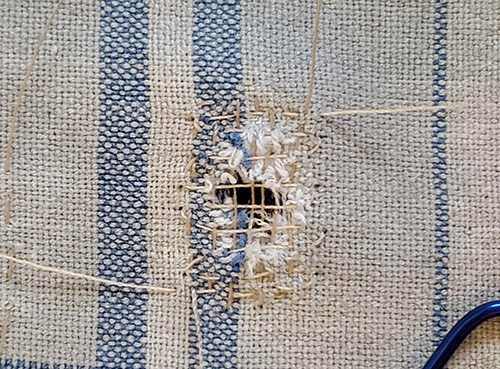
Put your textile on top of the cardboard, positioning the damaged area over the hole in the cardboard. Can you see the damage I'm going to darn?
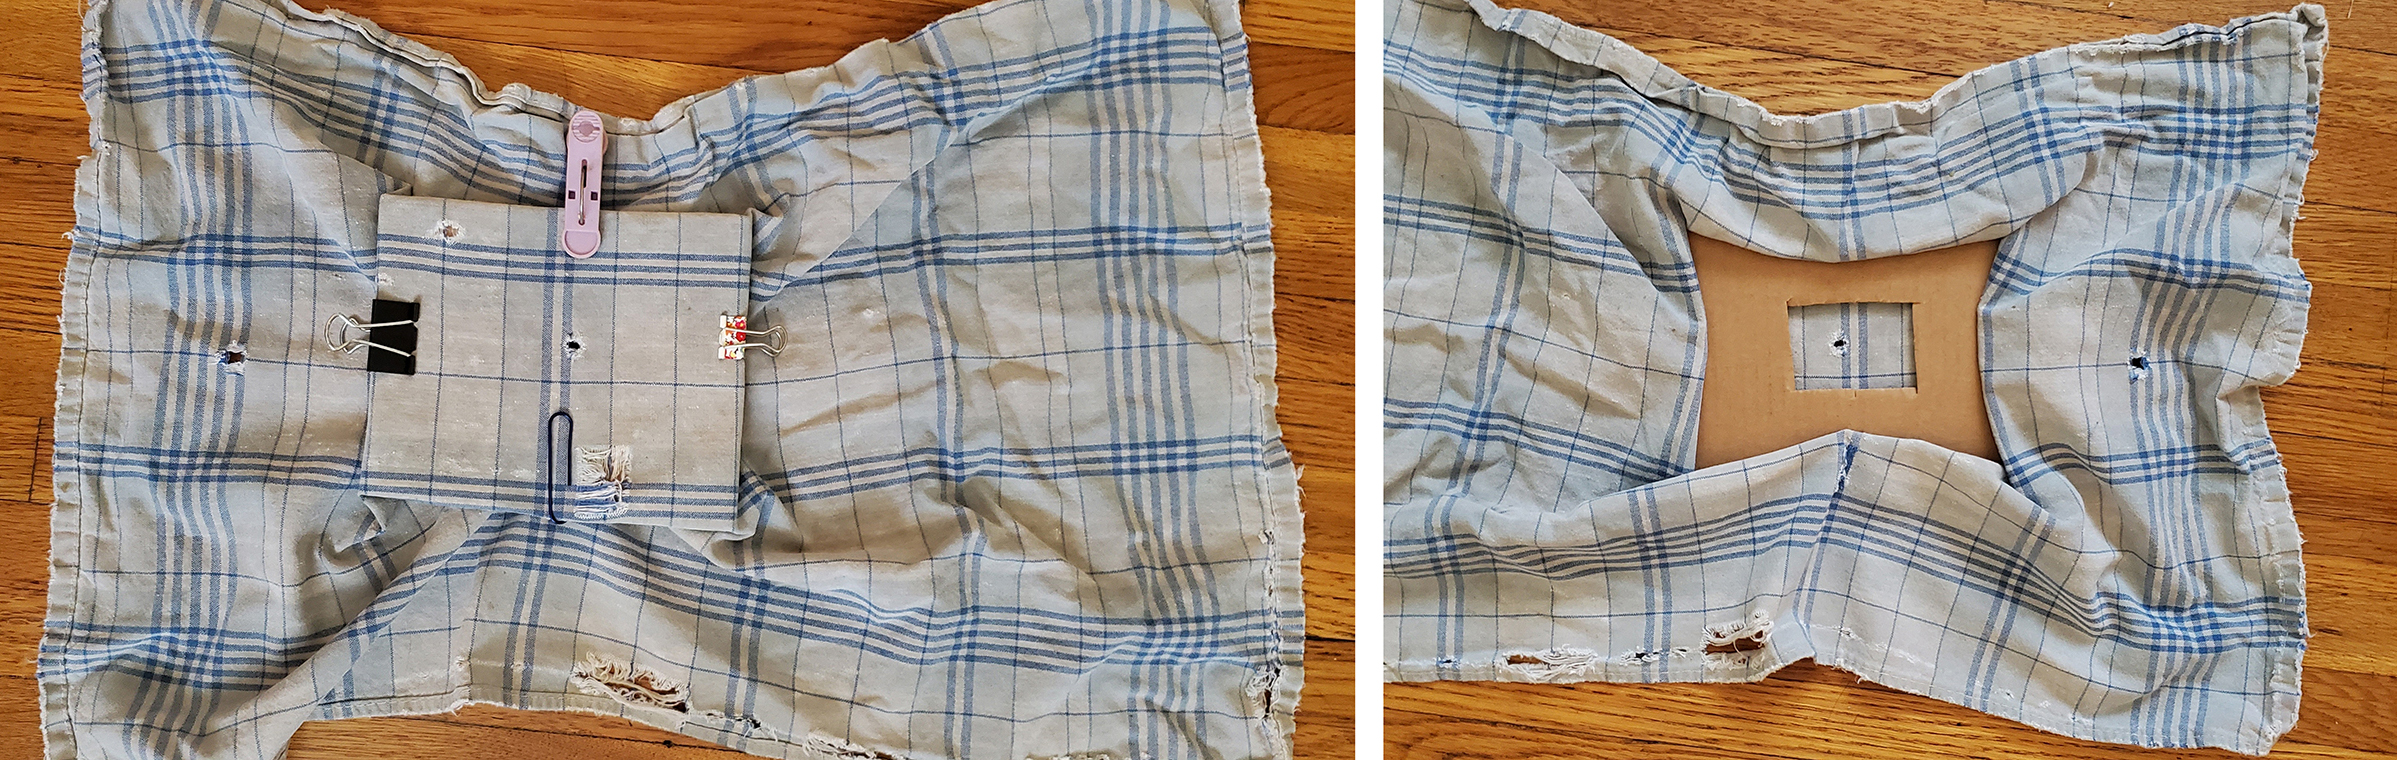
Clip the sides of your textile to the outside edges of the cardboard. One clip on each side, or more if you want. Here is how it will look, front and back.
Step 7
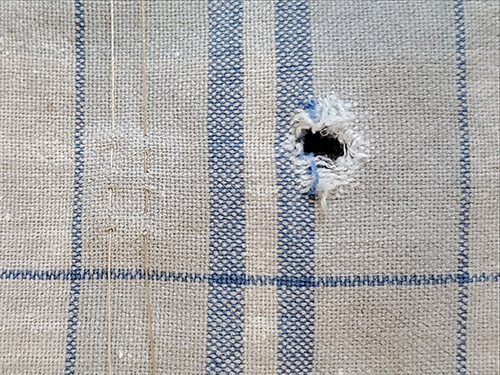
Next, choose a thread. There is a very old saying that goes, "Match your thread a little darker, you want a seam, not a marker." Try saying it out loud, it rhymes!
If you choose a slightly darker thread, then it will be more invisible than a lighter thread. With a light thread, or the wrong color, your eye will quickly zoom right to the darned area. Just as if you were saying, "X marks the spot."
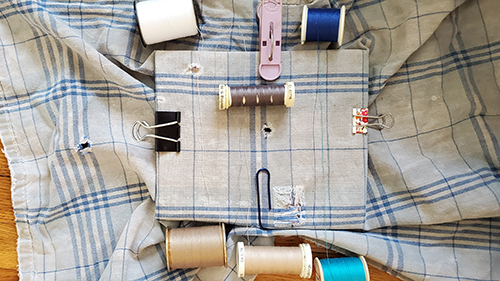
Don’t worry if you don’t have many colors of thread. Just choose the color that will be the most invisible. Do a test and place a piece of the thread near your hole. Does the thread disappear? If not, test another thread, maybe something a little darker. Does the thread disappear? Try a few threads to find the best one. Here is a little secret: for a red textile, test a brown thread.
Step 8
I can’t decide between tan and cream thread. Maybe I’ll test both. You might need an adult to help you thread the needle. Cut some thread that is about the distance from your thumb to your elbow. If your thread is too long, it will get tangled up.
Step 9
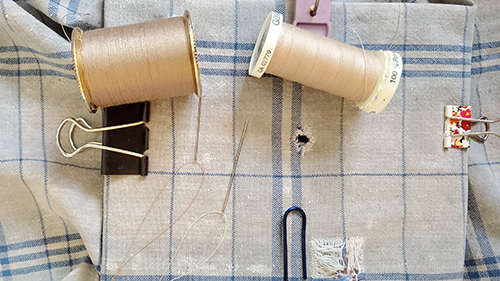
All of your stitches will have the same name. They're called "running stitches." This is the first stitch that most people learn.
Now I’m doing a test. Here is a picture of two vertical rows of running stitches. Which thread is more invisible? I still can’t decide. The dark thread? After I do the test, I’ll just pull out the running stitches from one end. They should slide out easily.
Step 10
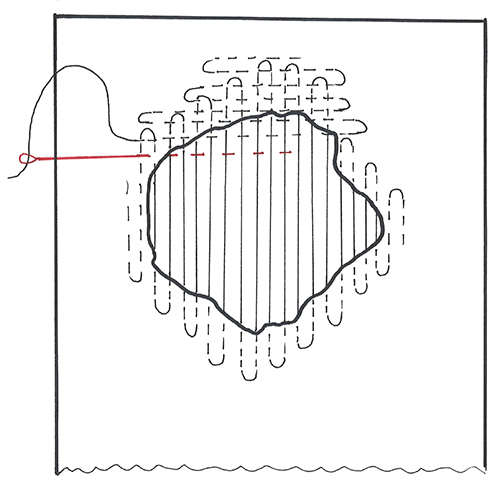
I’ve made a diagram showing the pattern that you will be stitching. Don’t worry about being perfect. Remember, sewing is not as perfect as drawing with a pencil and a ruler! First I made the up-and-down rows, then the side-to-side rows. In this diagram, the needle is colored red, but, well, I’ve never seen a red sewing needle, have you?
Step 11
Start by putting in threads that go from the top to the bottom of the hole. If you are a weaver, you will recognize these threads as the "WARP." I'm experimenting with the darker thread for the warp. For this project, I’m not making a knot at the end of my thread. That’s how I was trained to sew. But you can make a knot at the end of the sewing thread, if you want to.
Step 12
Then add the stitches that go from side to side over the hole. A weaver calls these threads the "WEFT." I'm experimenting with using the lighter thread for the weft. If you can’t sew the running stitch into the fabric, because the fabric is gone, then weave your needle over one thread, under one thread, over one, under one, to cross over the hole. This is darning!
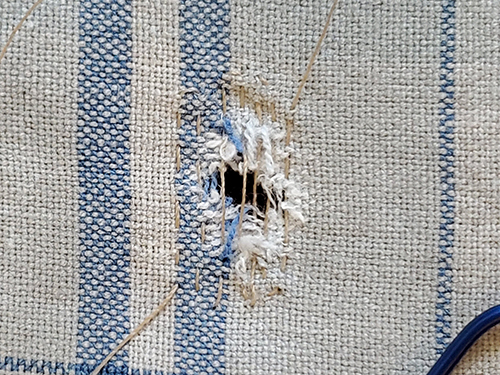
Step 13
Here is my finished darn. Now my fingers won’t get stuck in the hole, making it bigger. With practice, you will be able to make your rows closer together and your stitching will become neater.
Making Up with Mystery
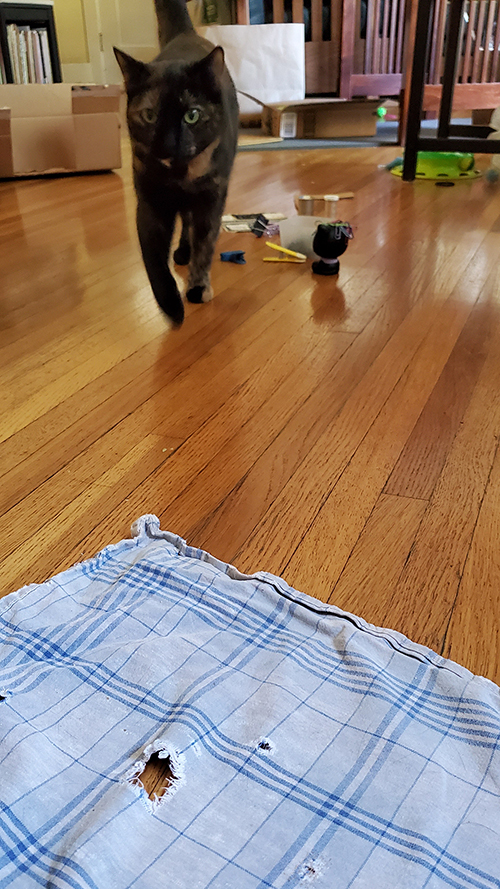
Look who's coming to see me!
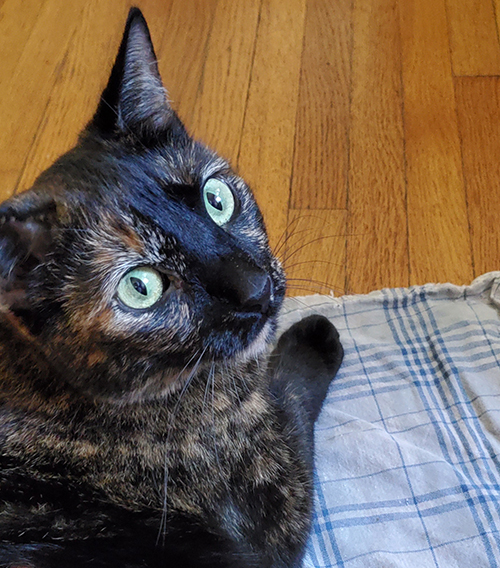
I think she’s wondering, "Am I a good kitty?" Of course you are!
Did you try to darn something at home? We would love to see it! Have an adult post your work to social media and tag @lacma.