

Artists have been obsessed with light for centuries. We have tried to capture it realistically in drawing and painting. We have used it in sculptural environments to delight the body and trick the eye. We have explored light's scientific and mystical qualities from every angle. In art, light can be the image, the symbol, and the material all at once!
Artist Vera Lutter harnesses the power of light to make her large-scale photographs, such as the images of the LACMA campus and collections that she made while an artist in residence at the museum. Using a room-size camera obscura, Lutter makes her photographs by allowing light to enter the camera through a tiny pinhole opening. When the light-sensitive photo paper inside the camera is exposed to these light rays, it records an image of the scene in front of the pinhole opening. In this way, photographs record traces of time passing, resulting in mysterious images that seem to be memories of places from the past.

Let's Make Our Own Images Using Sunlight!
This project explores cyanotype—a photo process that you can use at home to capture light and shadow. Cyanotype uses a simple chemical reaction plus sunlight and water to fix images onto paper, fabric, or really any absorbent surface. It is a very experimental and flexible process, and lots of fun. All you need are a few materials and your imagination.
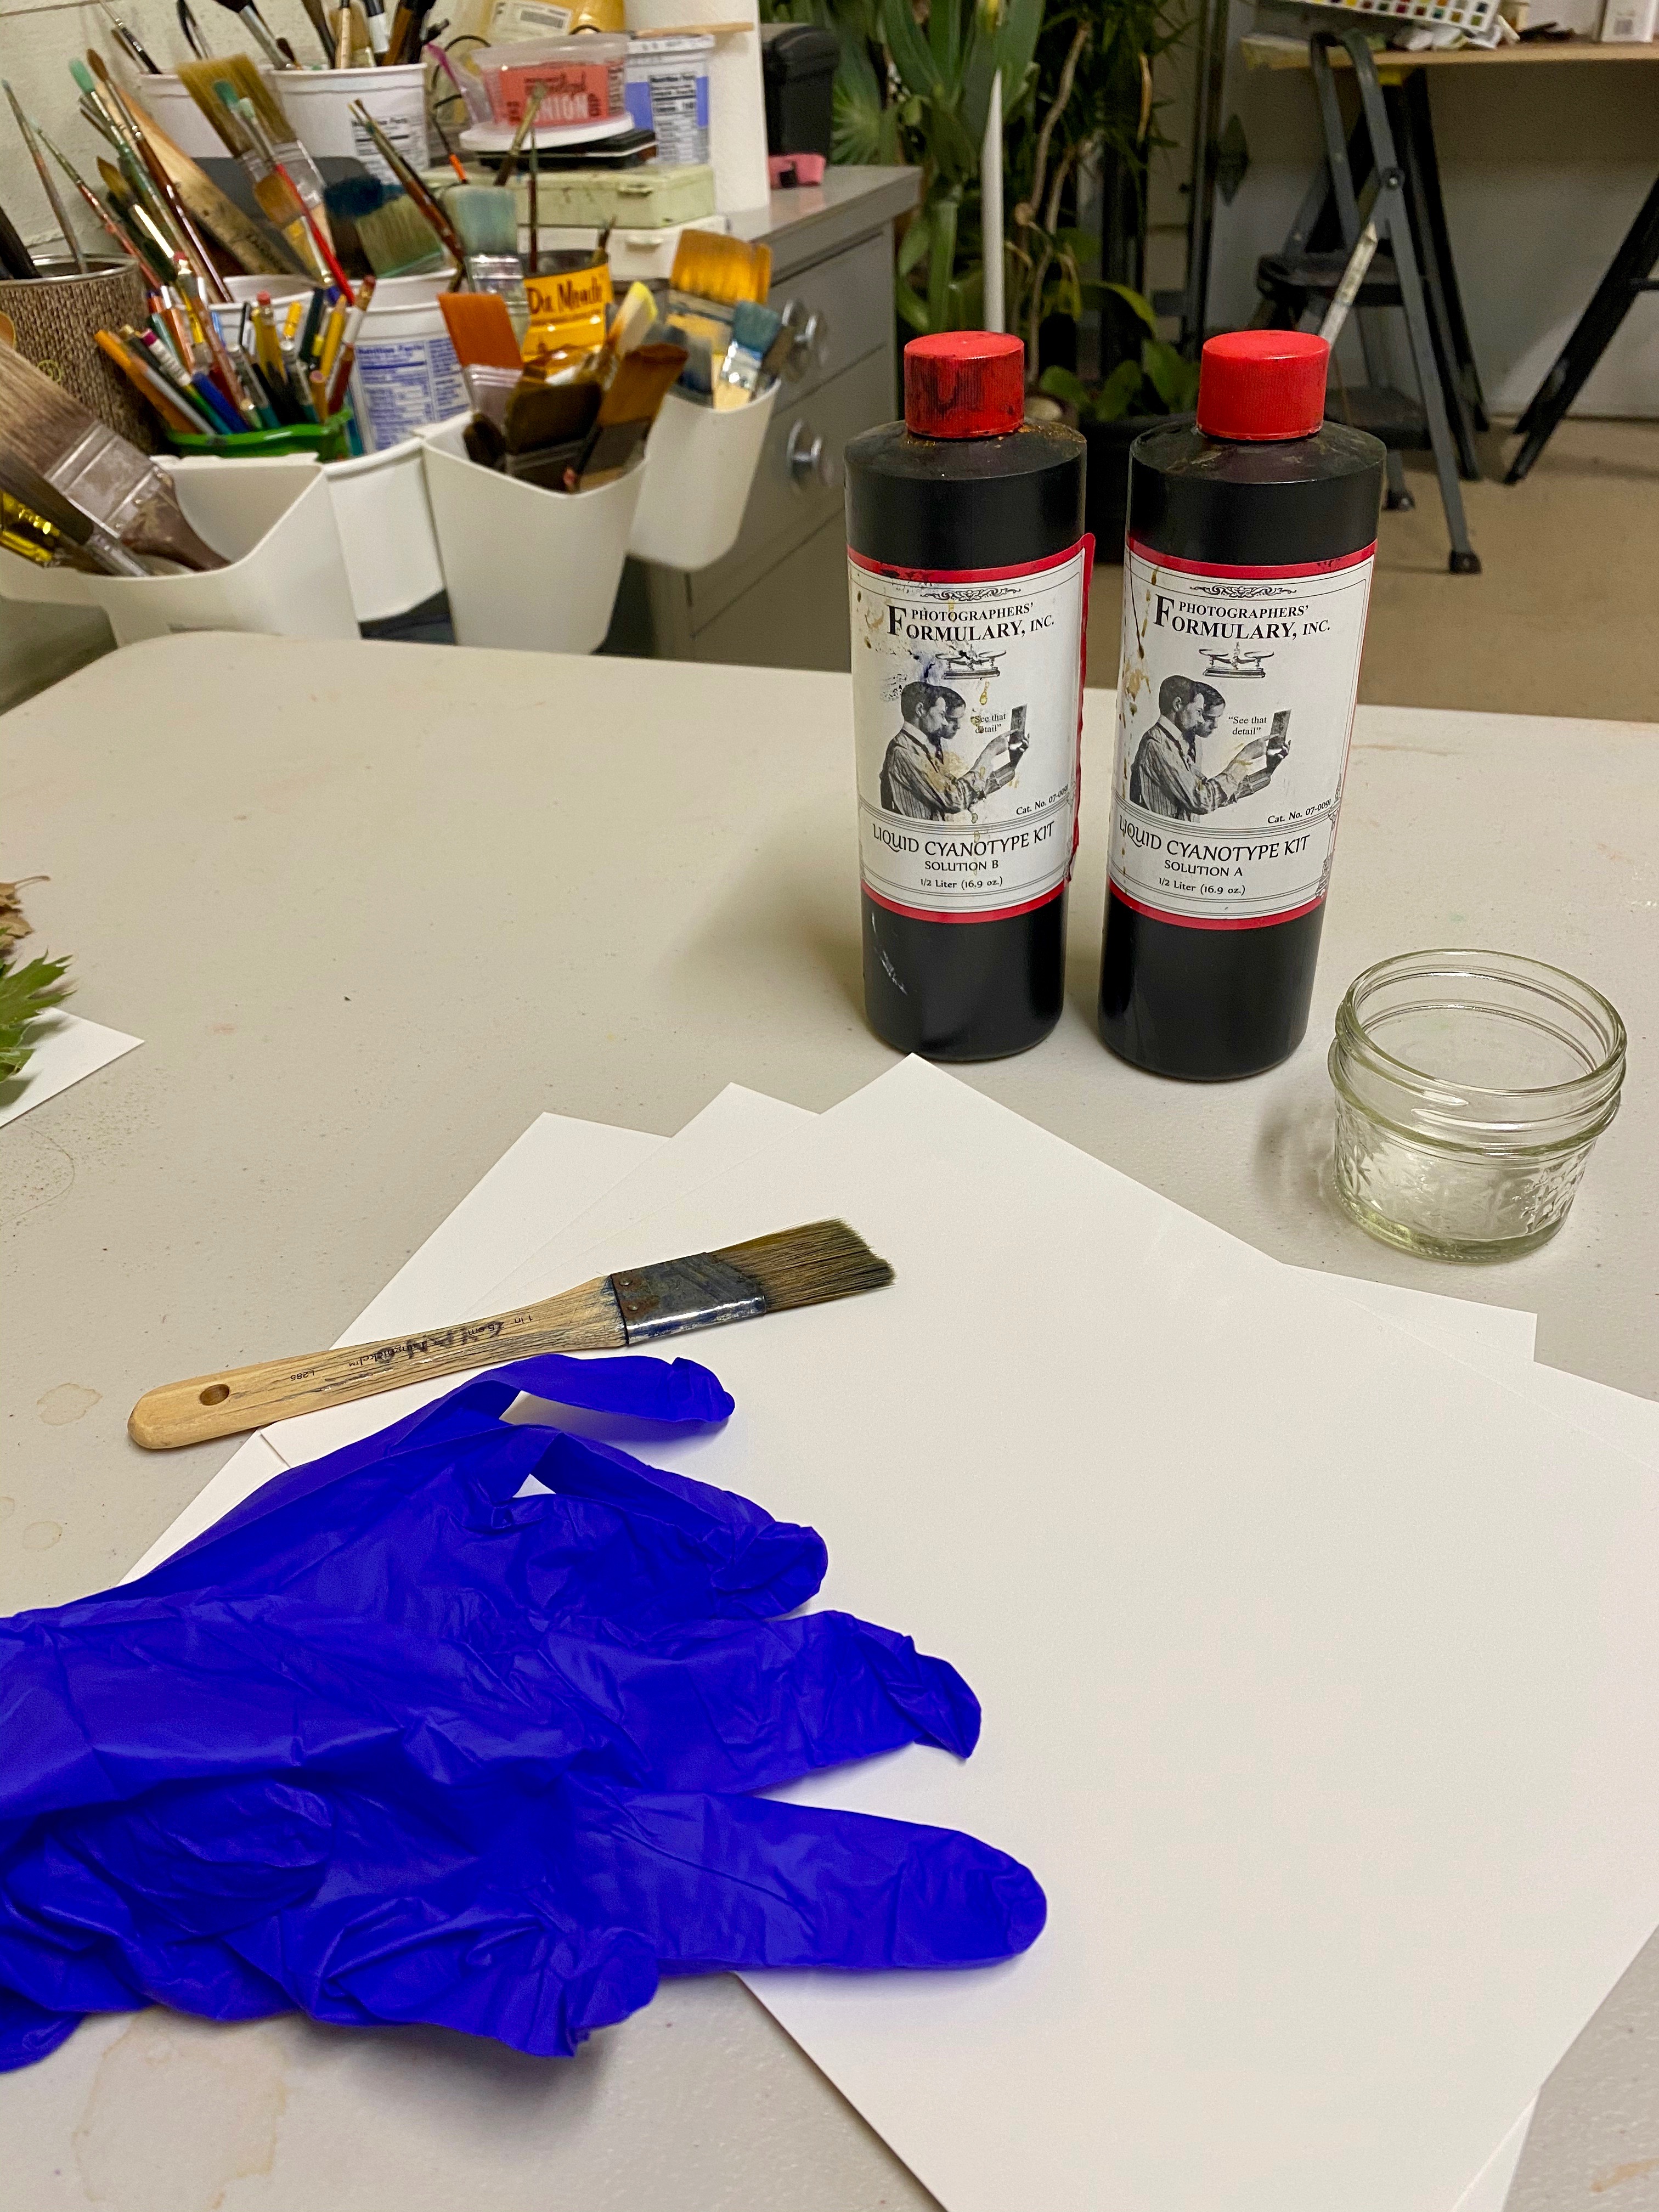
Materials:
- Photographer's Formulary Liquid Cyanotype Printing Kit (or pretreated cyanotype sheets like Super Sunprint Kit)
- Small container
- Gloves
- Paint brush
- Watercolor paper
- Paper to cover work surface
Step 1: What do you Collect?
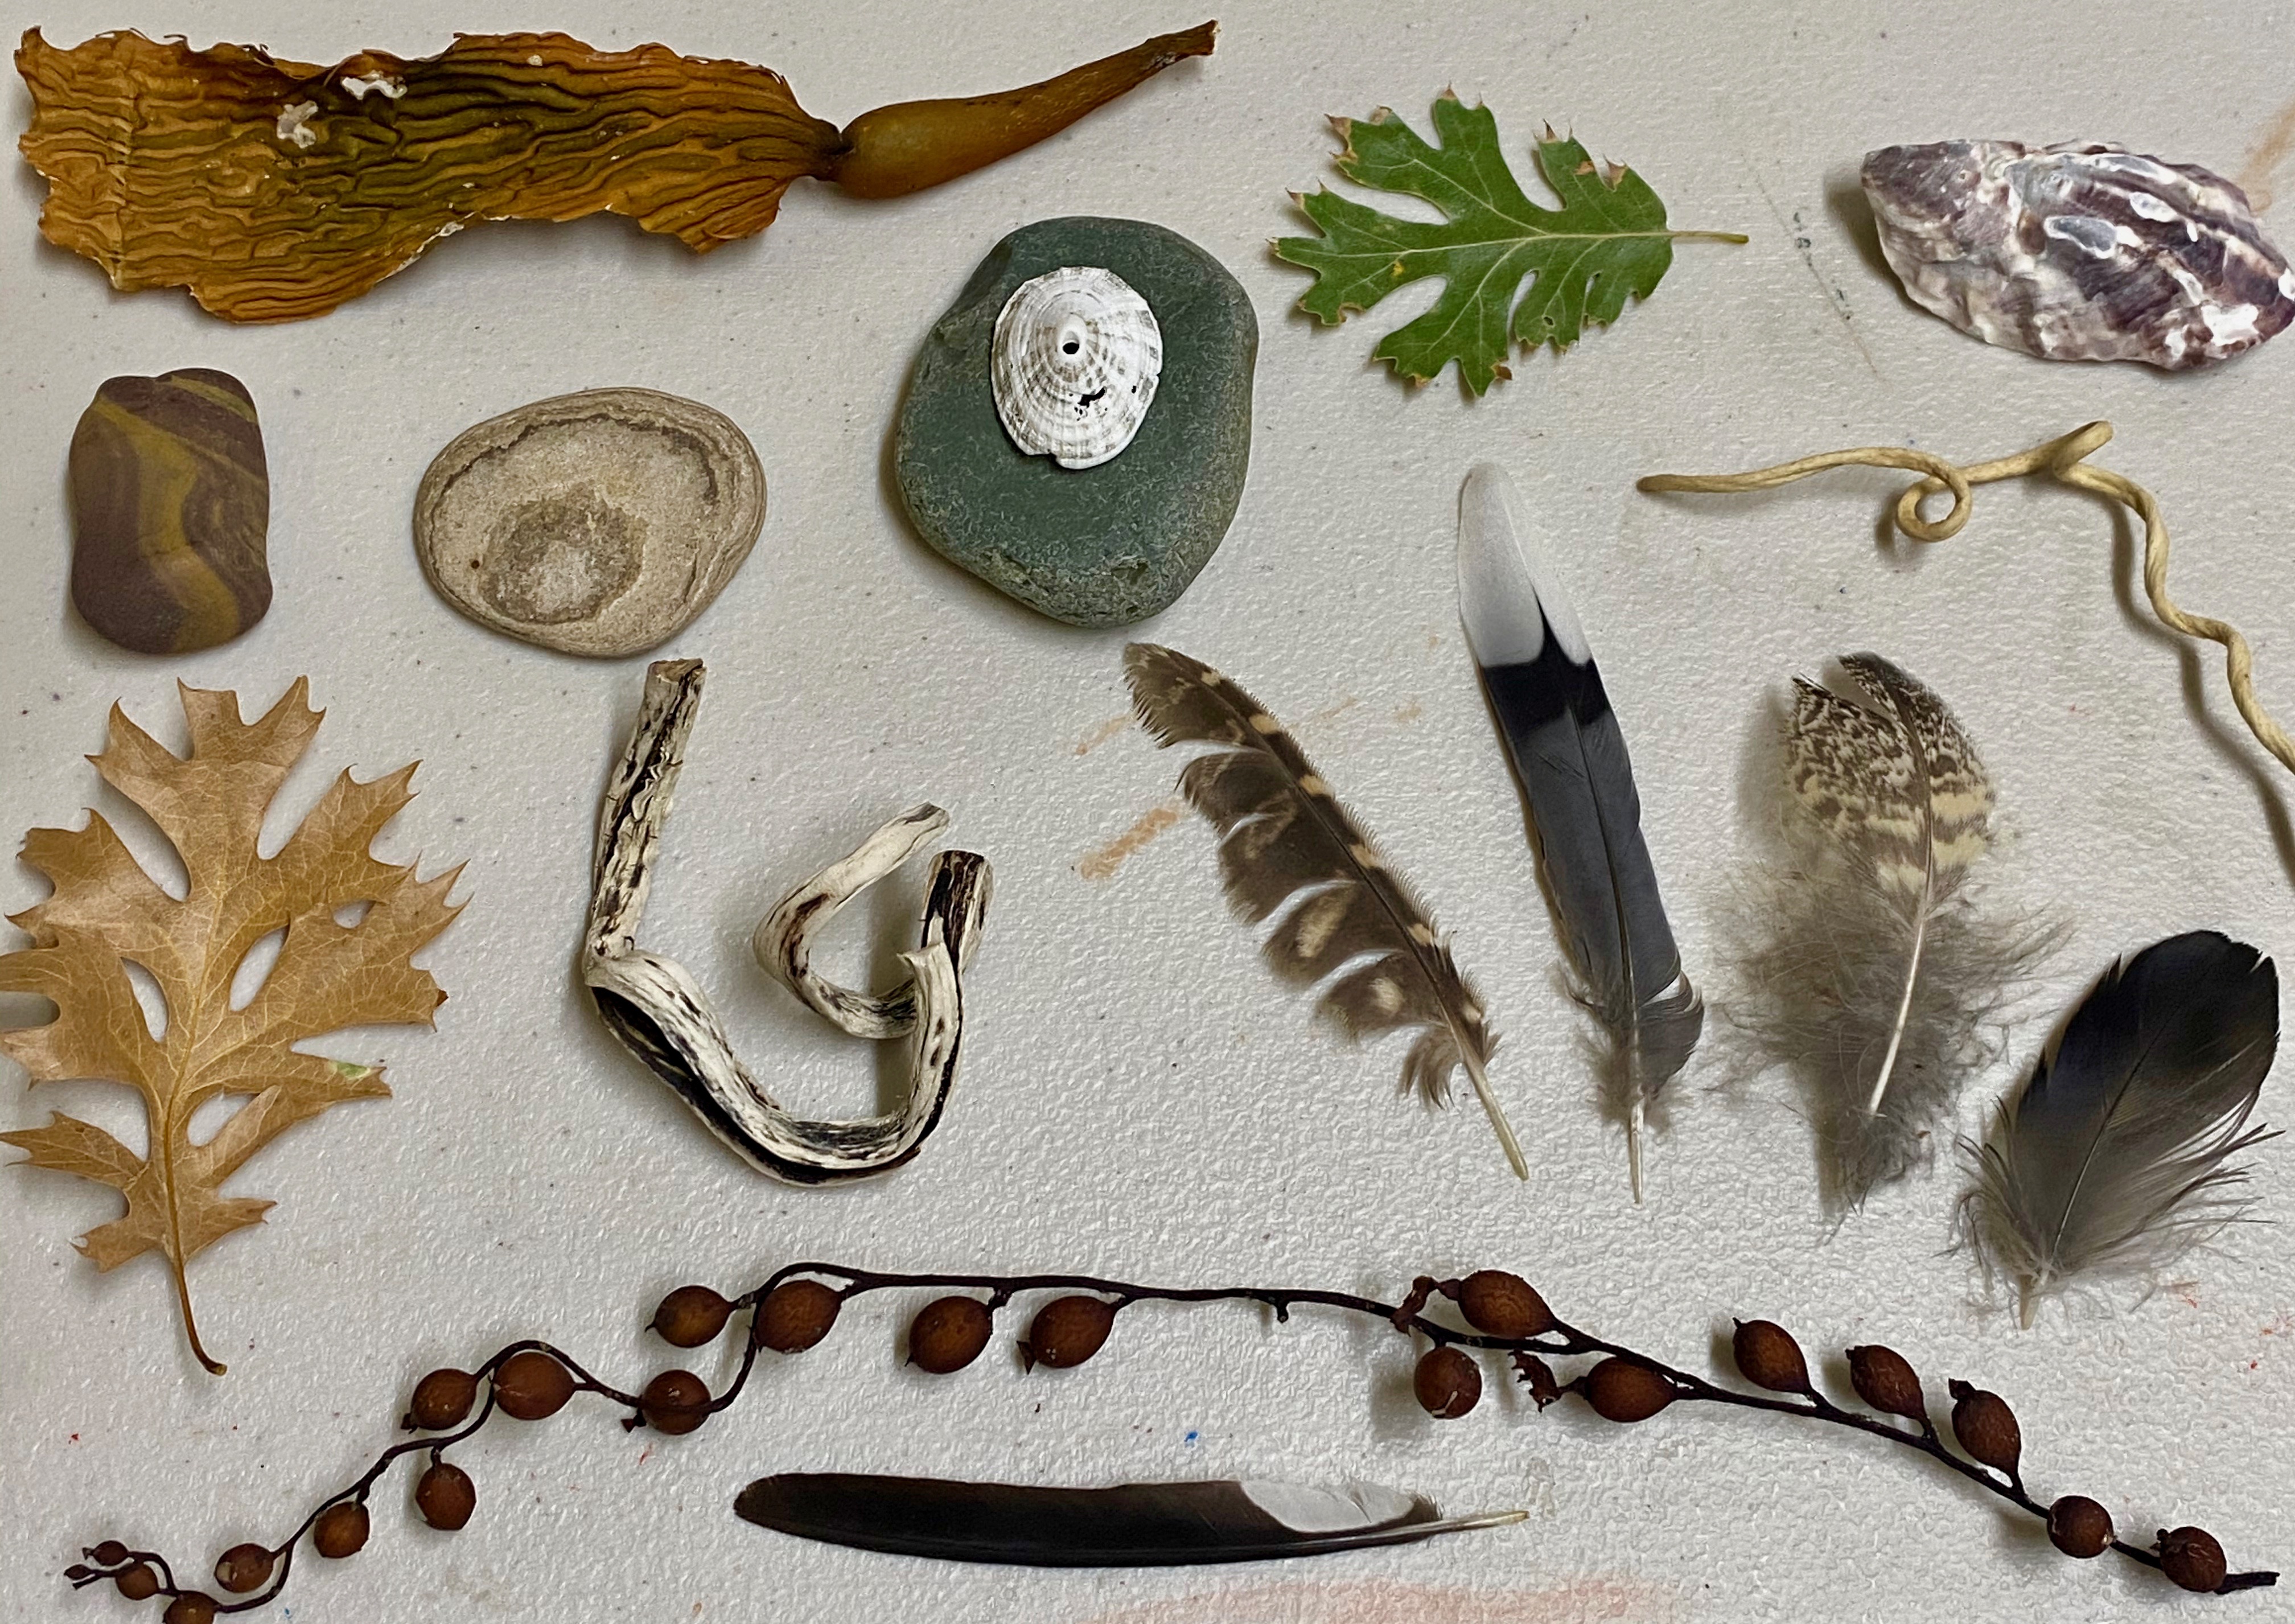
Cyanotype has been used by many artists to document their collections. I use it to make images of things I find in nature such as feathers, leaves, and sand. Some artists make images of treasured mementos. What do you collect? Gather together some small objects that have meaning for you. Or go for a nature walk to find shapes and textures that you like.
Here's a photo of some things I have collected from nature.
Step 2: Getting Ready.
Cyanotype is sensitive to Ultraviolet light from the sun. So for this step, you need to work inside with no sunlight. Electric lights are okay. I like to apply the cyanotype solution to the paper in the evening and expose them the next morning.
Lay a large piece of paper down on your work surface to protect what's underneath—a table works best.
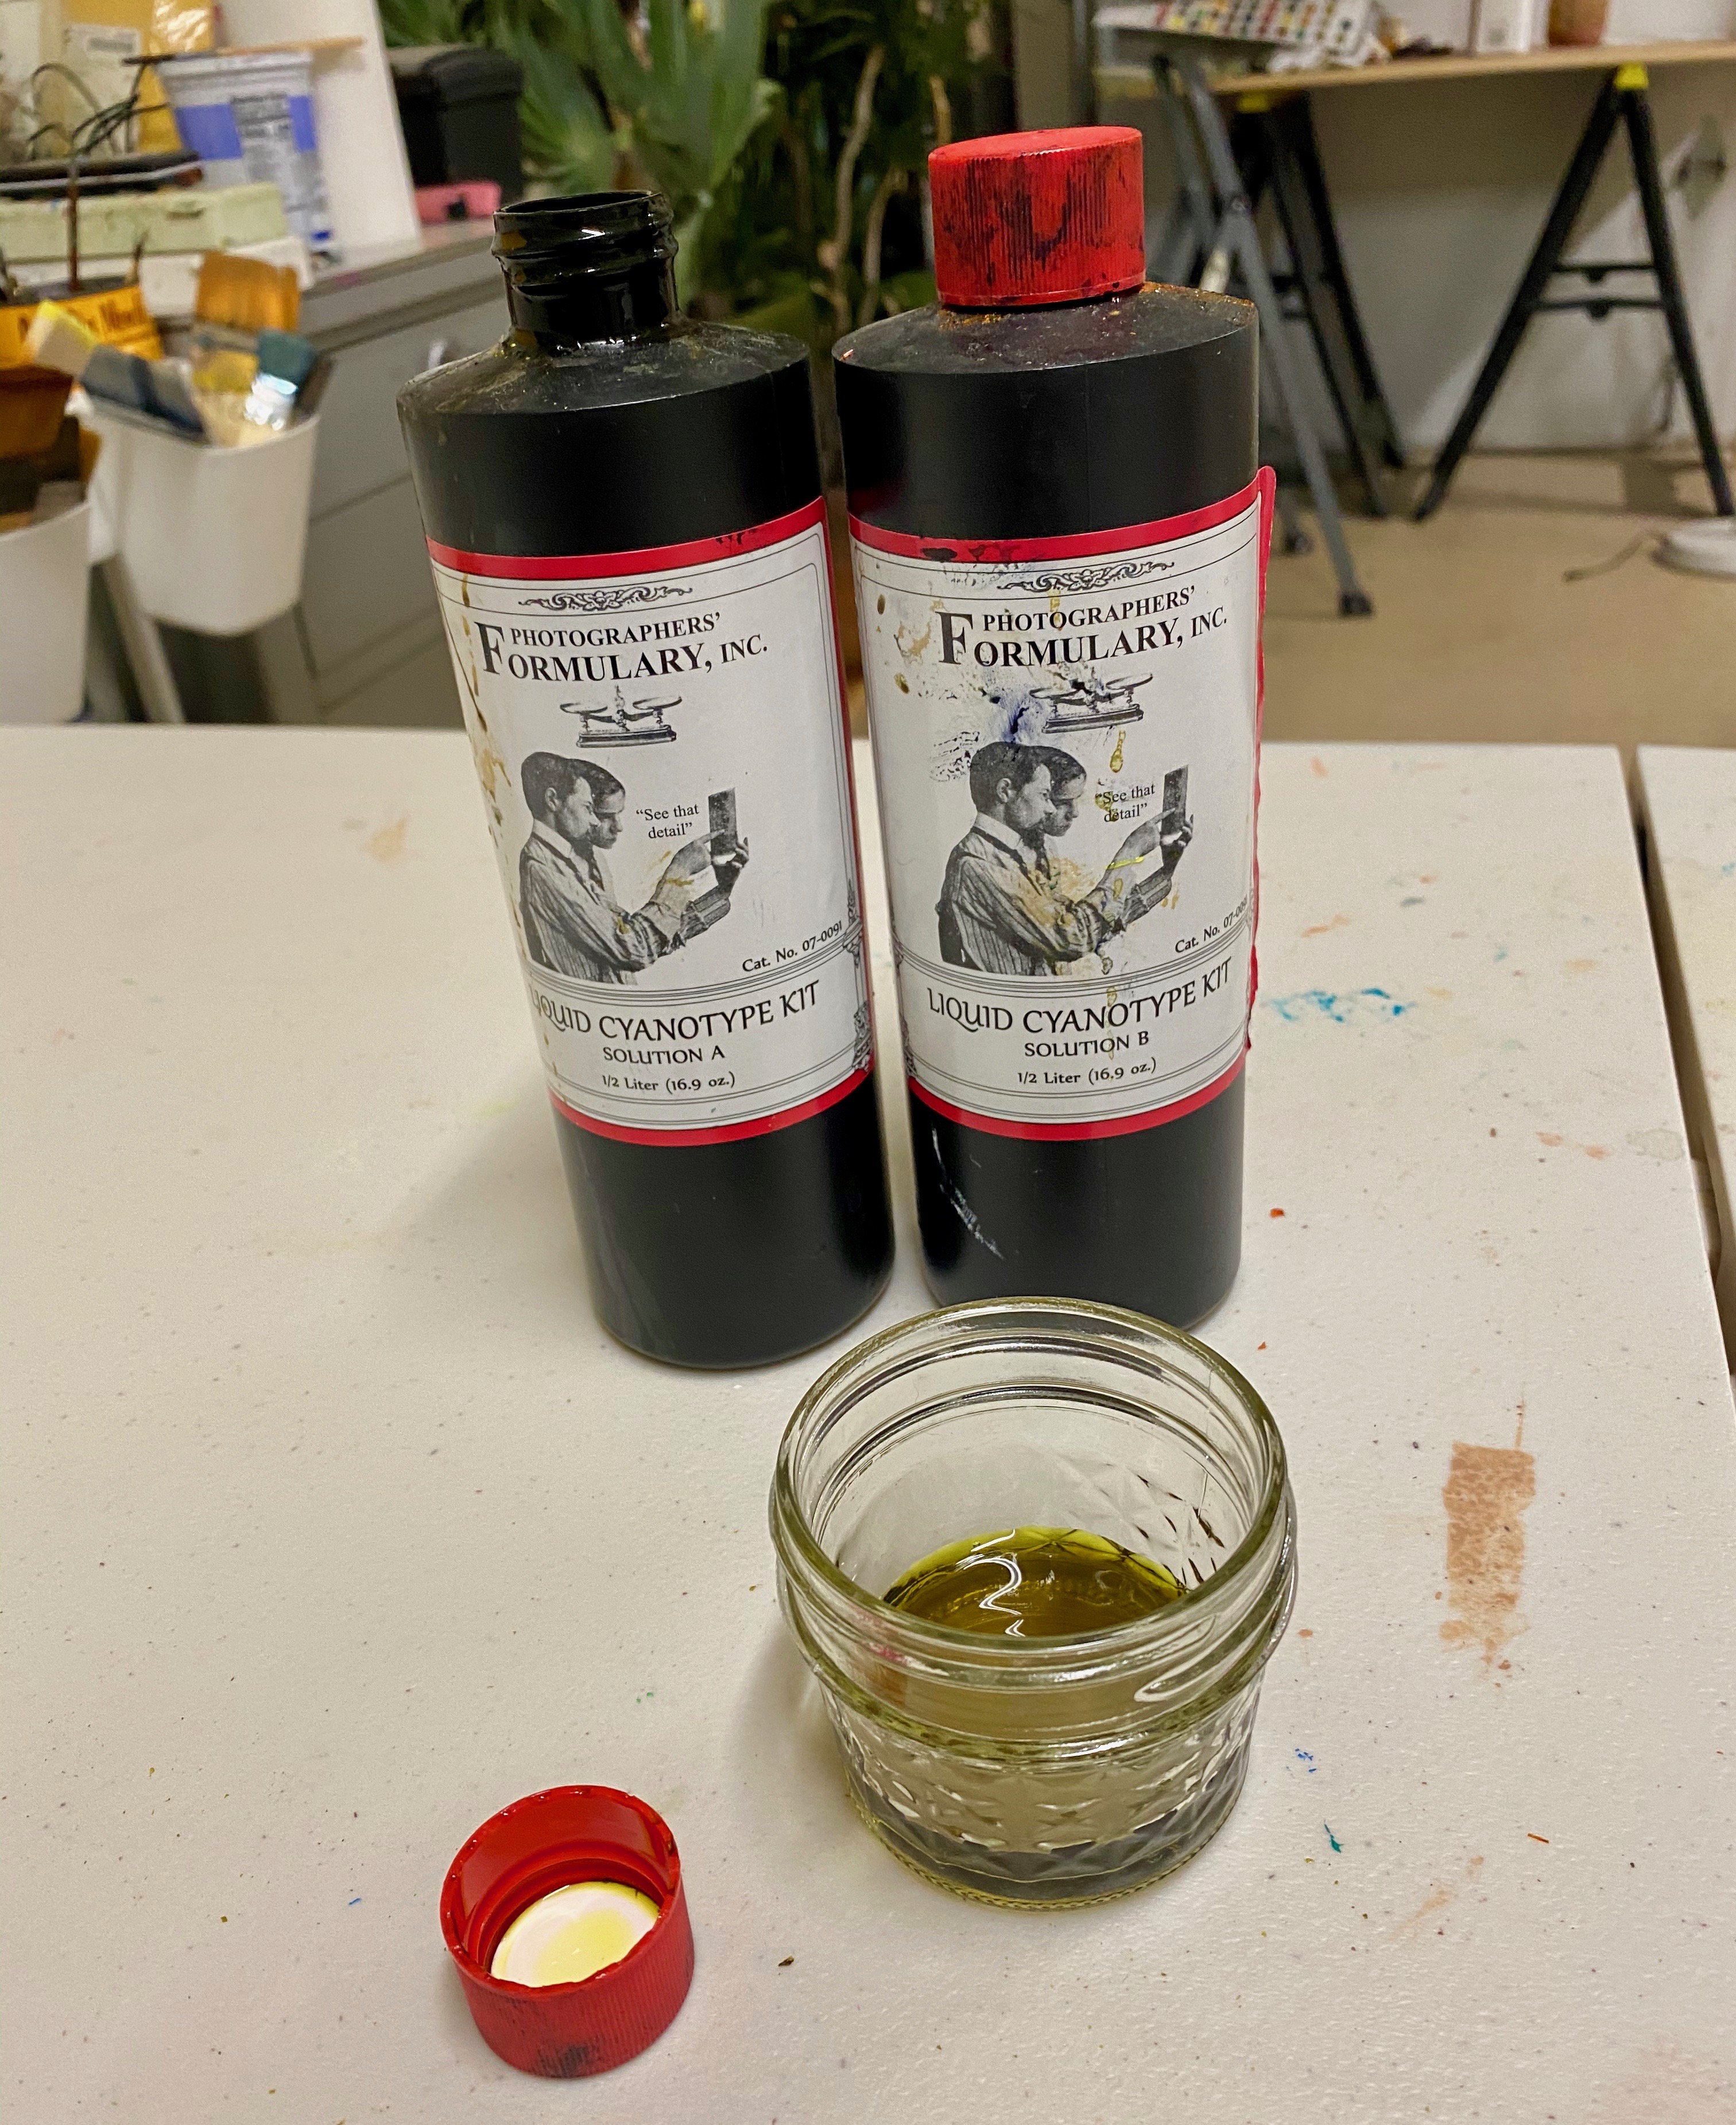
Mix one capful of Part A and one capful of Part B together. Safety first!—I always wear gloves when working with art materials.
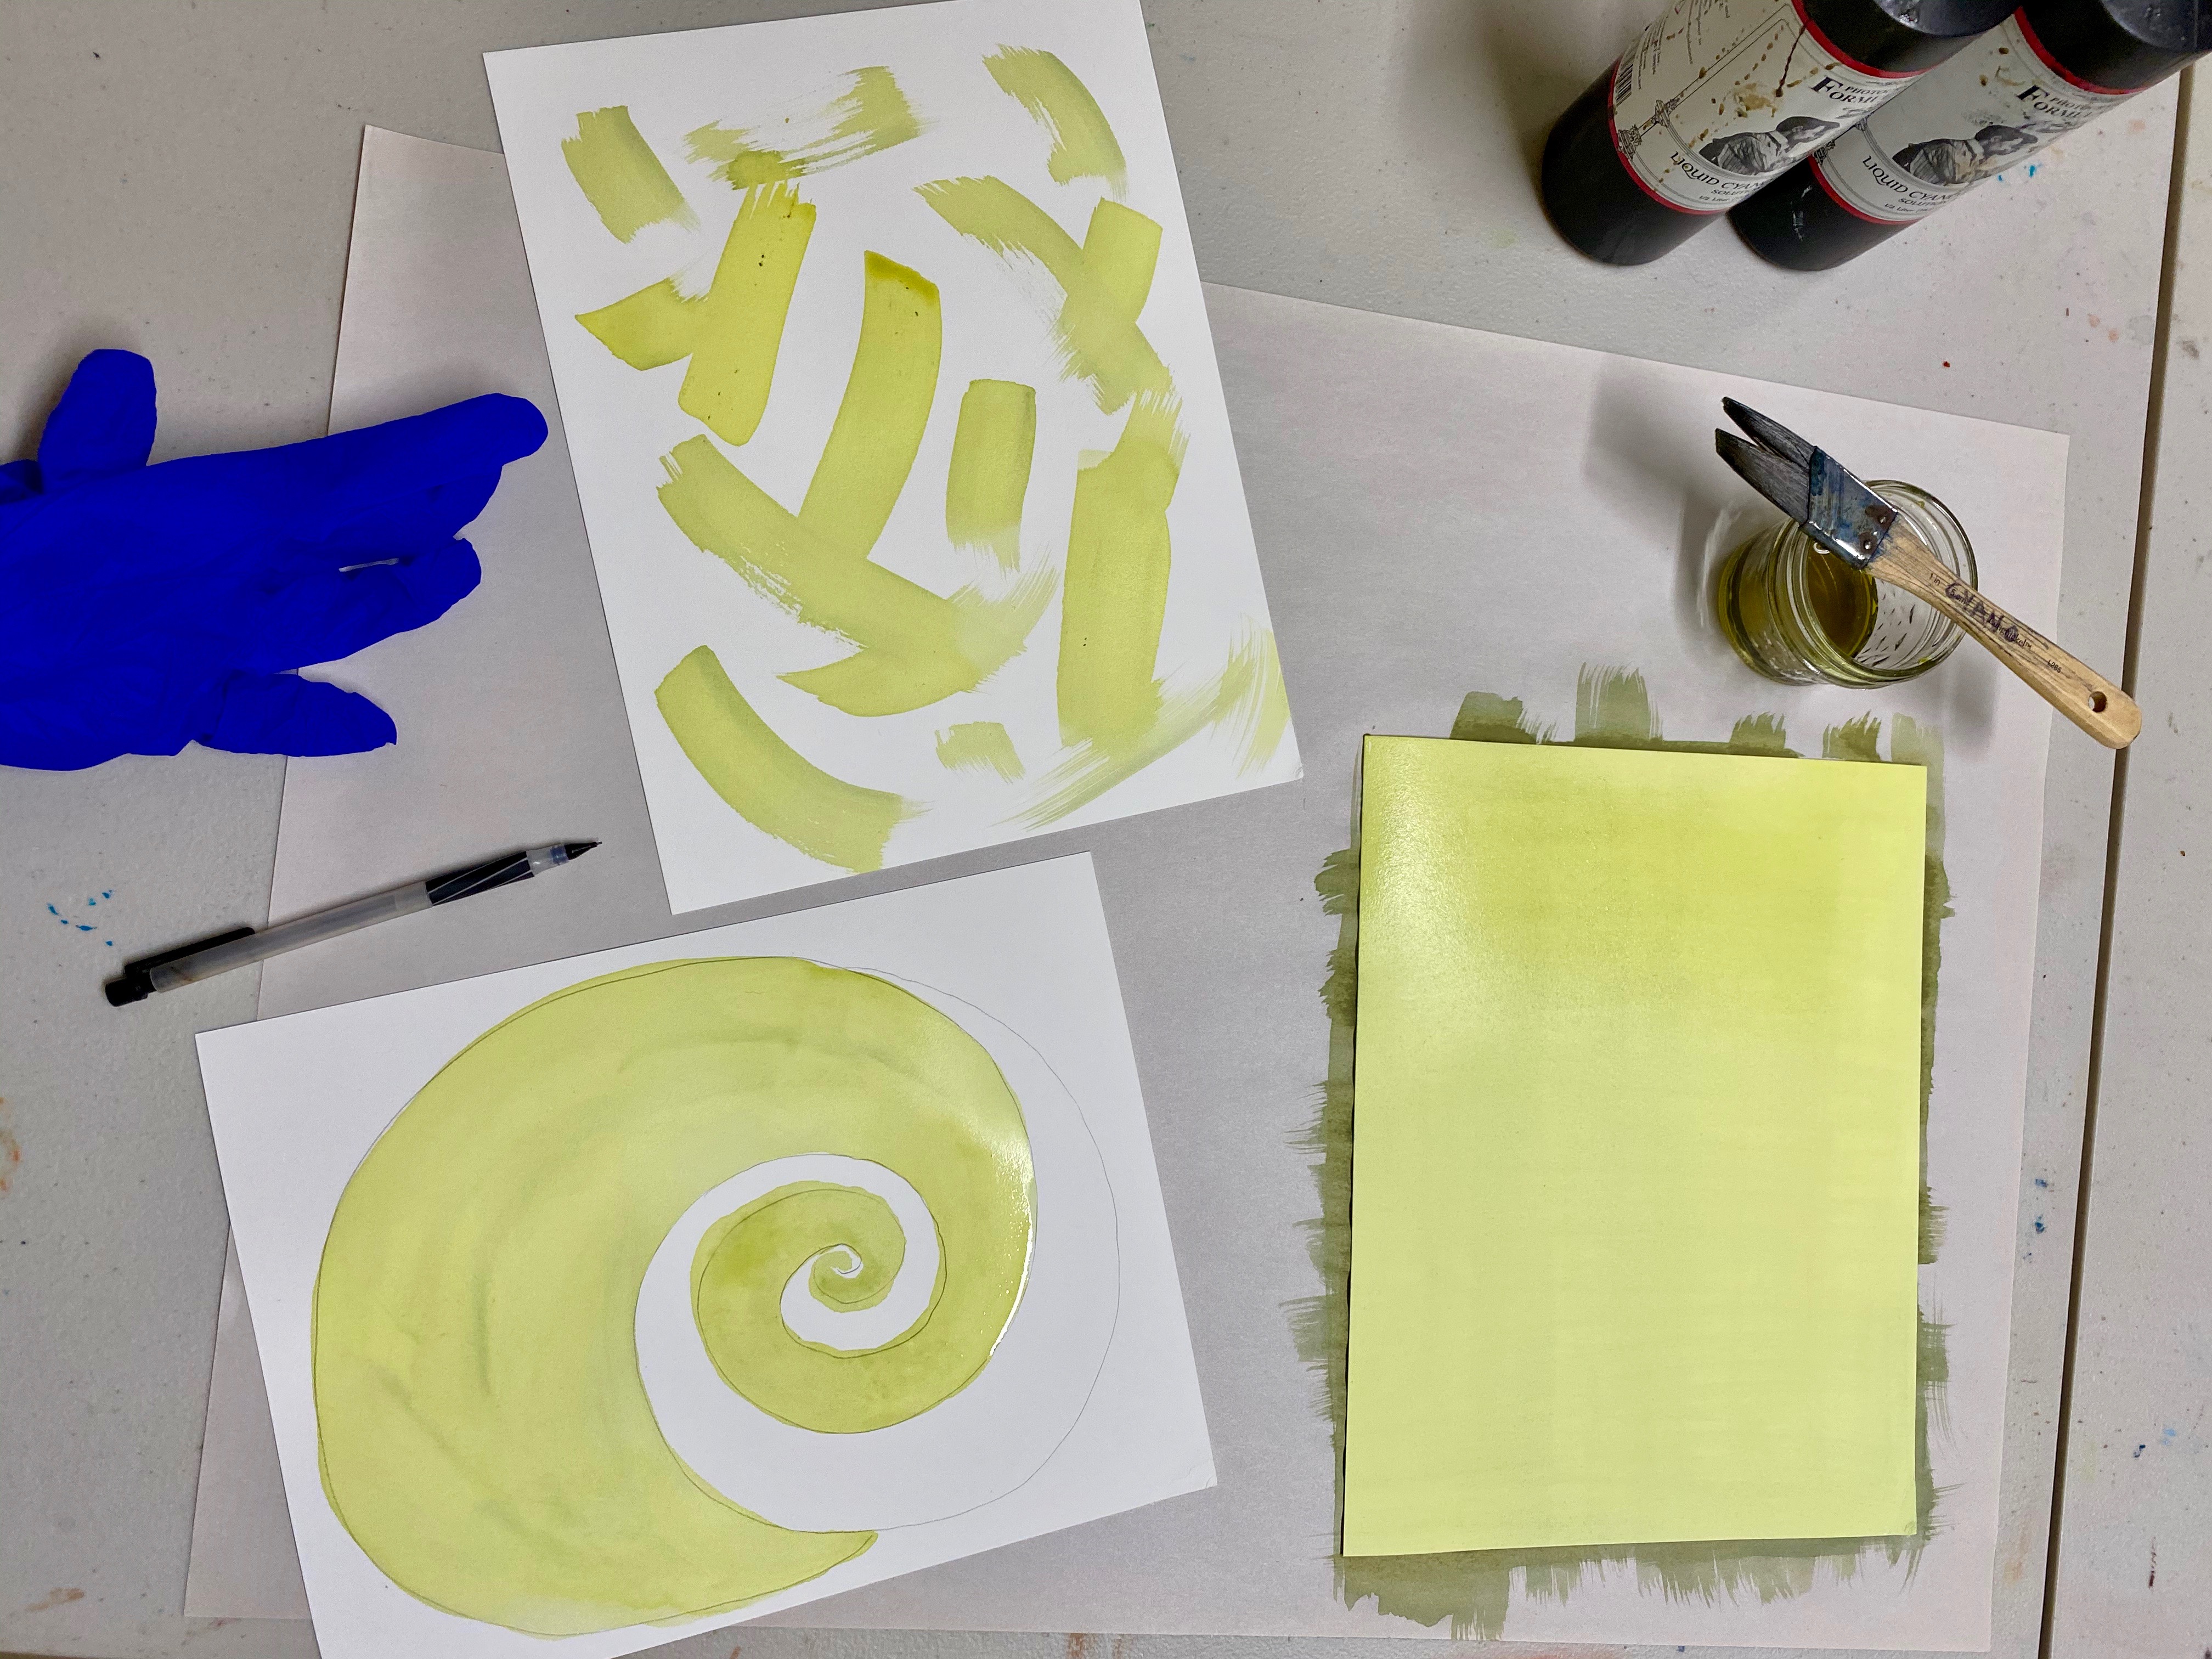
Brush the cyanotype mixture onto your watercolor papers. You can coat the whole sheet, play around with brushstrokes, or sketch onto the page and paint into your drawing. Make a few so you can experiment. I still have a lot of the cyanotype mixture, so I may even do several more!
Leave the papers to dry for a few hours.
Step 3: Here Comes the Sun!
After the papers dry, your cyanotypes are ready to be exposed to some UV light.

Before you take your papers out into the sun, arrange some objects on them. I set mine up on a piece of cardboard so they would be easy to carry outside. I laid down leaves, sand, pebbles, seaweed, and even a necklace my mom gave me.
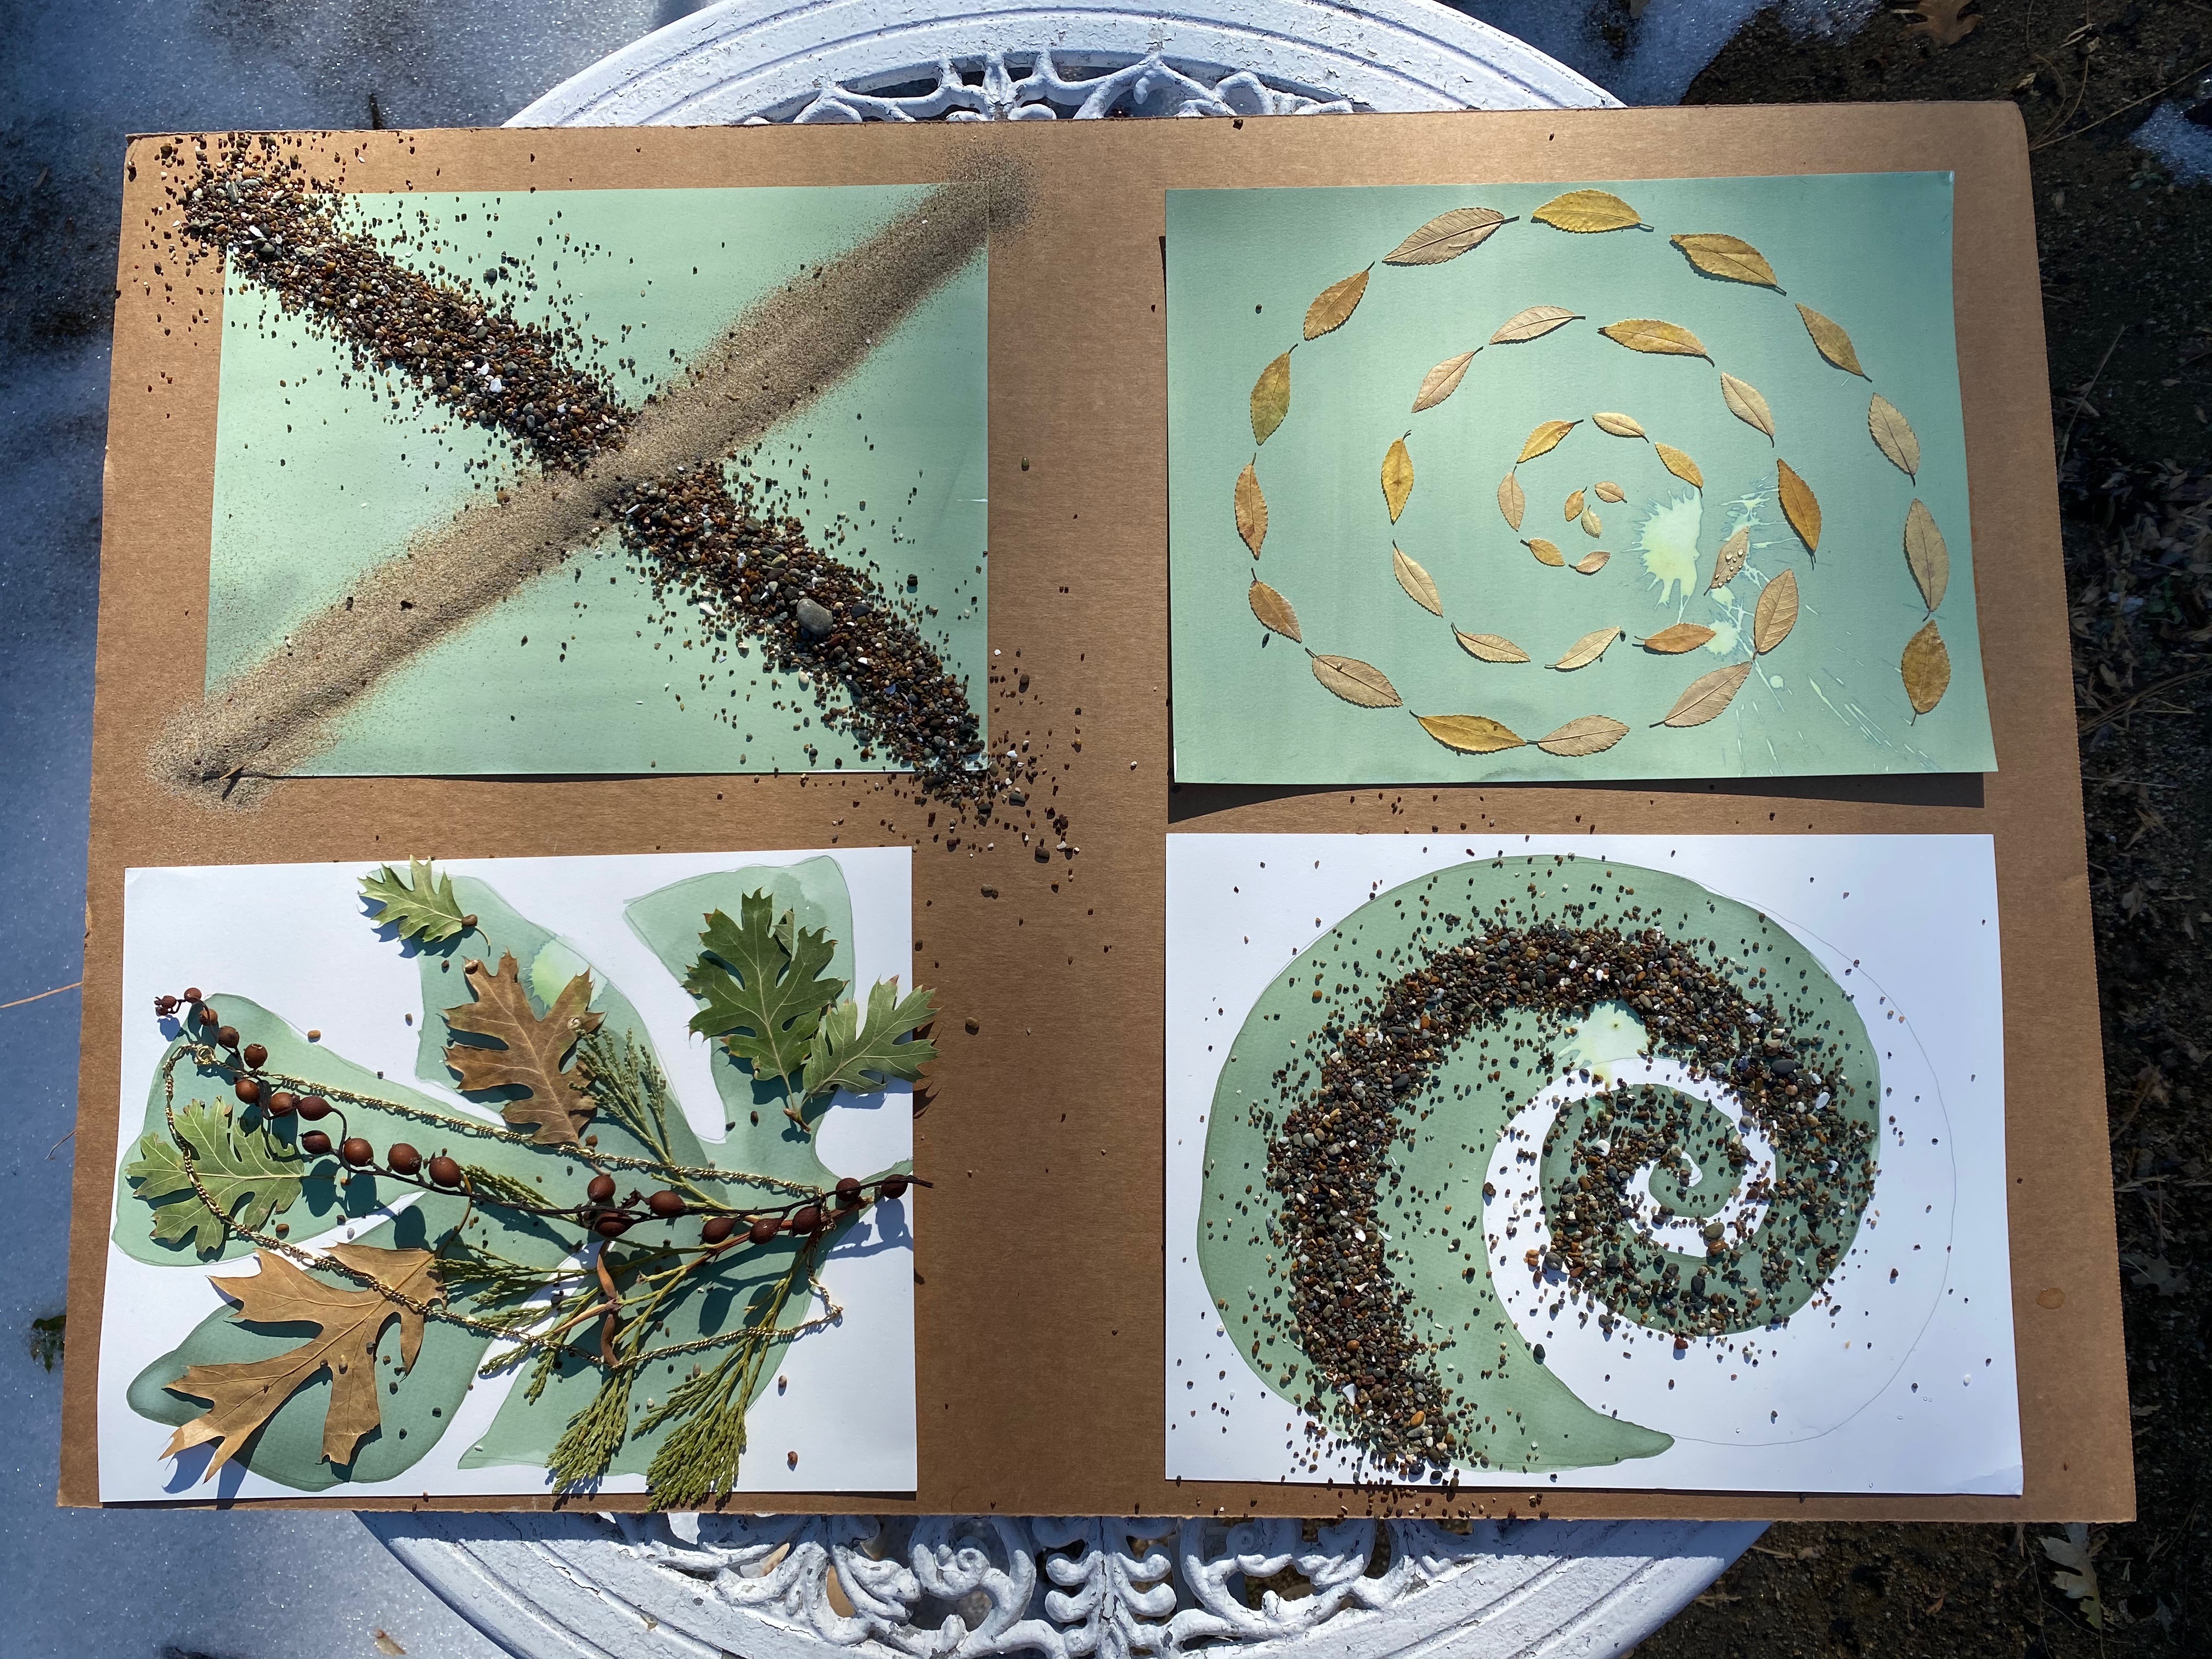
Next, lay your cyanotypes out in the sun. You will see the color start to change!
I left these in the sun for 10 minutes.
Step 4: Time to Rinse!
First, remove the objects that you placed on the paper.
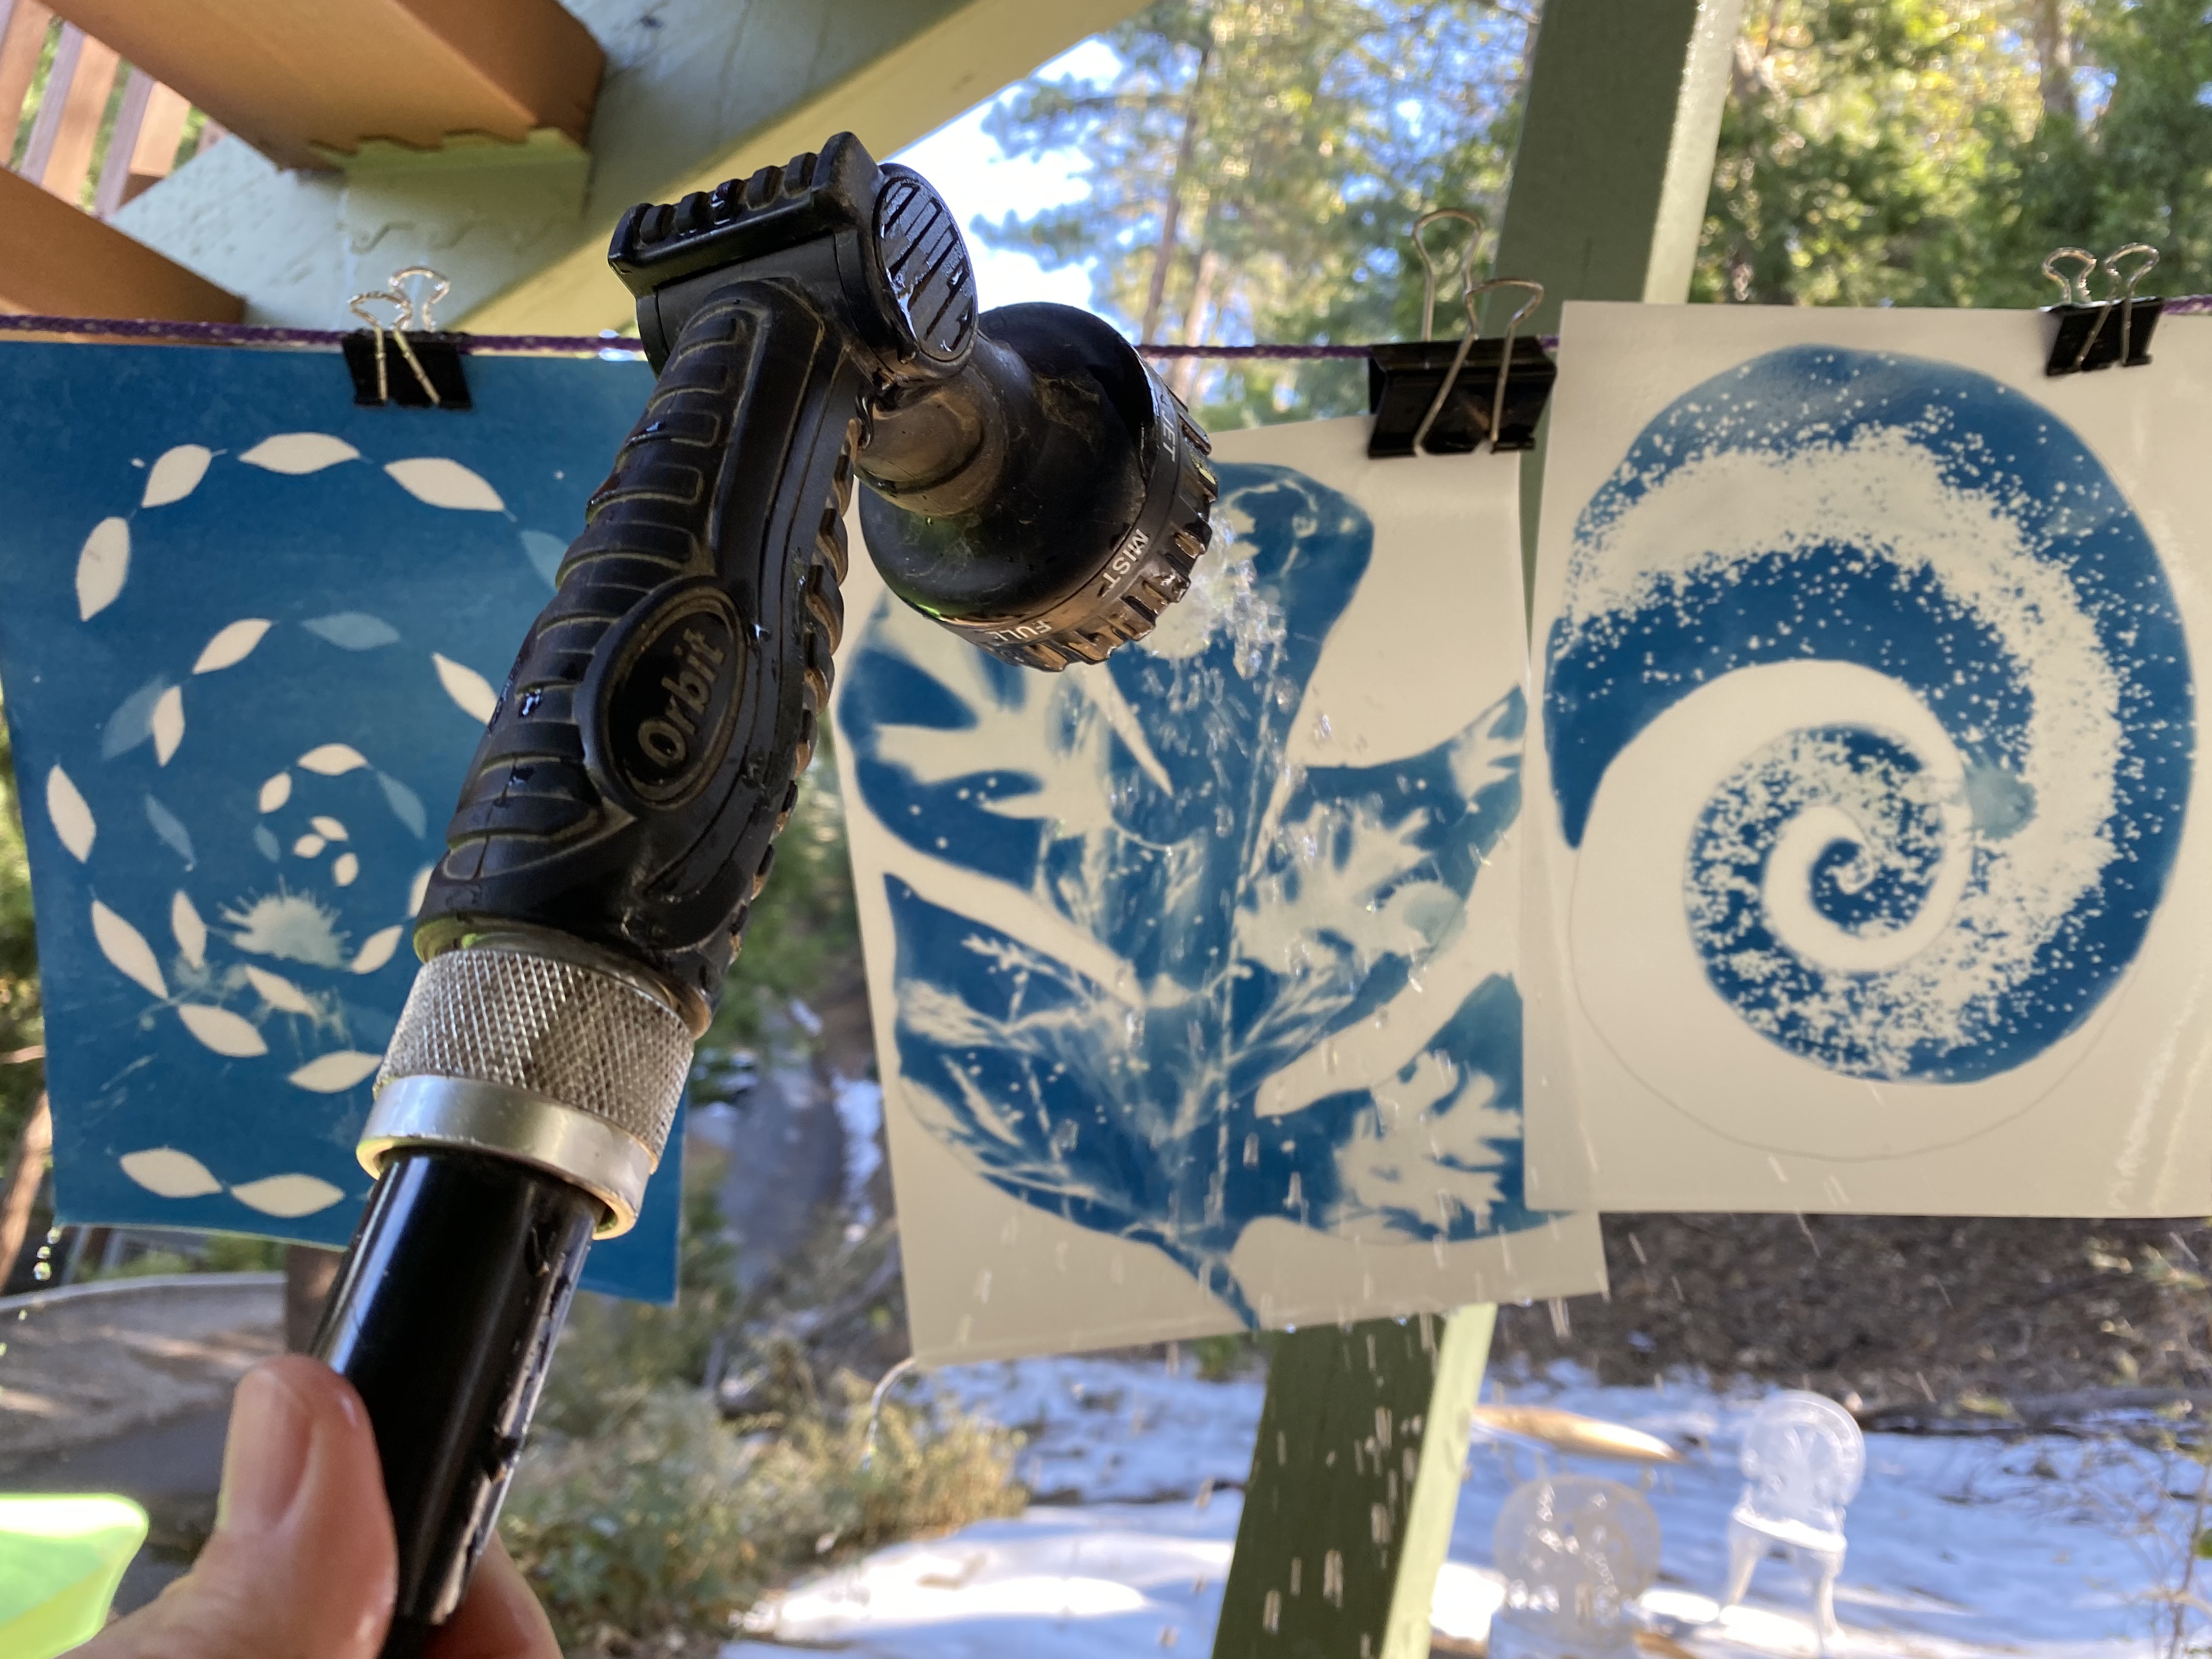
I hang my cyanotypes on a clothesline and gently mist them with my garden hose. You can also rinse them in a sink or tub. Rinse for a few minutes, until all the yellowy stuff is washed away. As soon as the water hits the cyanotype, it turns blue!
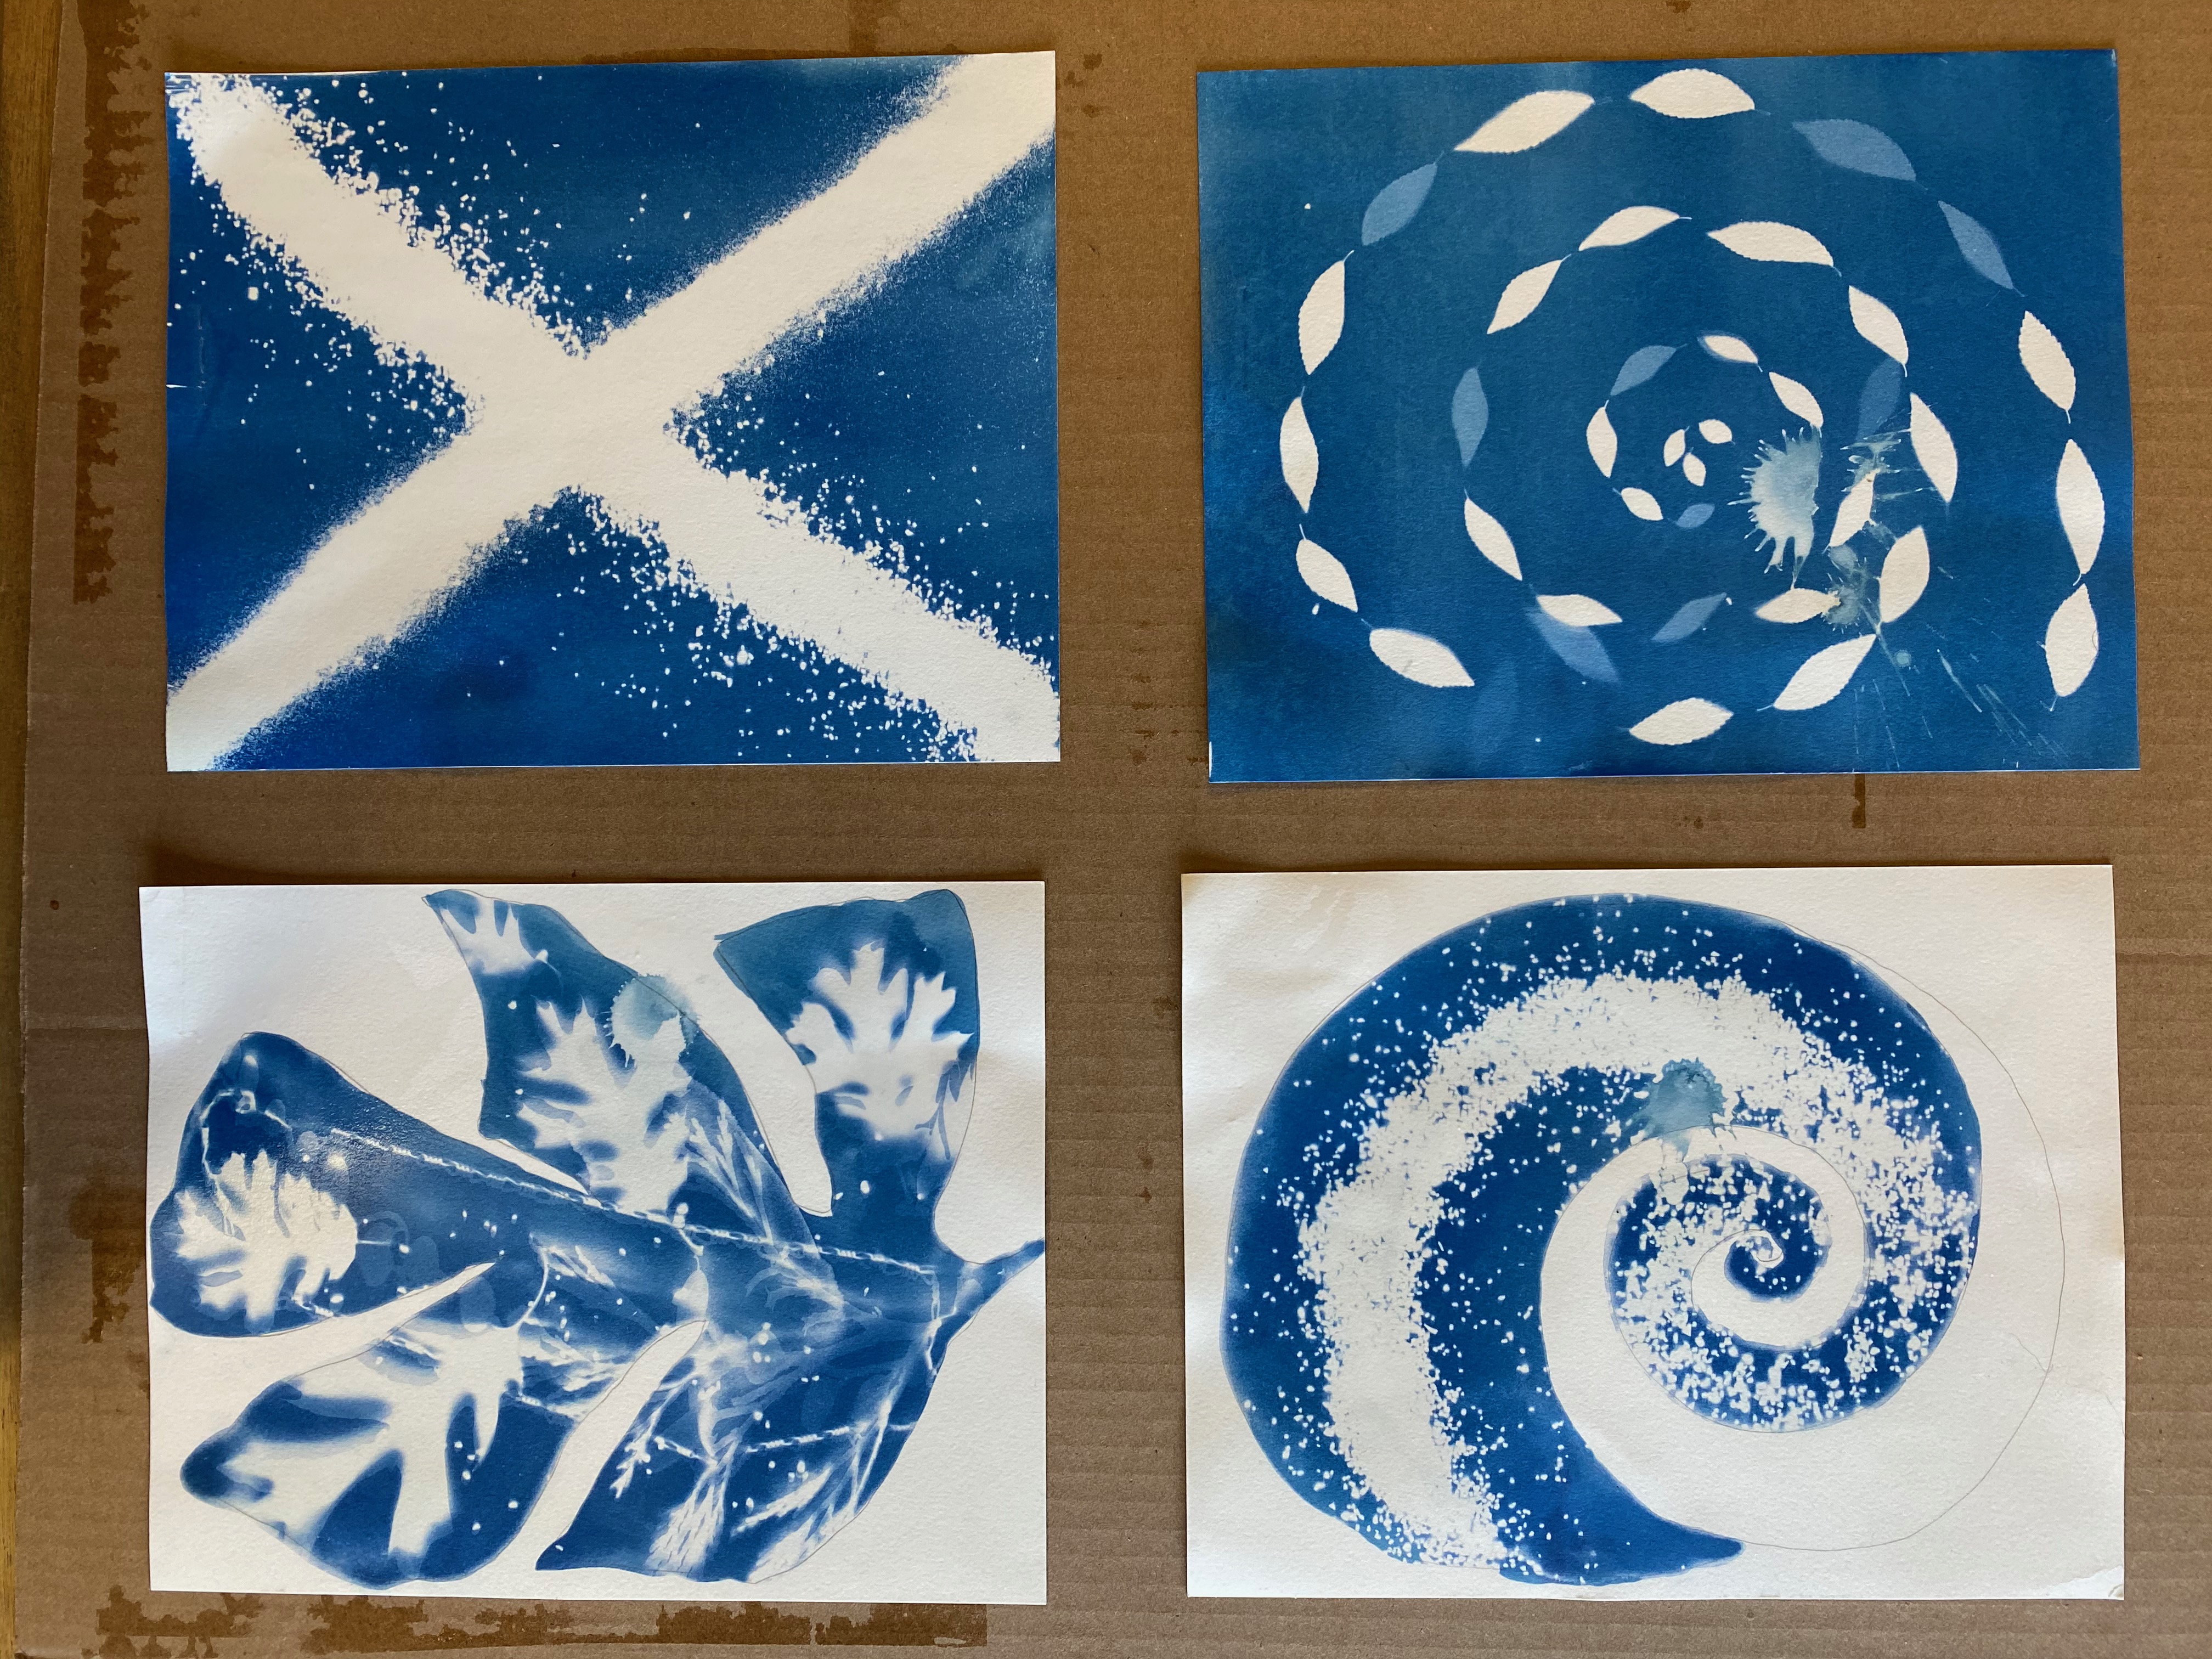
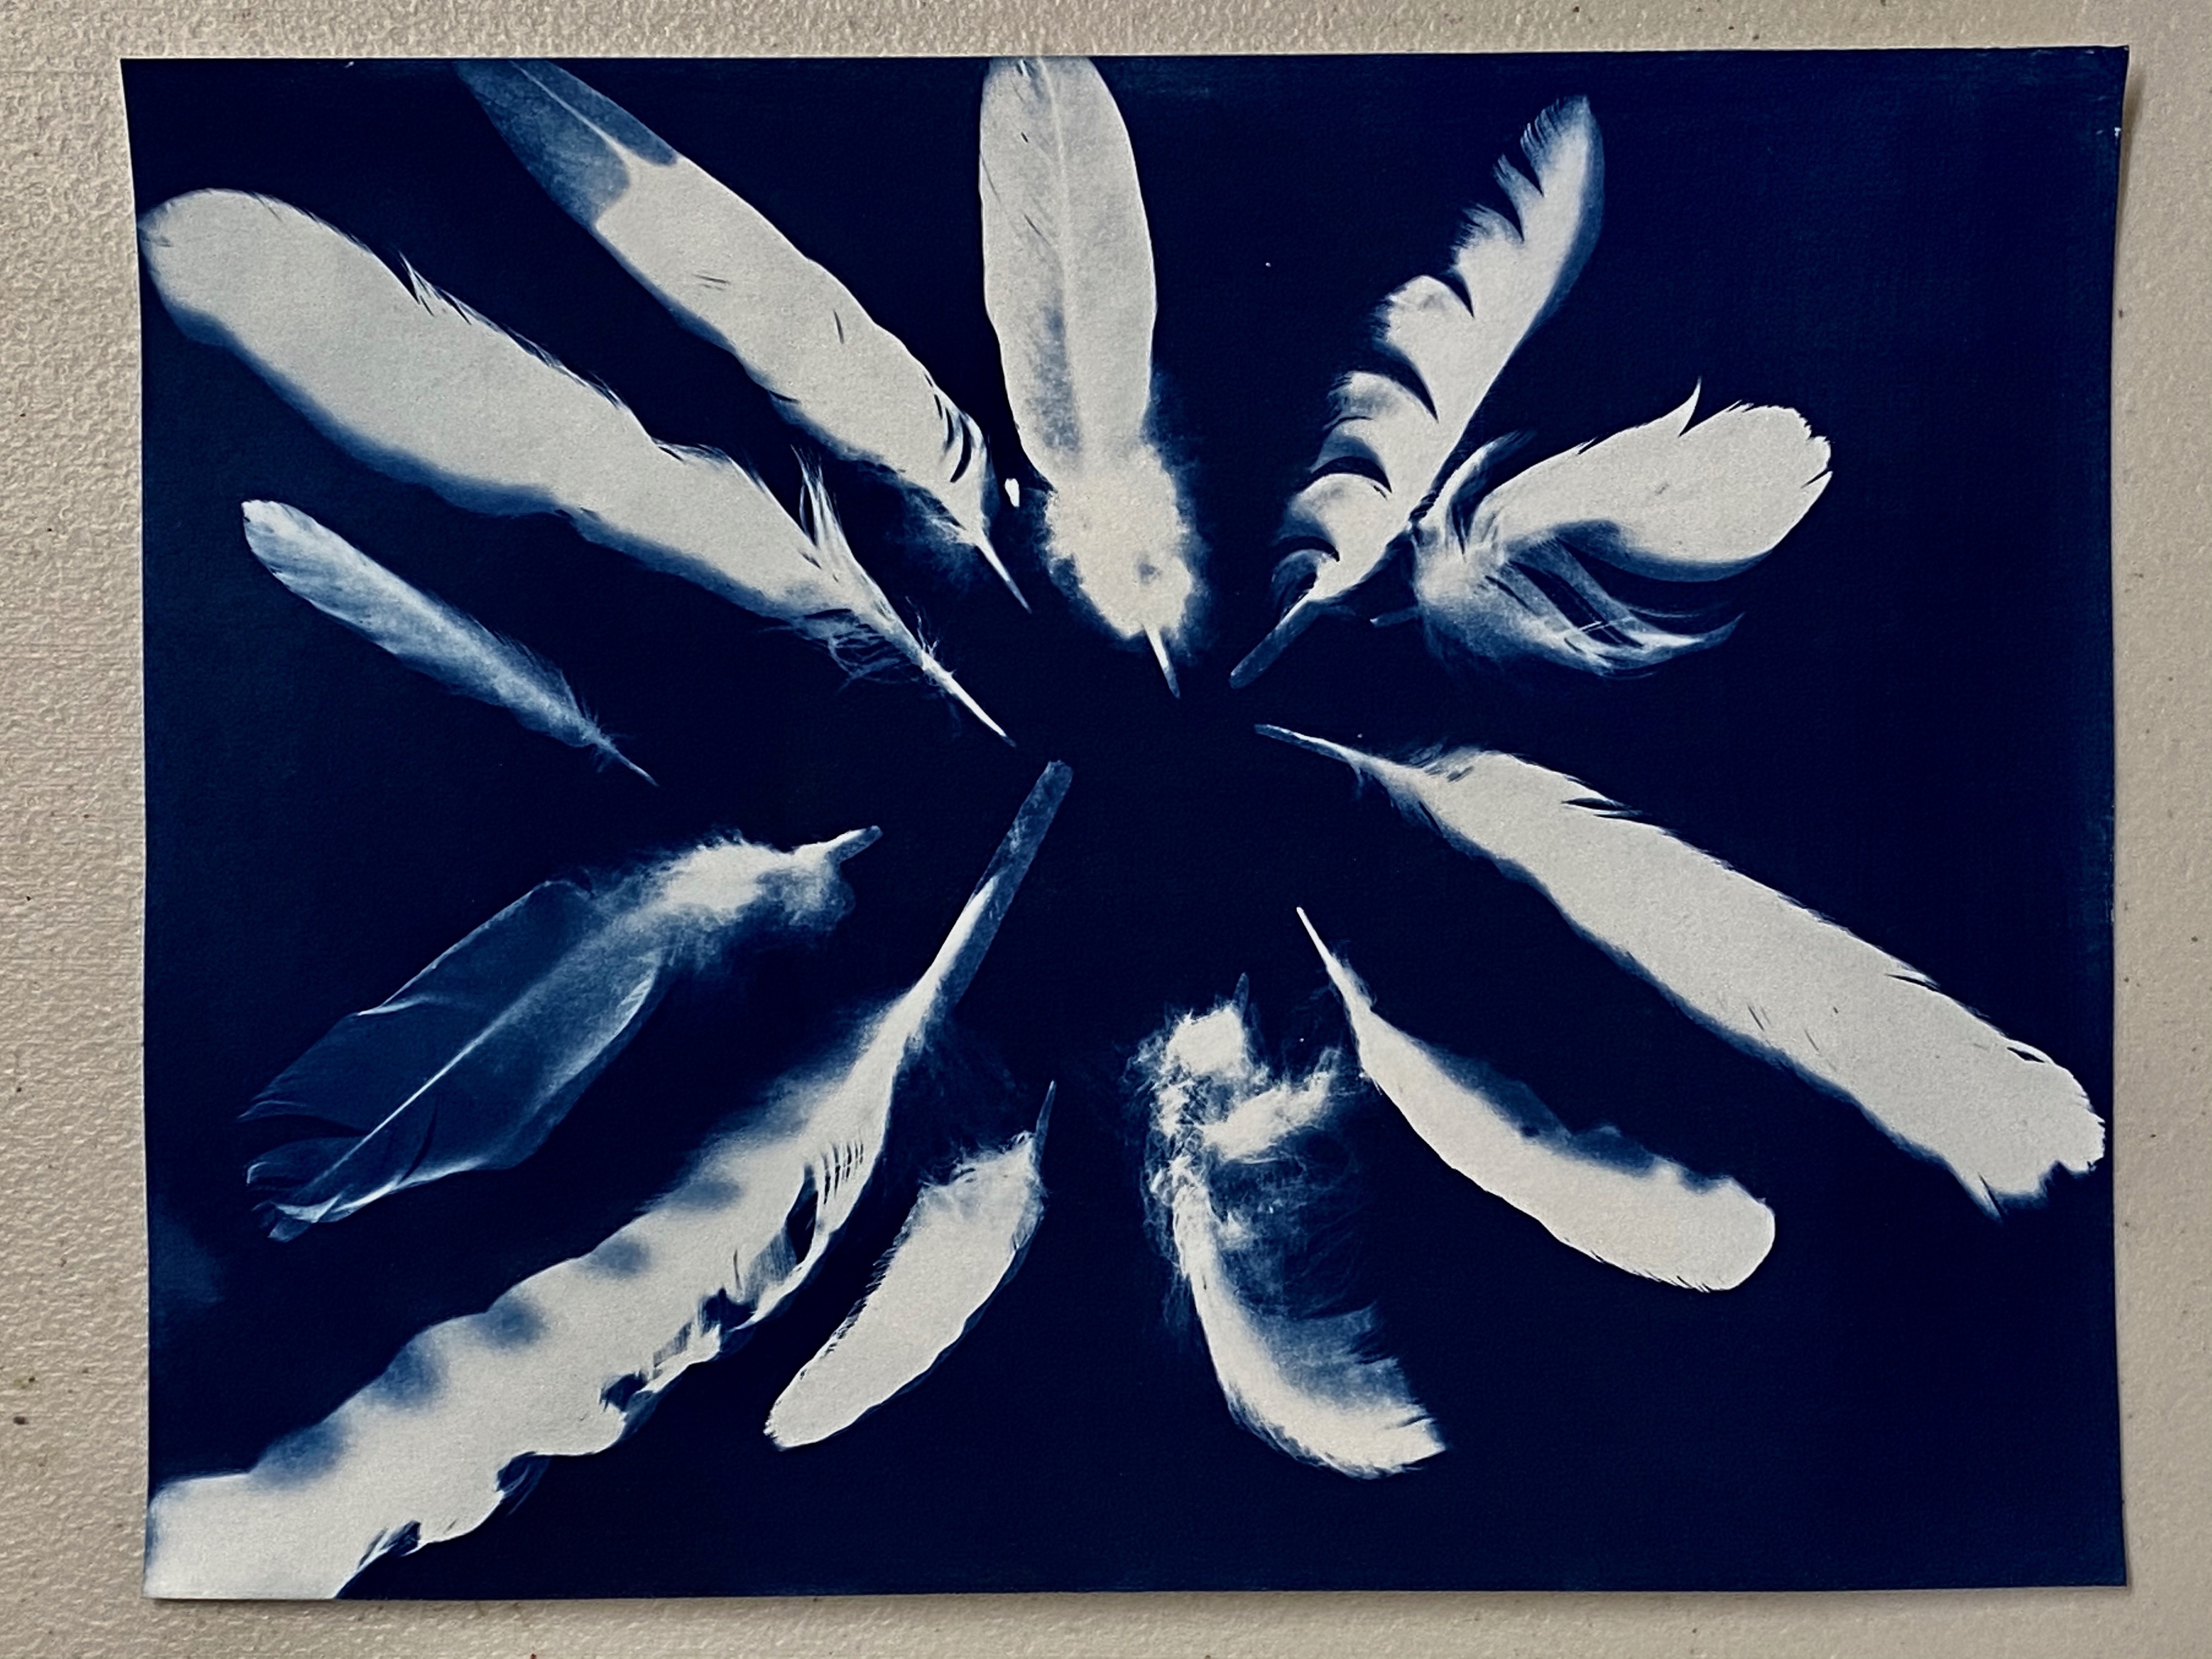
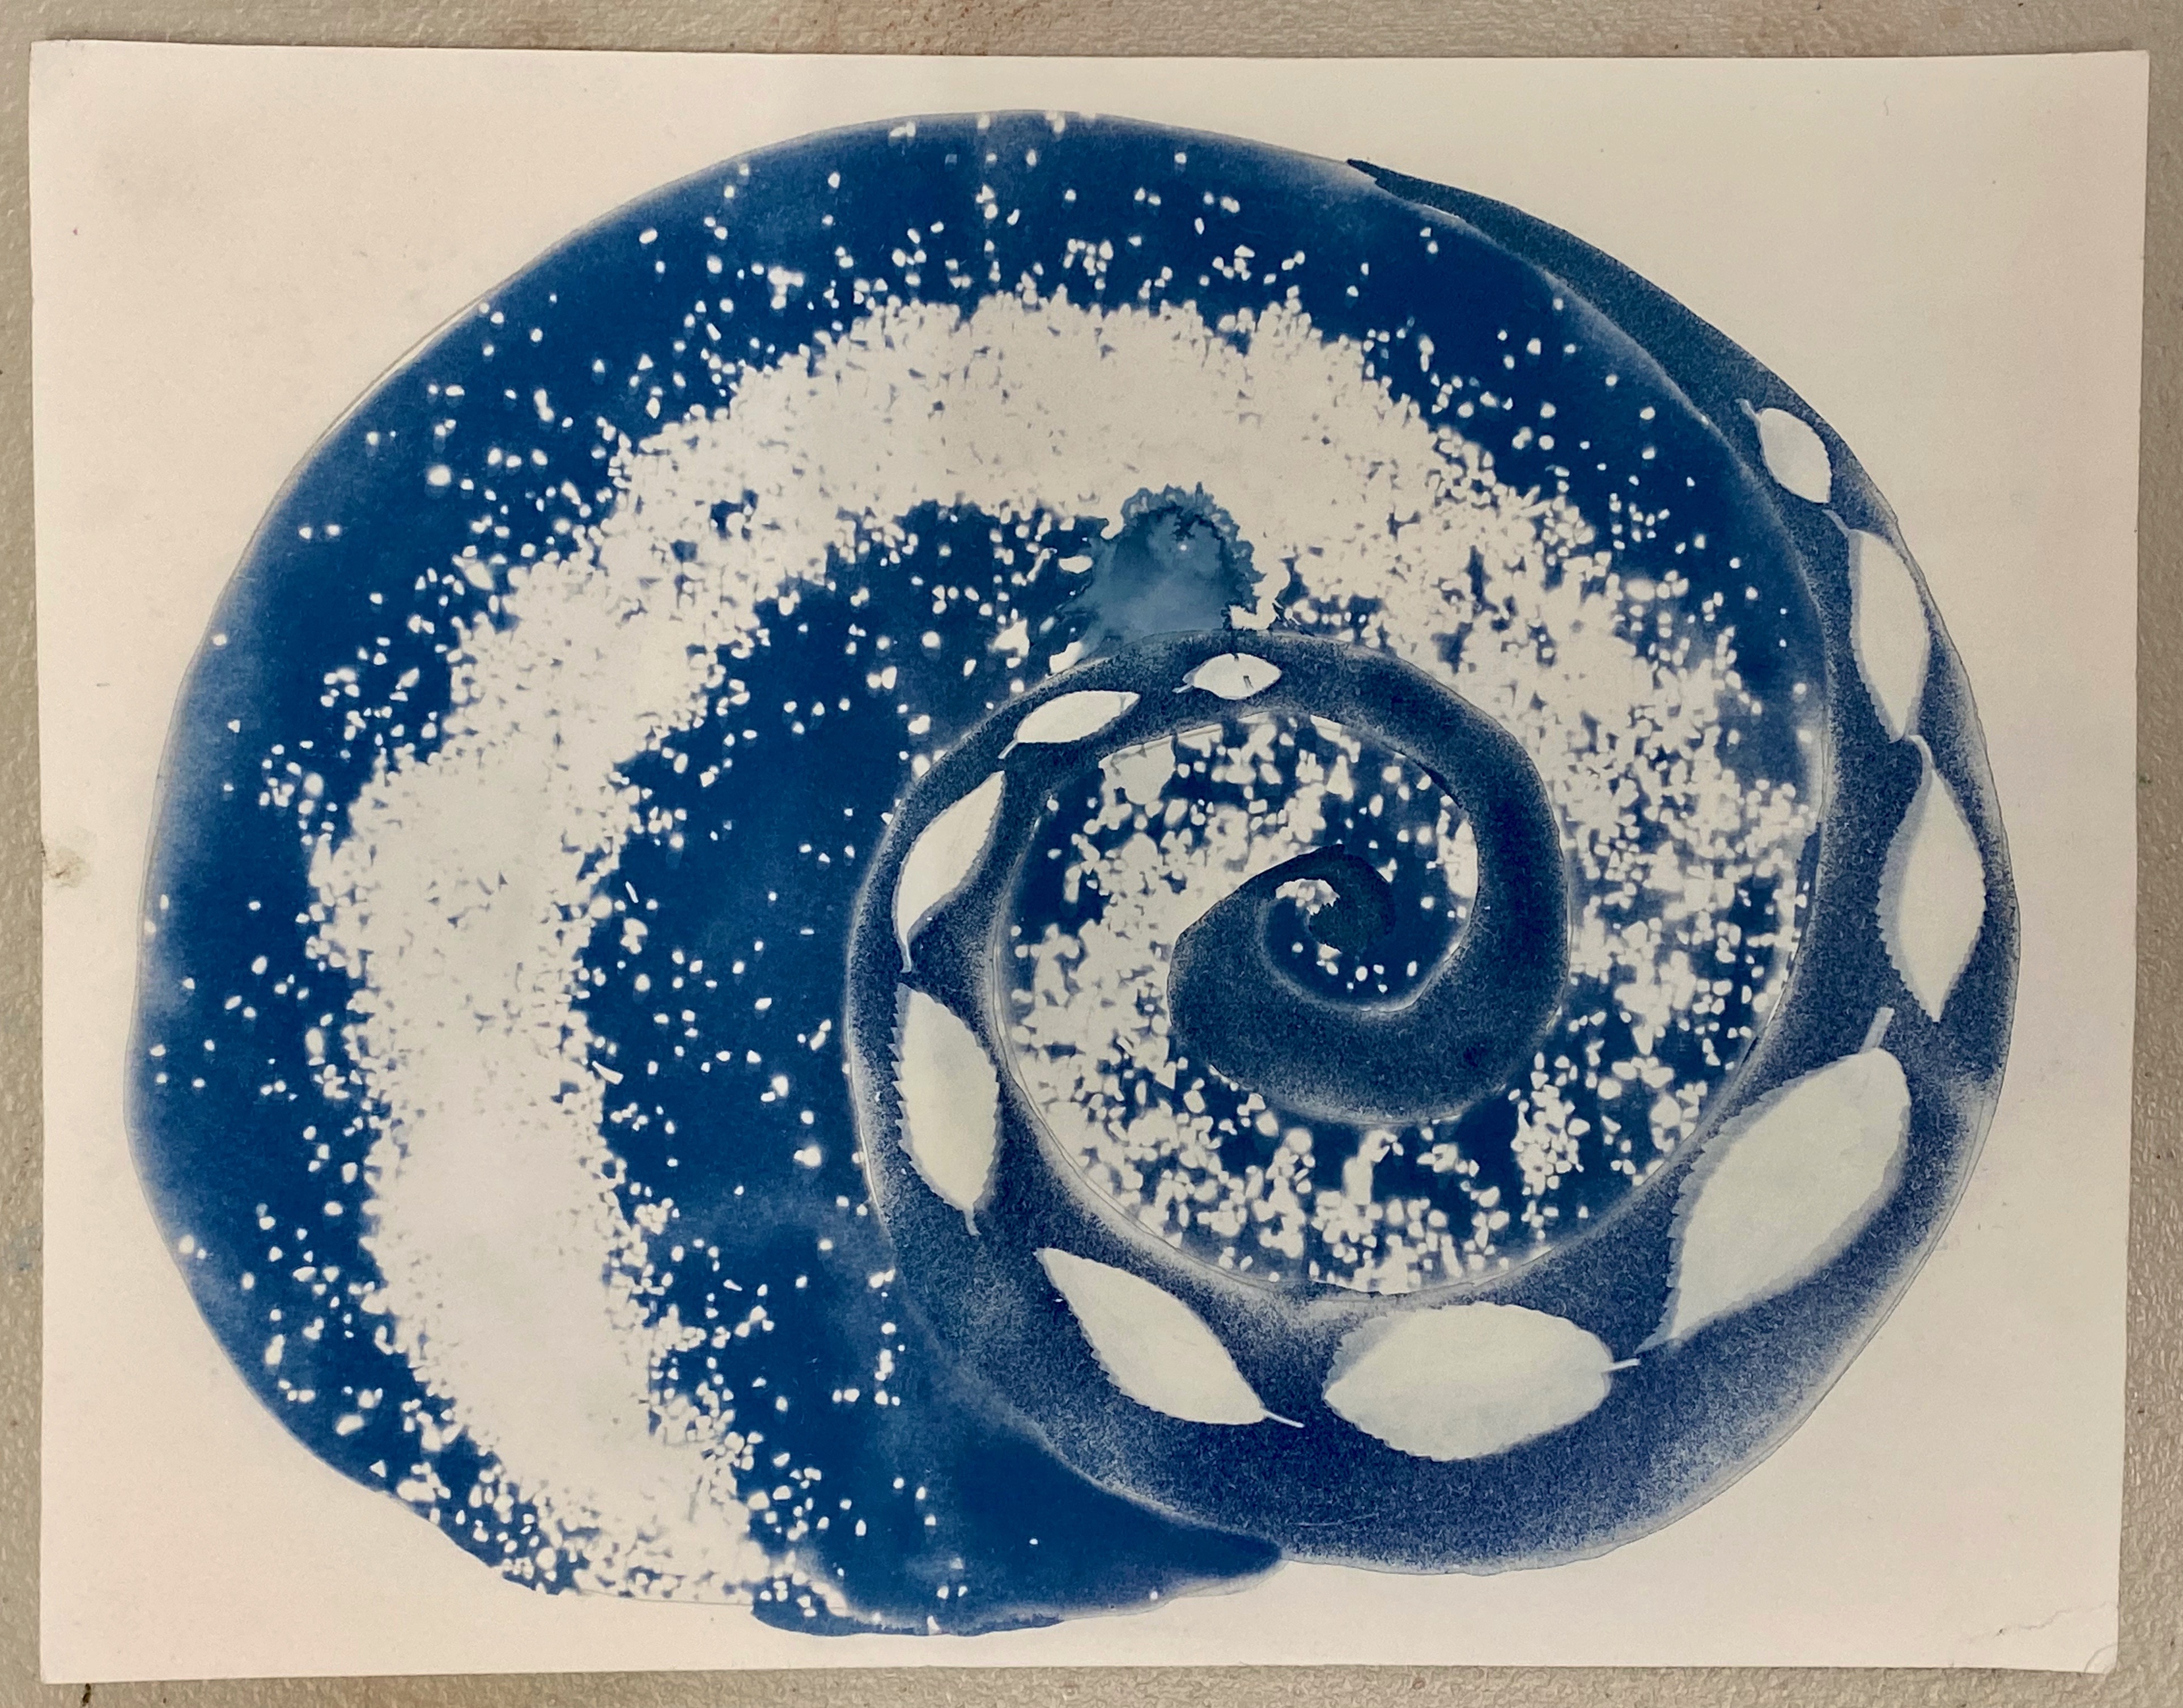
Here's how my first batch turned out. Wherever the cyanotype was covered, the paper stayed white, and where it was uncovered it soaked up the sun and turned blue. You can get a full range of blue tones from a light sky blue to a deep indigo.
There are many variables in making cyanotypes so it's always a surprise how they turn out. For example, some water from melting snow dripped onto my papers as I was carrying them outside. Can you find the water splats on three of these? There was also a breeze, so some of the leaves moved while I was exposing them to sunlight! Even the weather and time of year affect the results. These cyanotypes were made in November and turned out a medium tone of blue after a 10-minute exposure to direct sunlight. In the summer, when the sun is very strong, it would have gone faster even in the shade. That's why I always make a bunch and experiment with different exposure times as I go.
Step 5: Let's Make Some More!

For this one I laid out a variety of treasures I collected from the beach. Most of these objects are not flat, they are more 3D, so I don't really know how it will turn out.
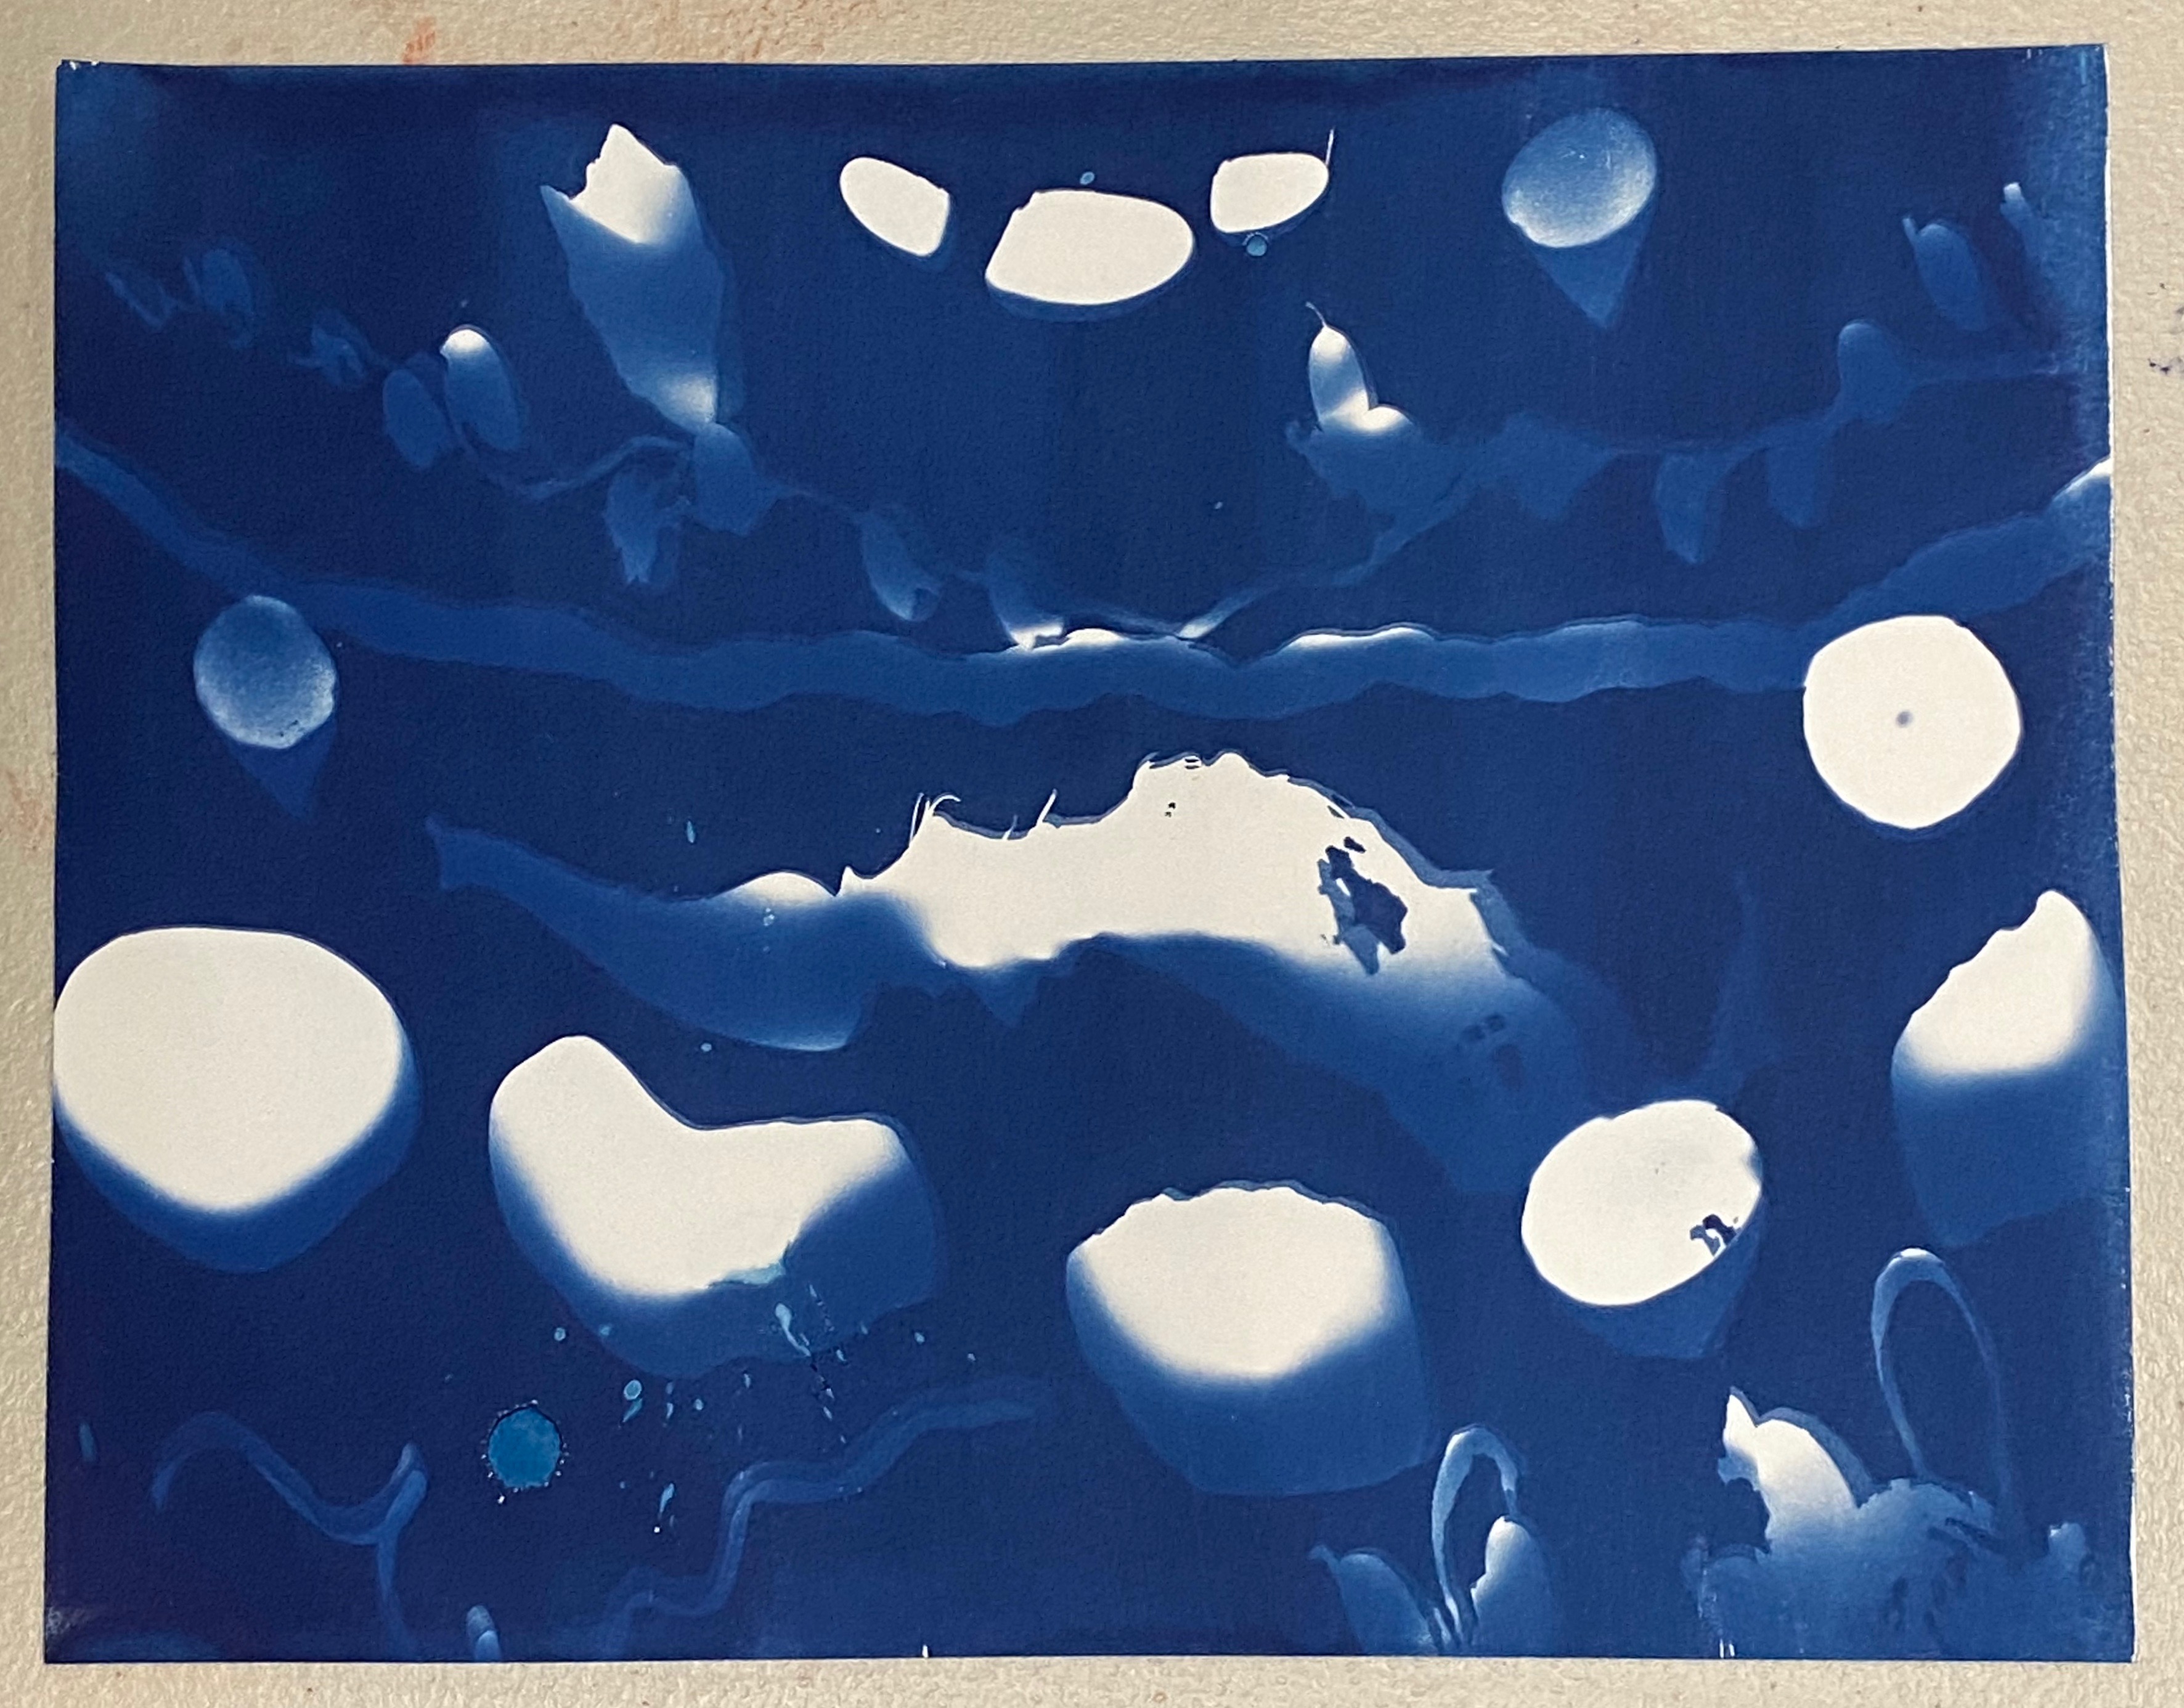
Here's the finished cyanotype. The small sand dollar is quite flat, so it blocked most of the sun with just a dot of blue in the middle. The seaweed that is very 3D and doesn't lay flat on the paper made a cast shadow of a medium blue. Do you see any other places where cast shadows made a medium blue tone?
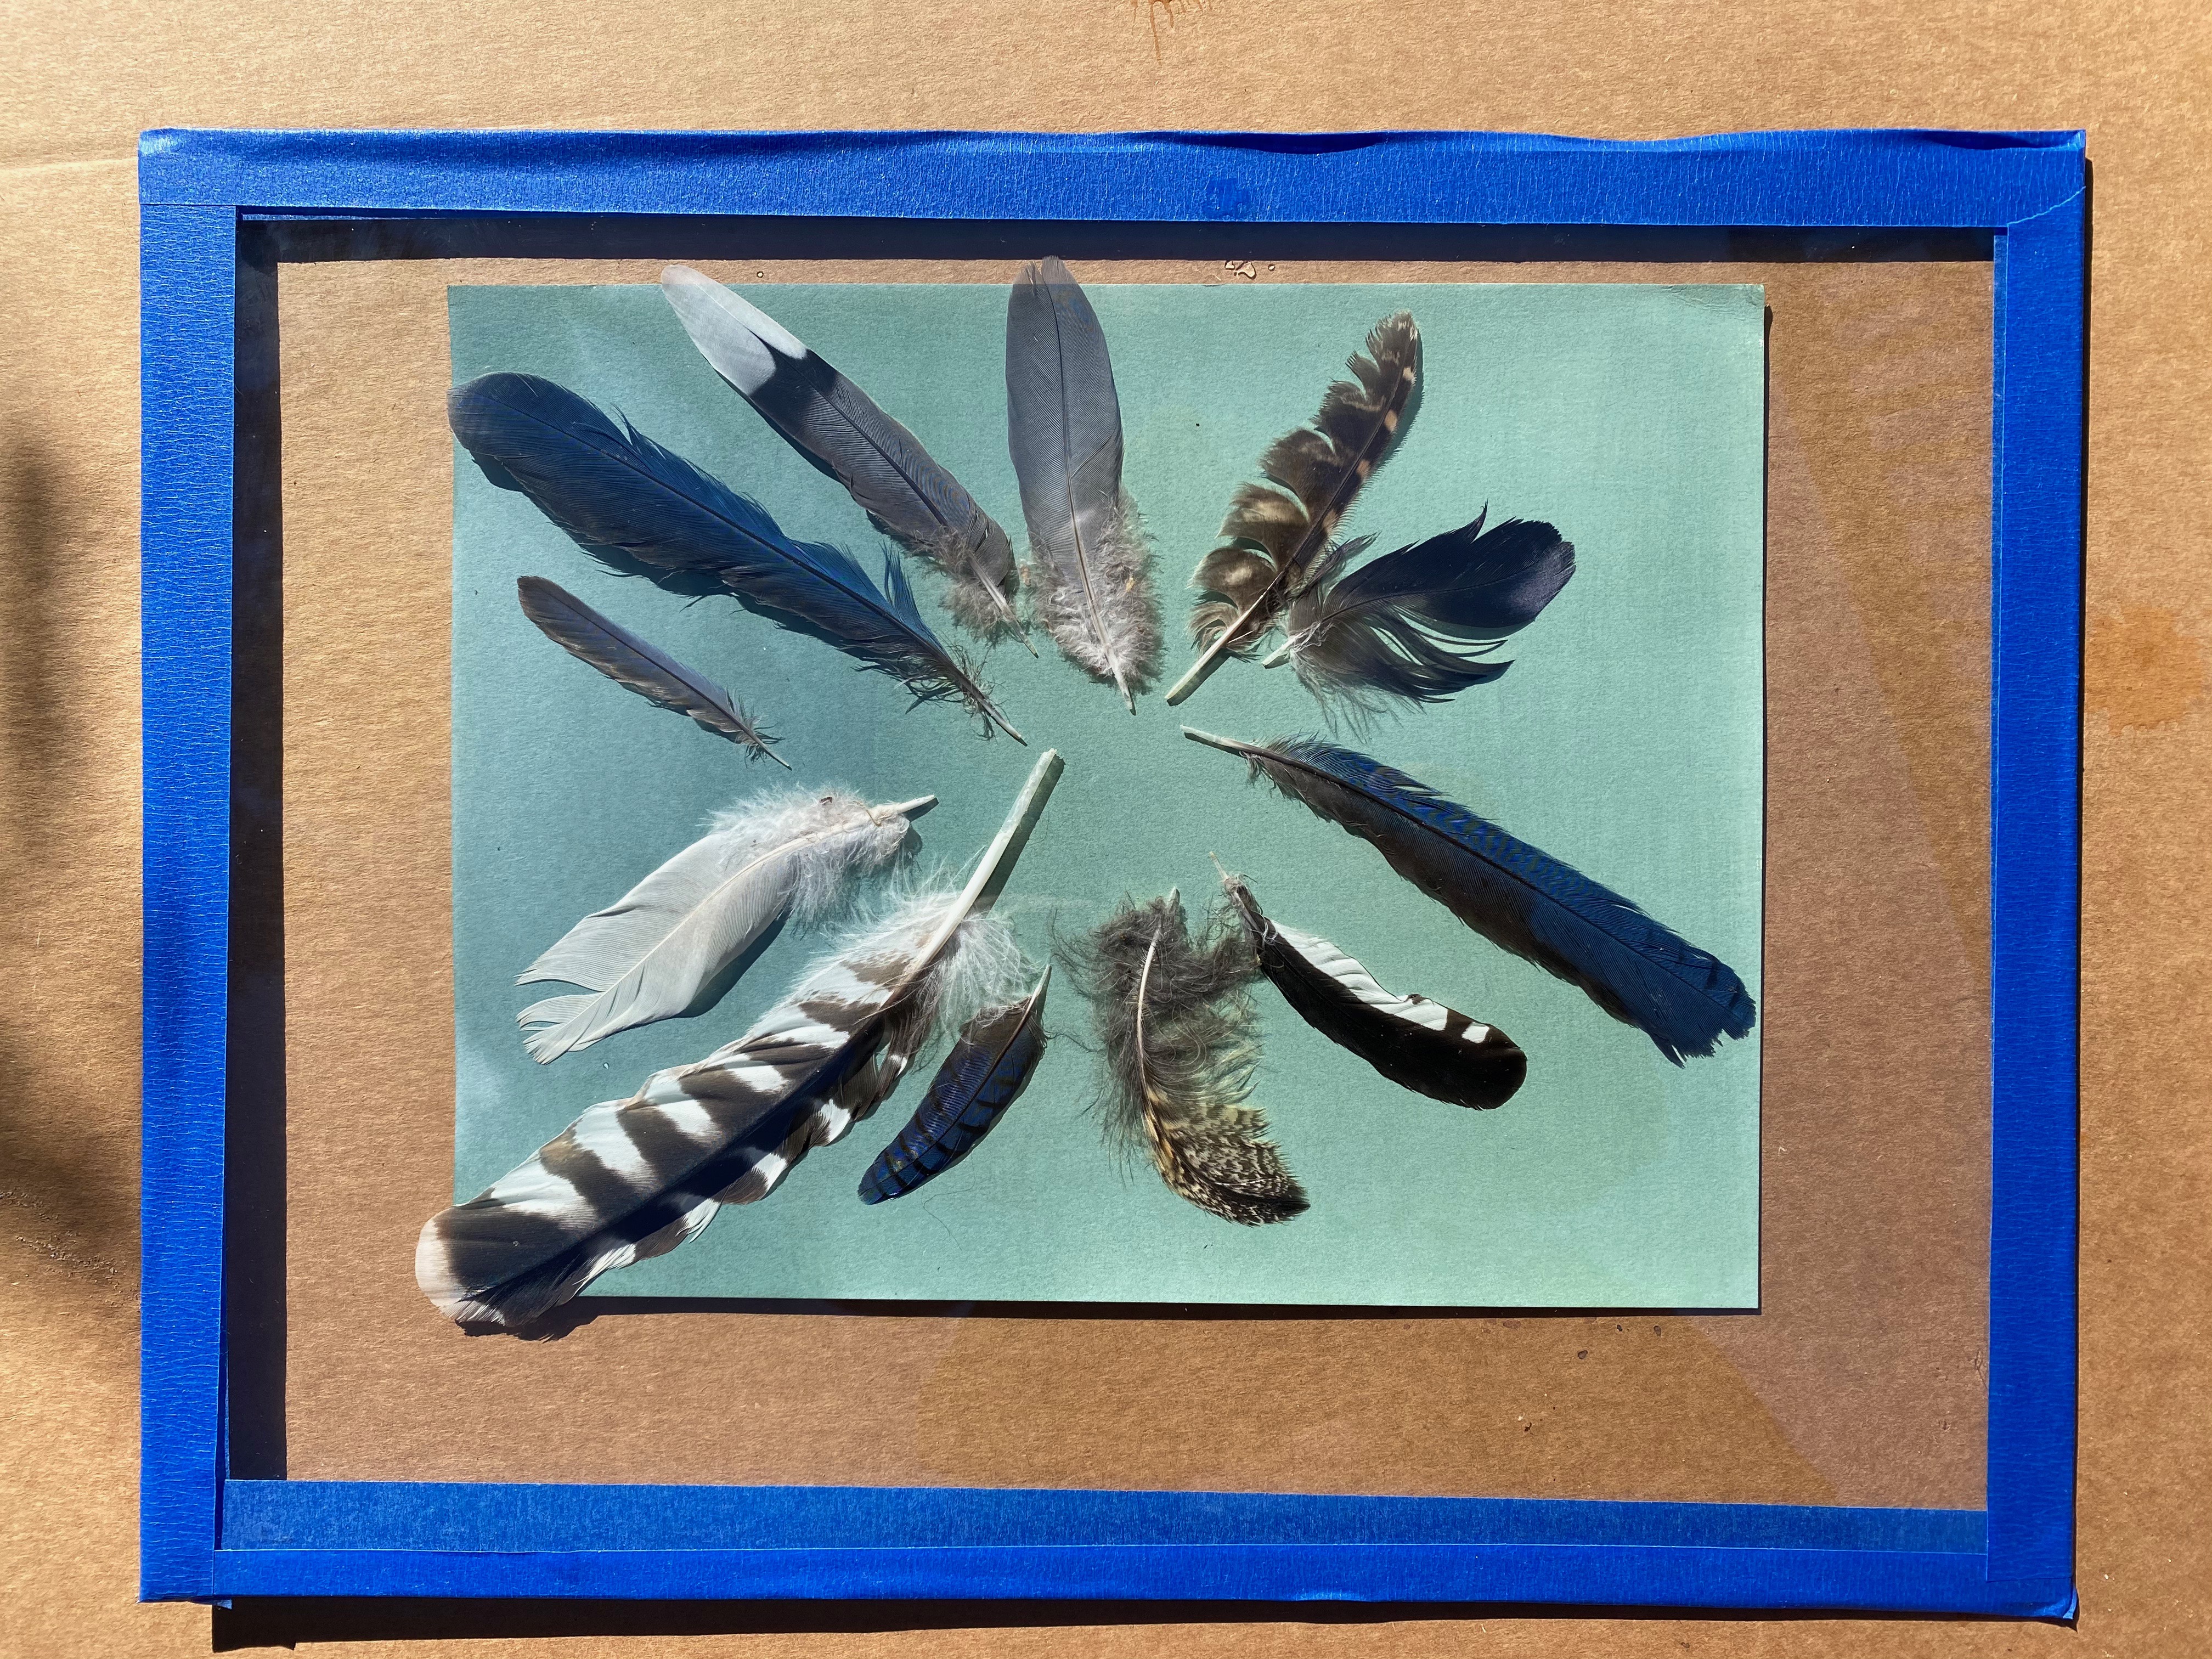
I wanted these feathers to lie flat and not blow away, so I laid a piece of glass on top. I had the glass from a picture frame I'm not using, and I wrapped masking tape around the sharp edges to make it easy to carry.
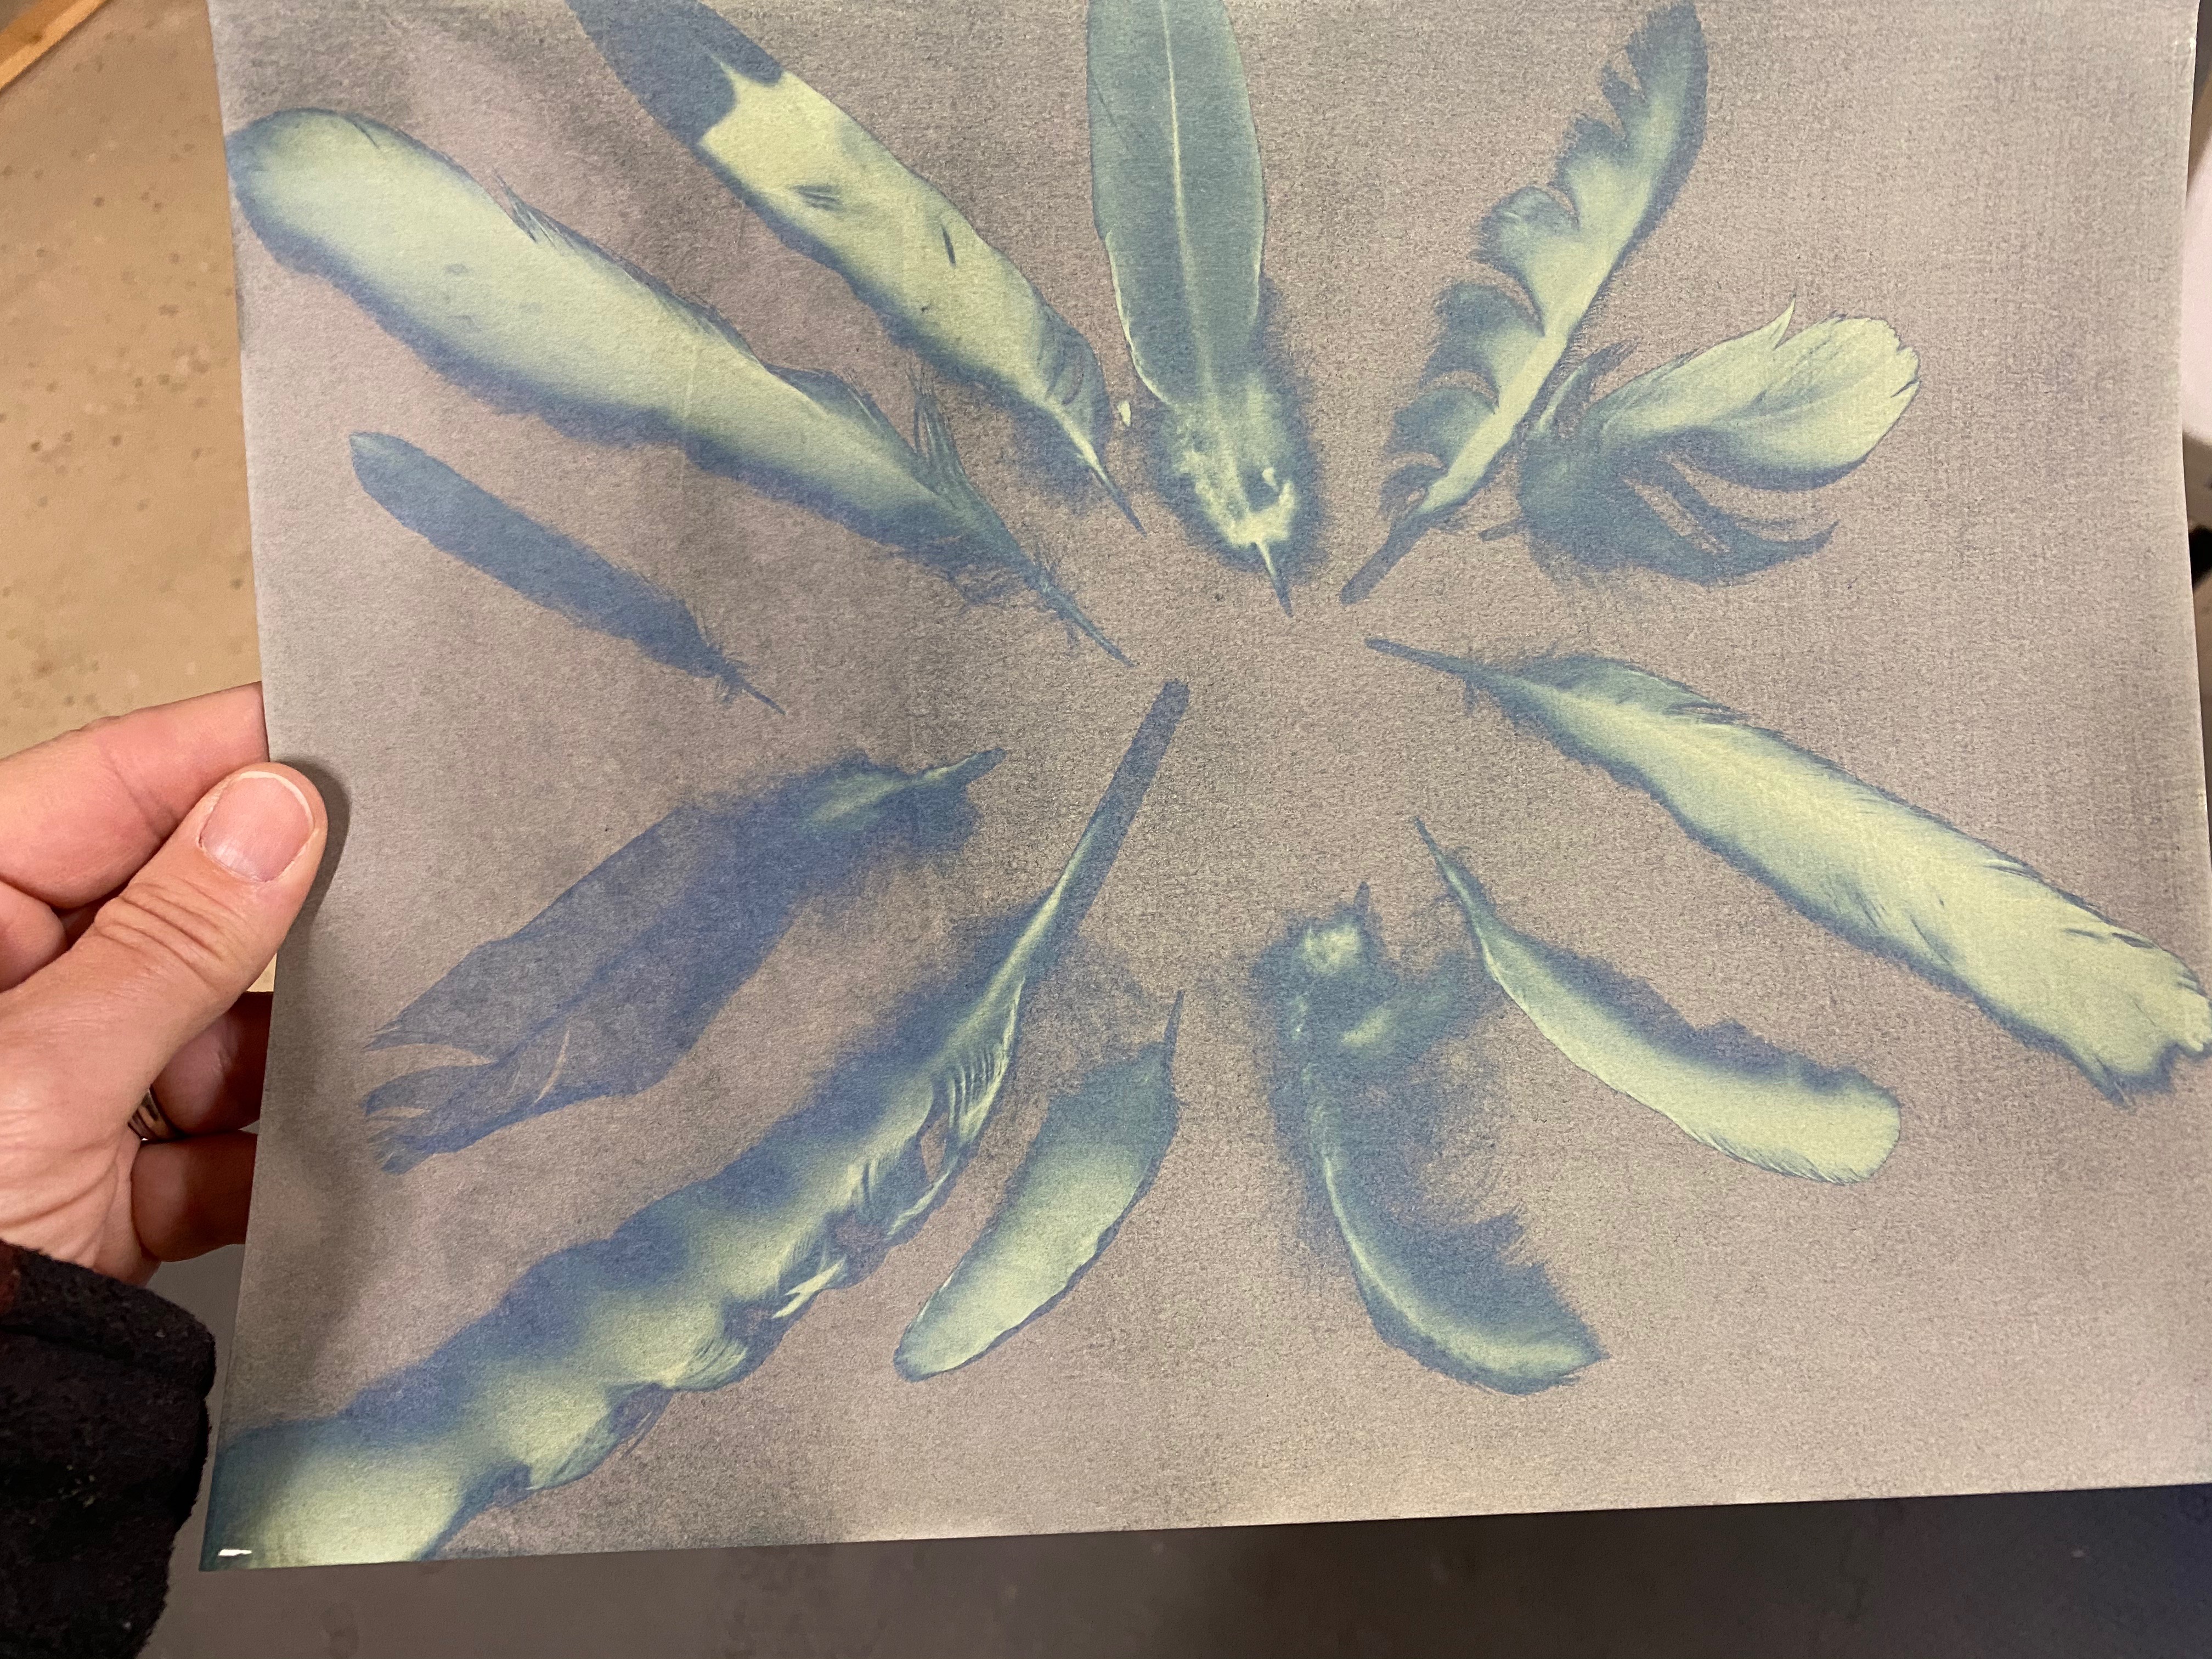
I wanted this one to be very dark so I left it in the sun for 20 minutes. When the cyanotype turns grayish it will make a dark navy when it is washed.
Step 6: Experiment!
After your cyanotypes dry, keep adding to your compositions.
- Add another layer of cyanotype following the same steps.
- Add other art materials like paint, markers, collage, color pencil, etc.
- Tear them all up and glue them back together to make a free-form collage.
- What else can you do?
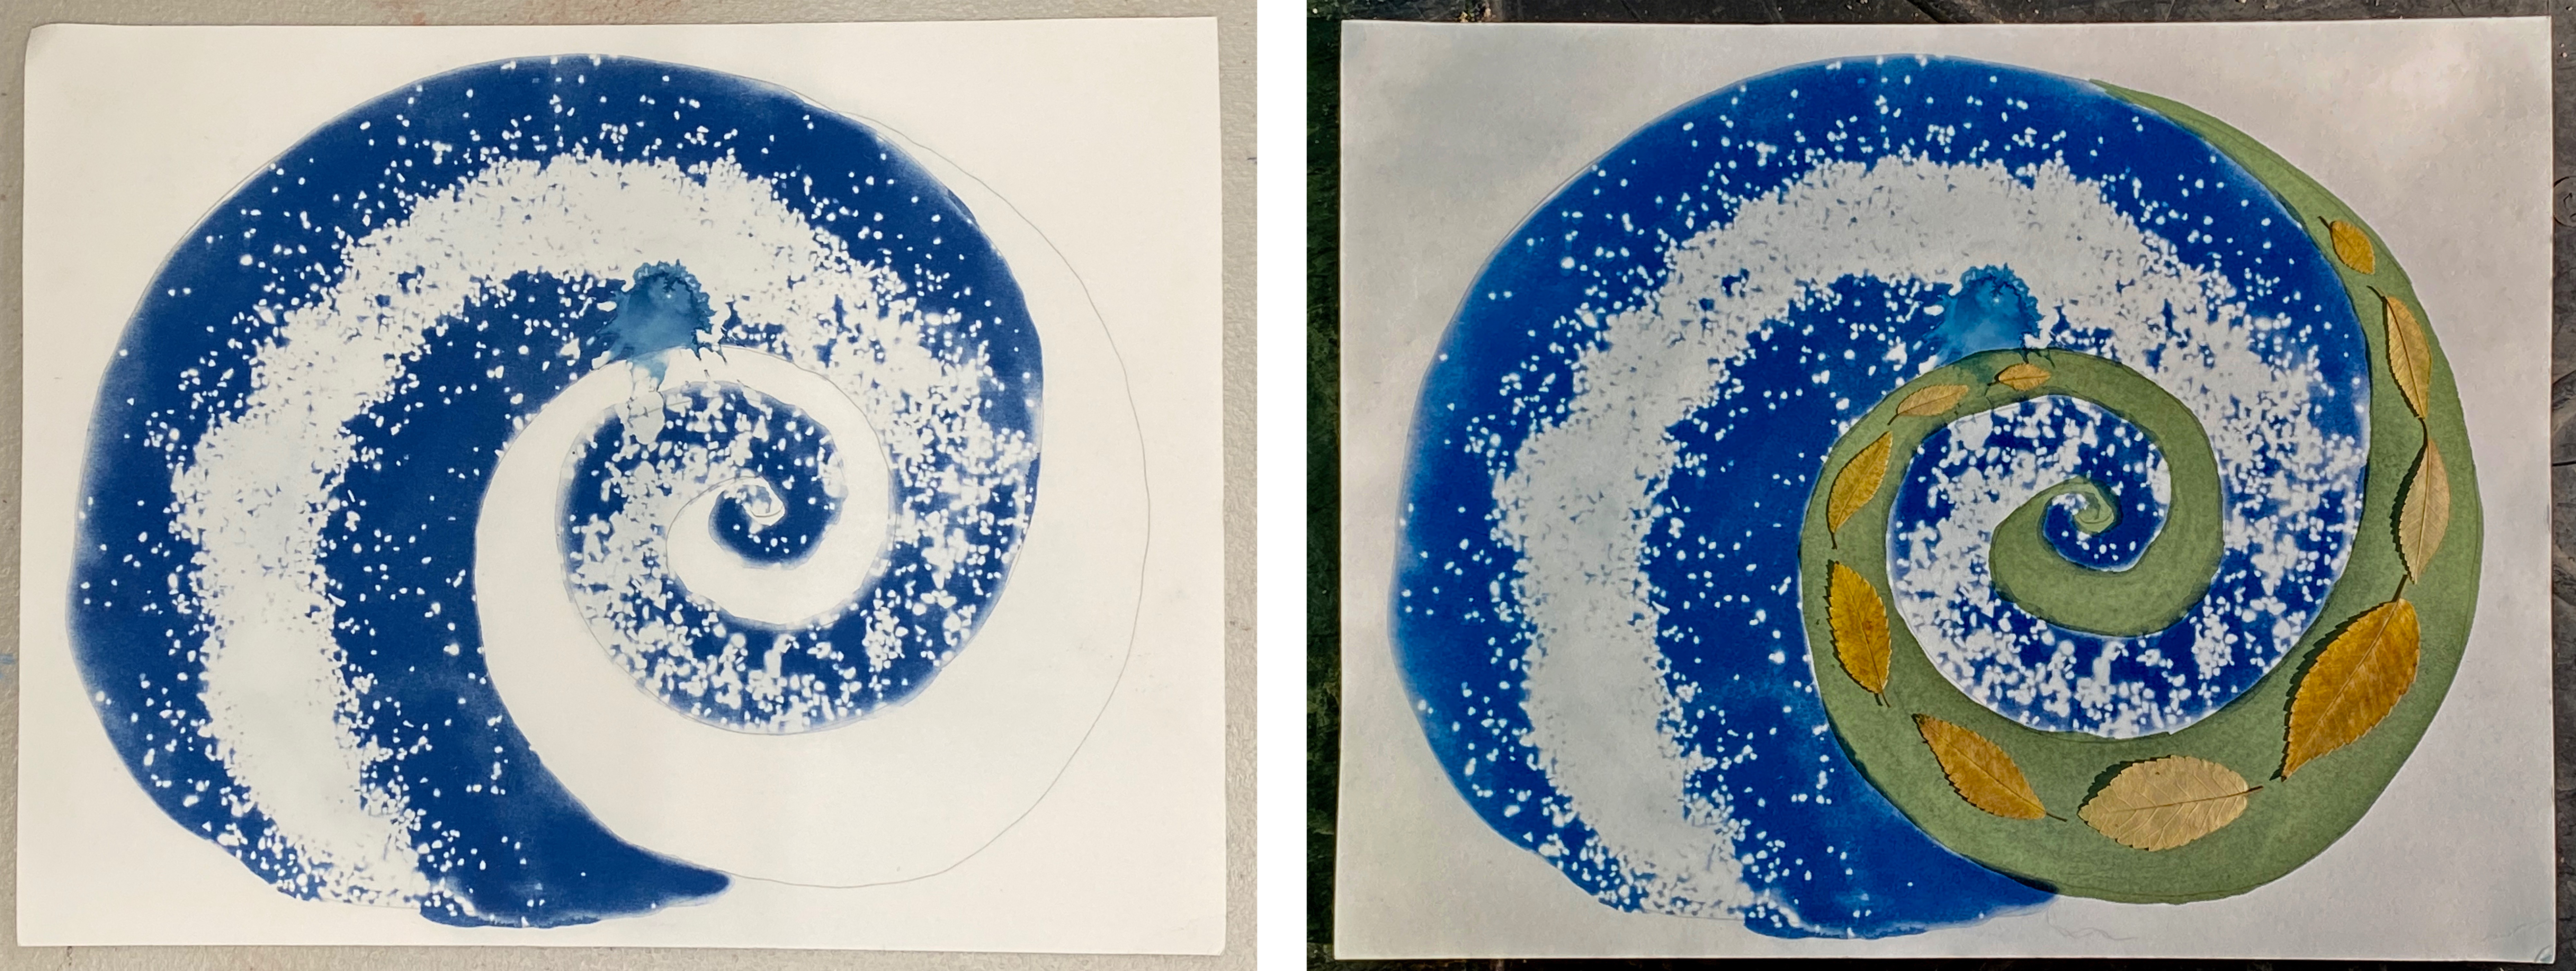
Remember this one? I decided to paint it.
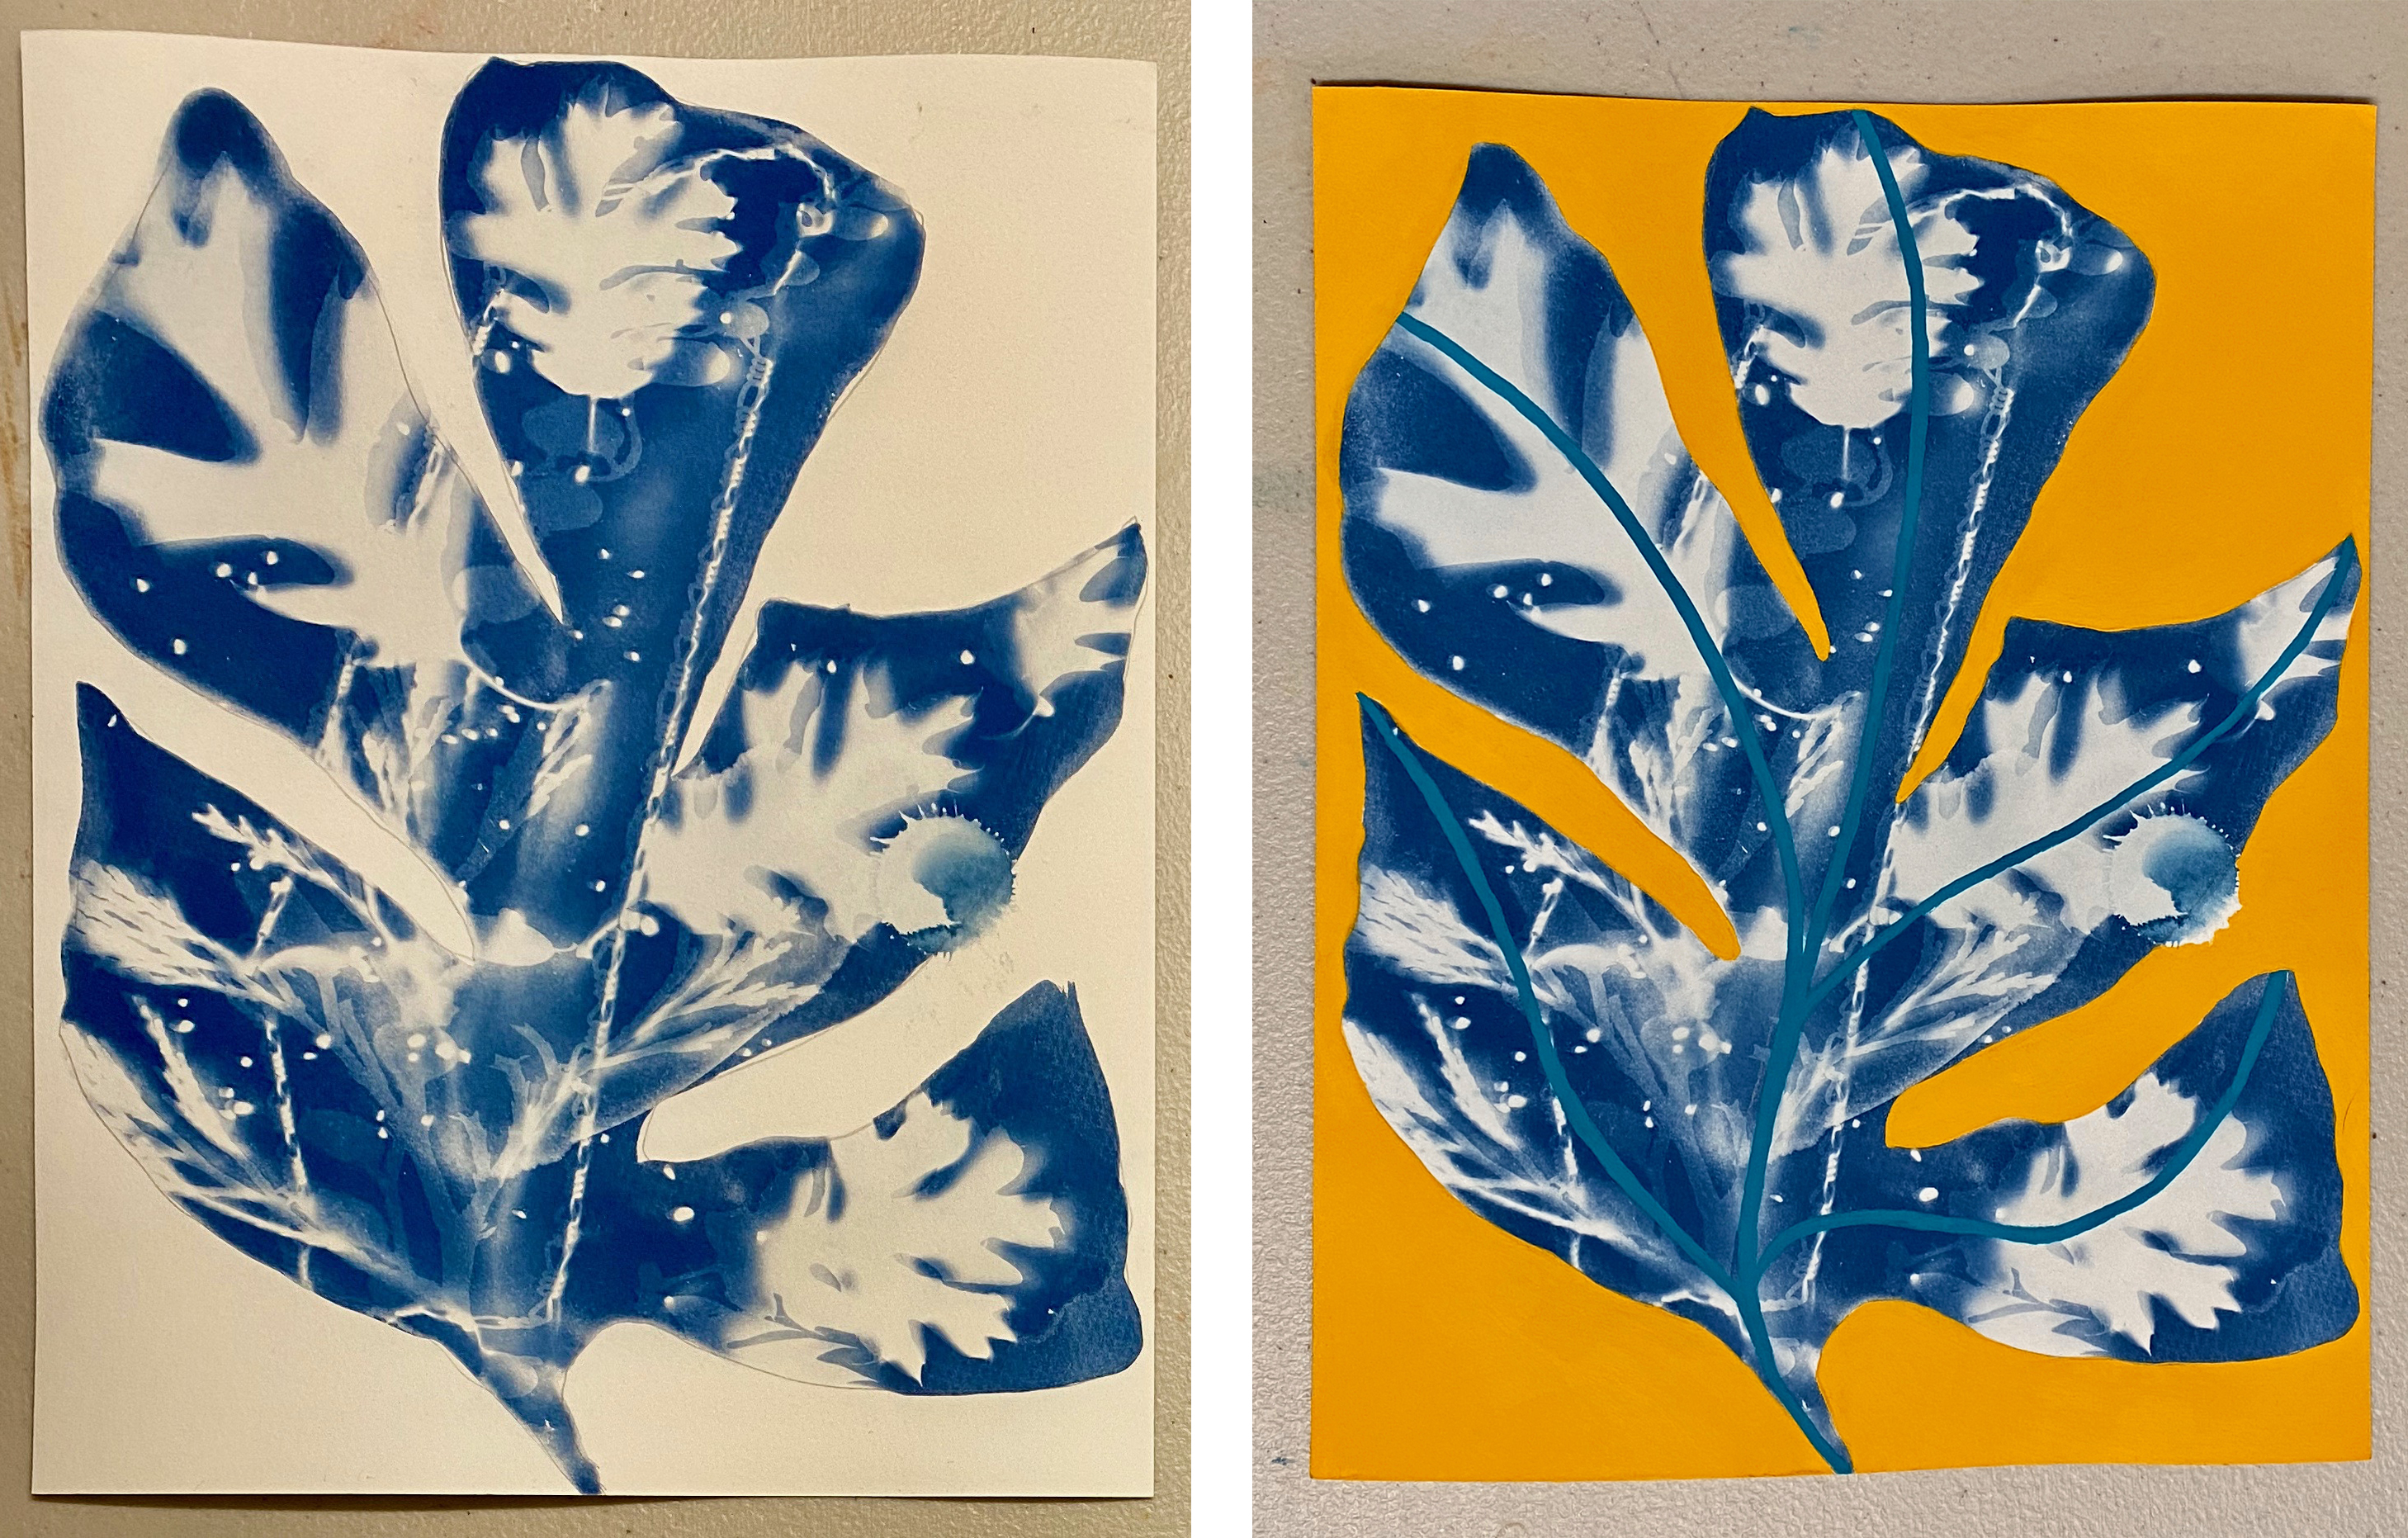
You can also add more layers of cyanotype.
If you share your artwork on social media, tag us at @lacma! We love seeing your art!
Join us on Sunday, December 13 for a story told through light with artist Christine Marie. You'll also learn how to make your own light story!
Hadley Holliday is a painter who lives and works in Crestline in the San Bernardino mountains. She has worked with LACMA as a teaching artist since 2002.