
The LACMA team is working together from our respective homes to bring you interesting content and creative activities while the museum is temporarily closed to the public. We may not be able to gather together, but we can still create something beautiful.
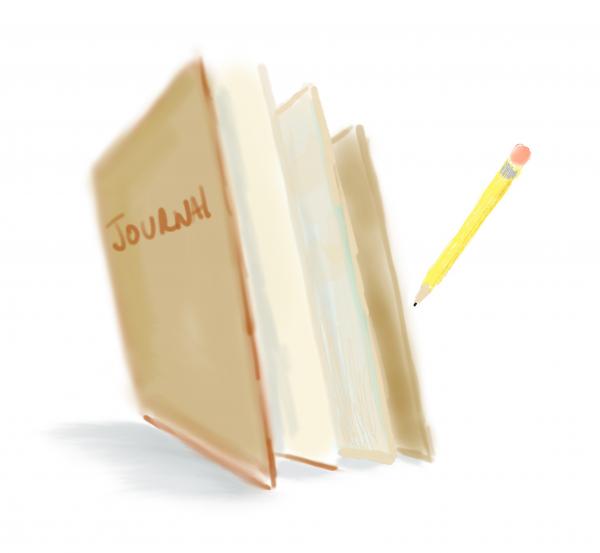
Artists have used journals and sketchbooks to communicate their voice, make plans for art projects, and more. This lesson will teach you how to make three different kinds of journals that are uniquely you. You can find the simple supplies in your home. Ask an adult to help you collect the items.
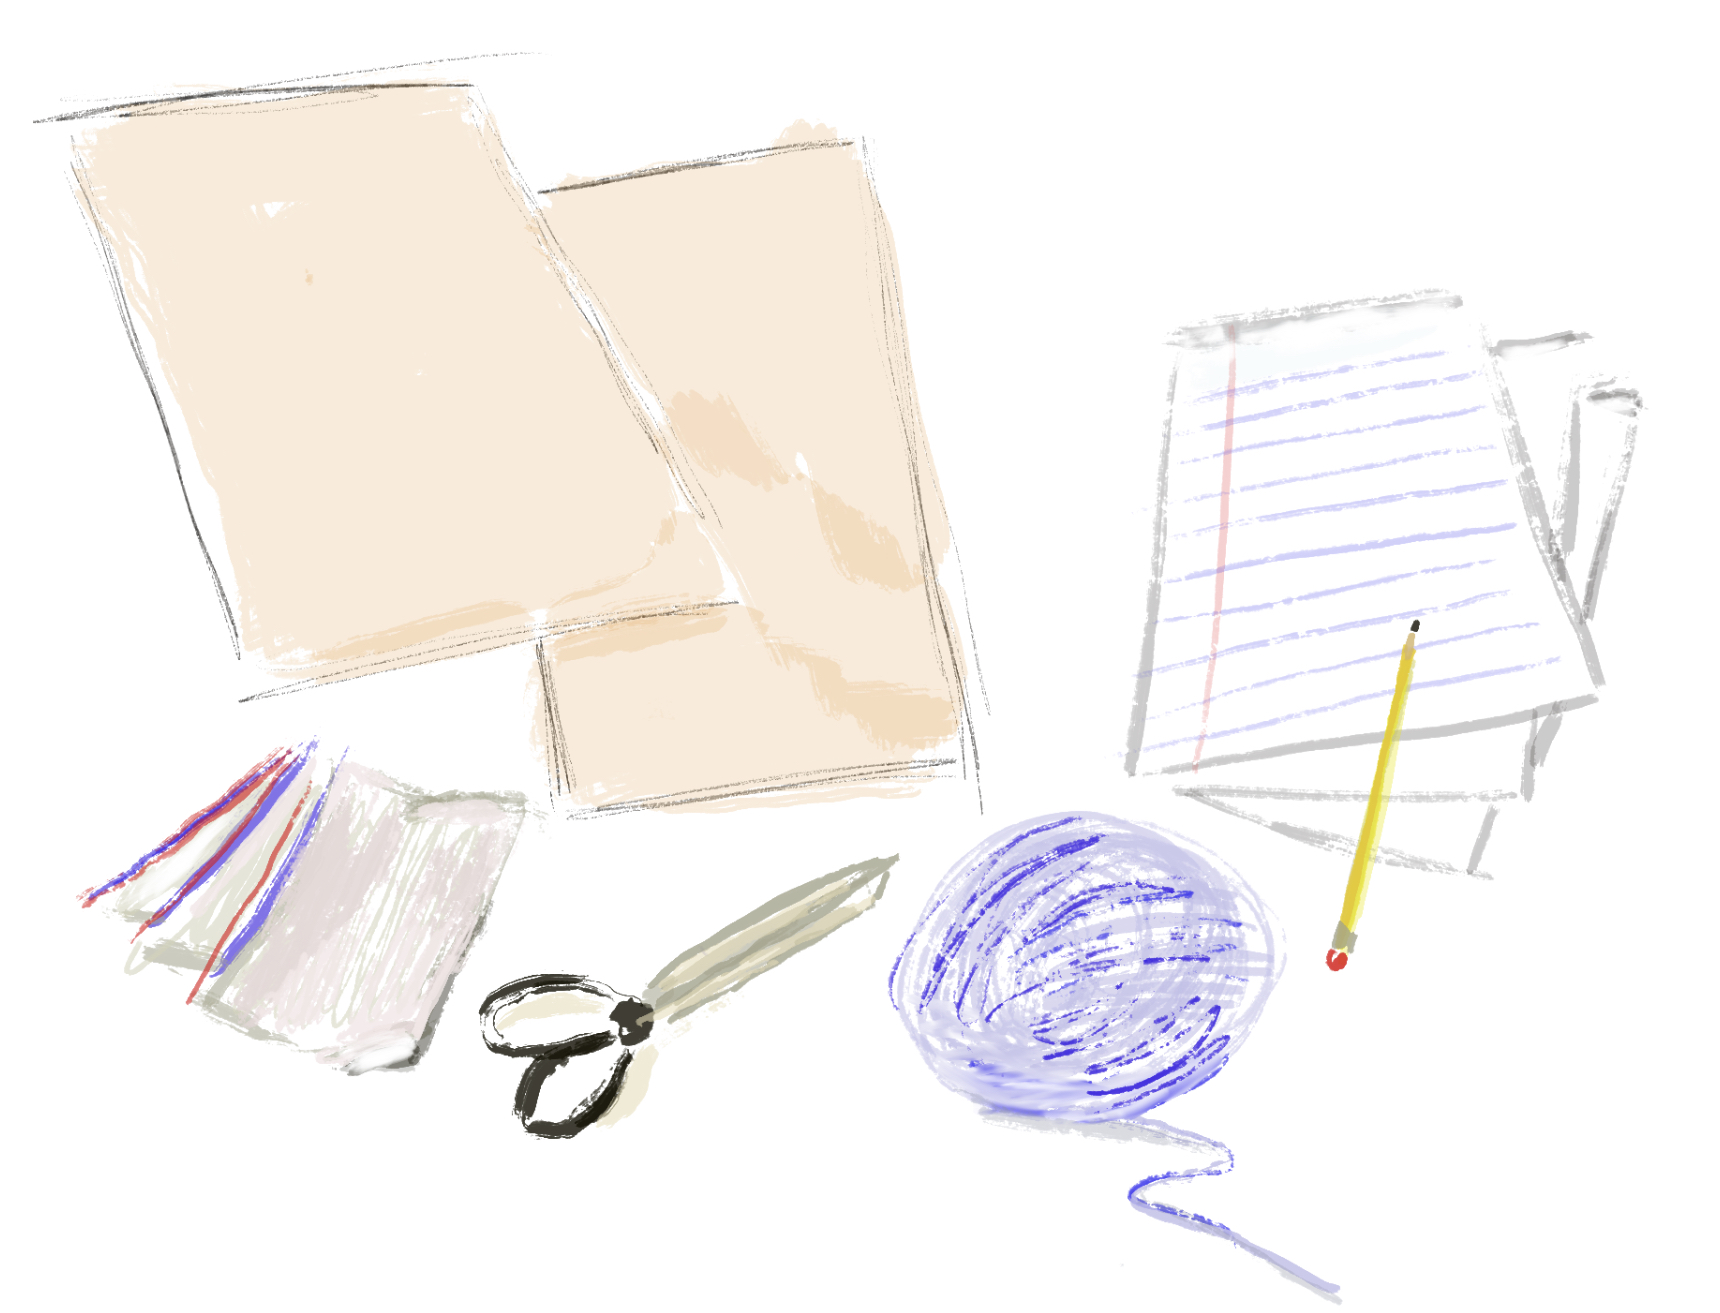
JOURNAL #1
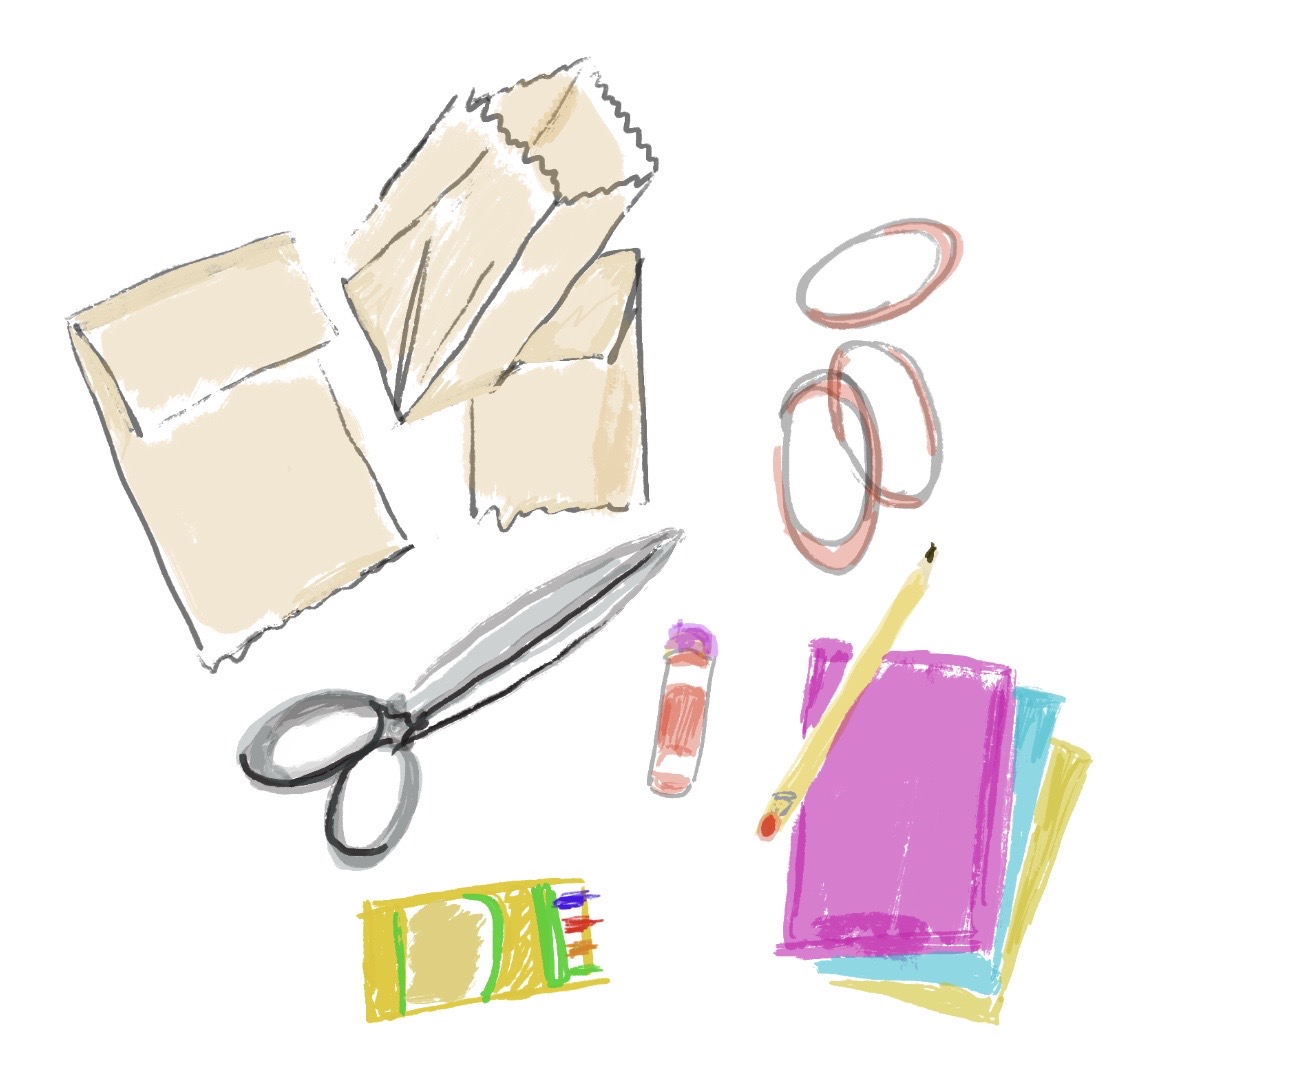
SUPPLIES:
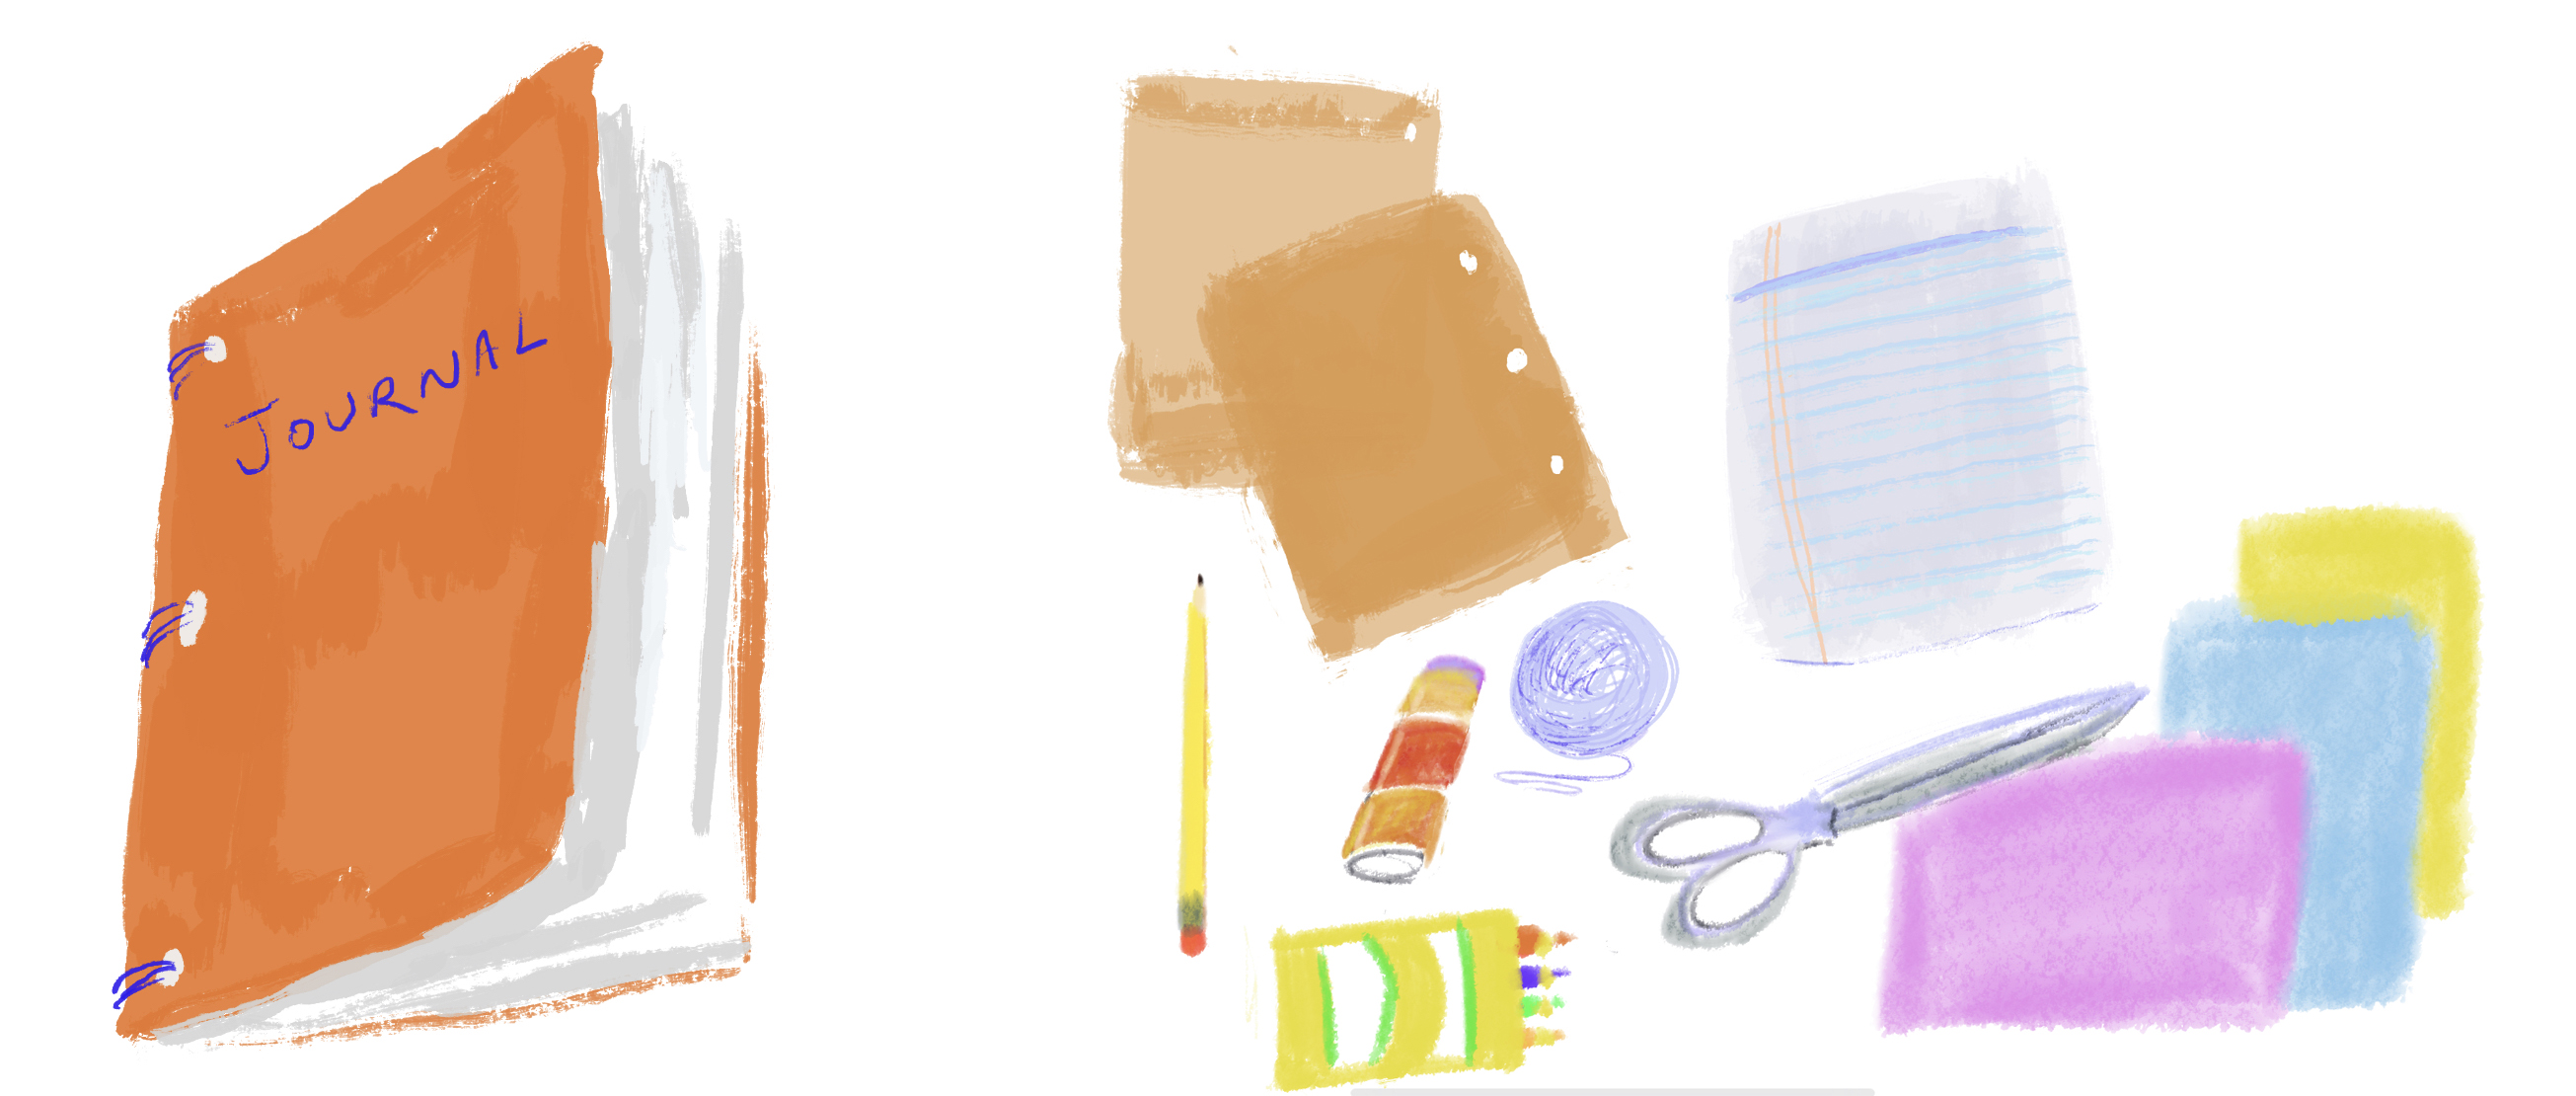
- Three paper lunch bags or small paper grocery bags
- Large rubber band, yarn, or ribbon
- Scissors
- Glue stick, liquid glue, or tape
- Pencil
- Colored pencils, crayons, and/or markers
- Scraps of paper for collage: magazine pictures, bits of wrapping paper, and/or colorful advertisements
MAKING THE JOURNAL:
Glue down the flap so the bag will lay flat.
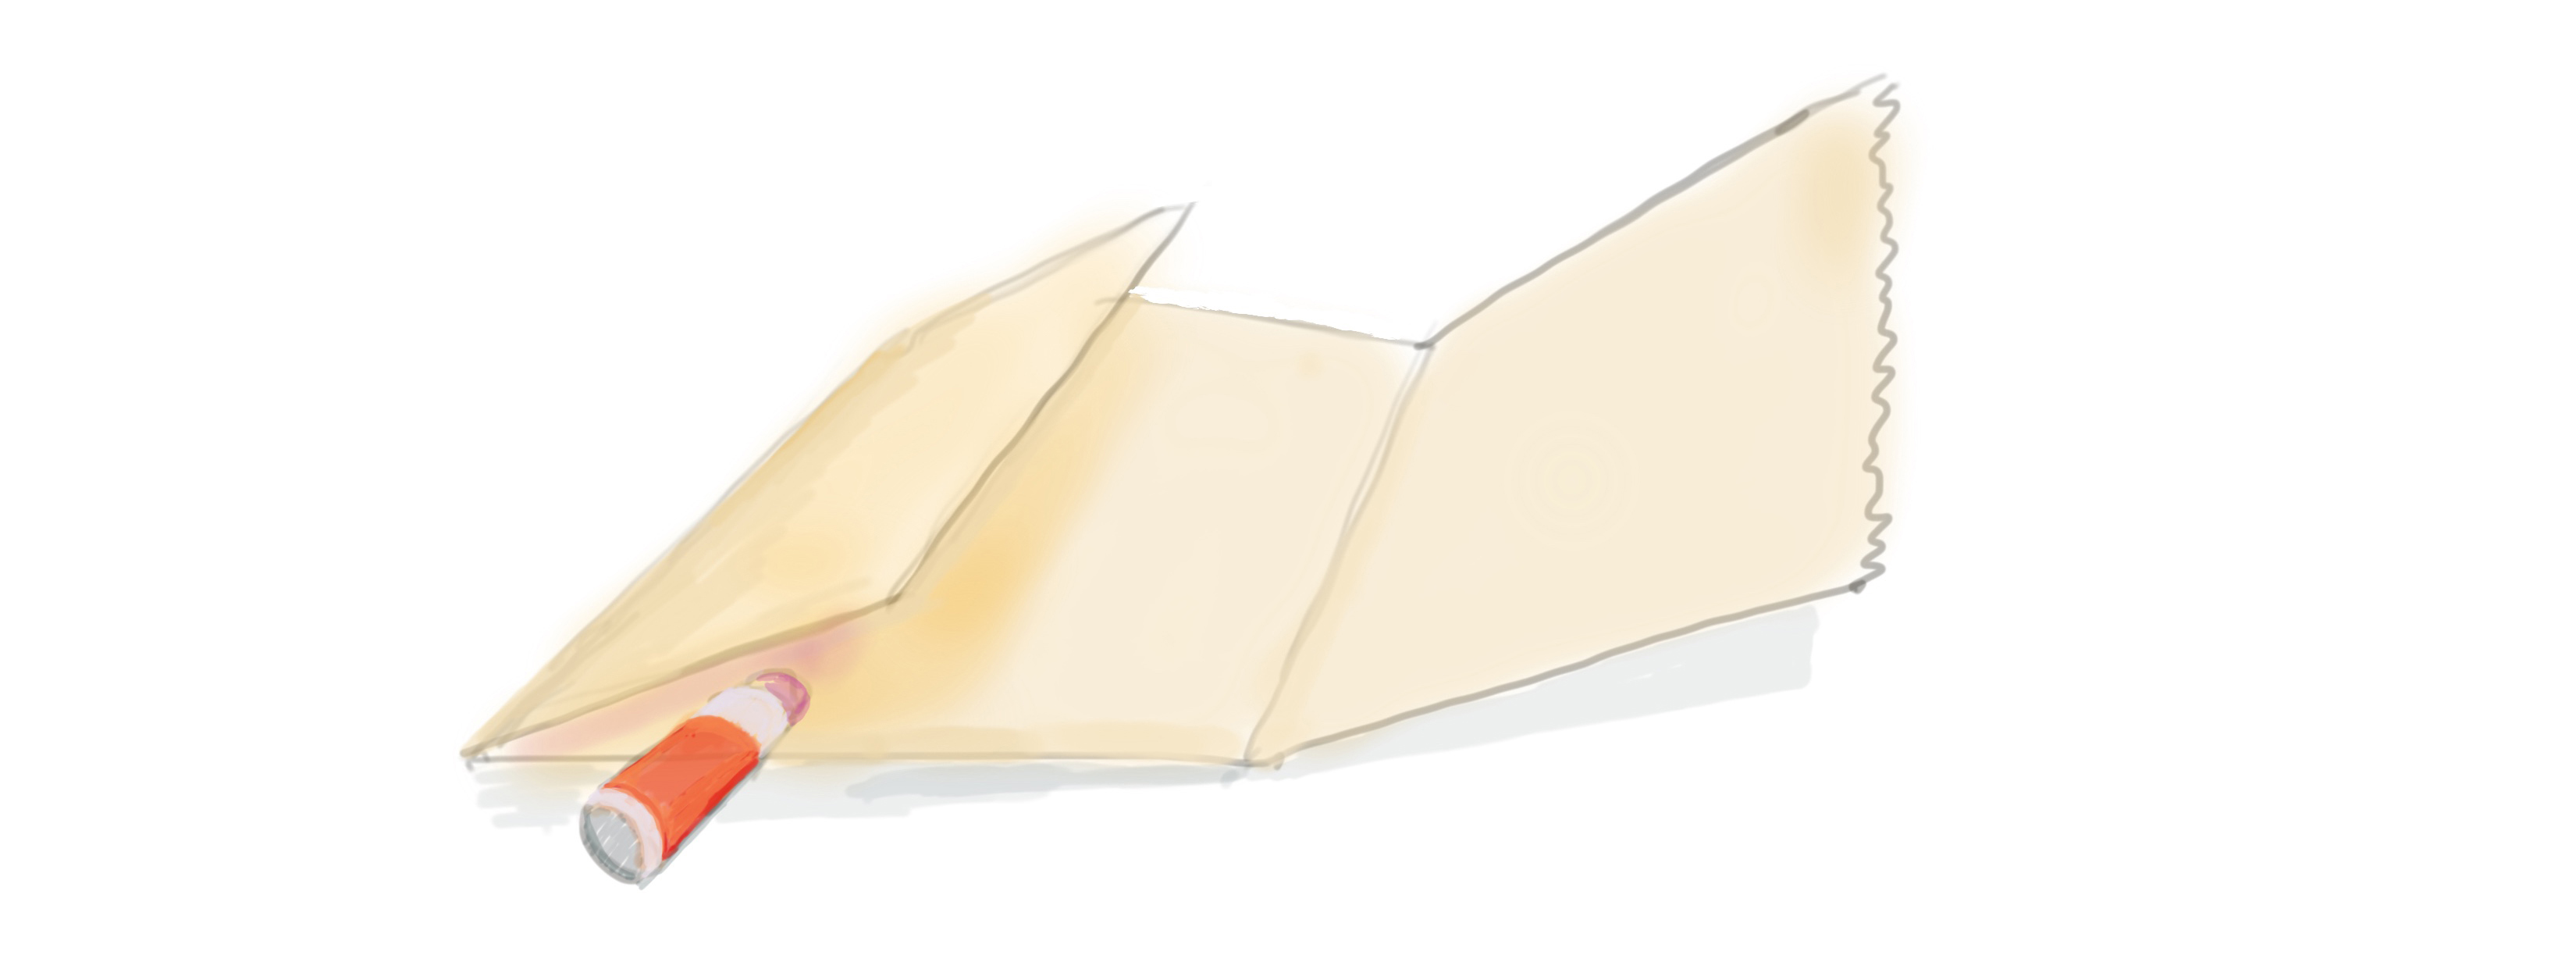
Fold one bag in half.
Unfold the bag, lay it horizontally on the table with the flap on the left side.
Do the same to the other two bags. Stack the bags, unfolded, one on top of the other.
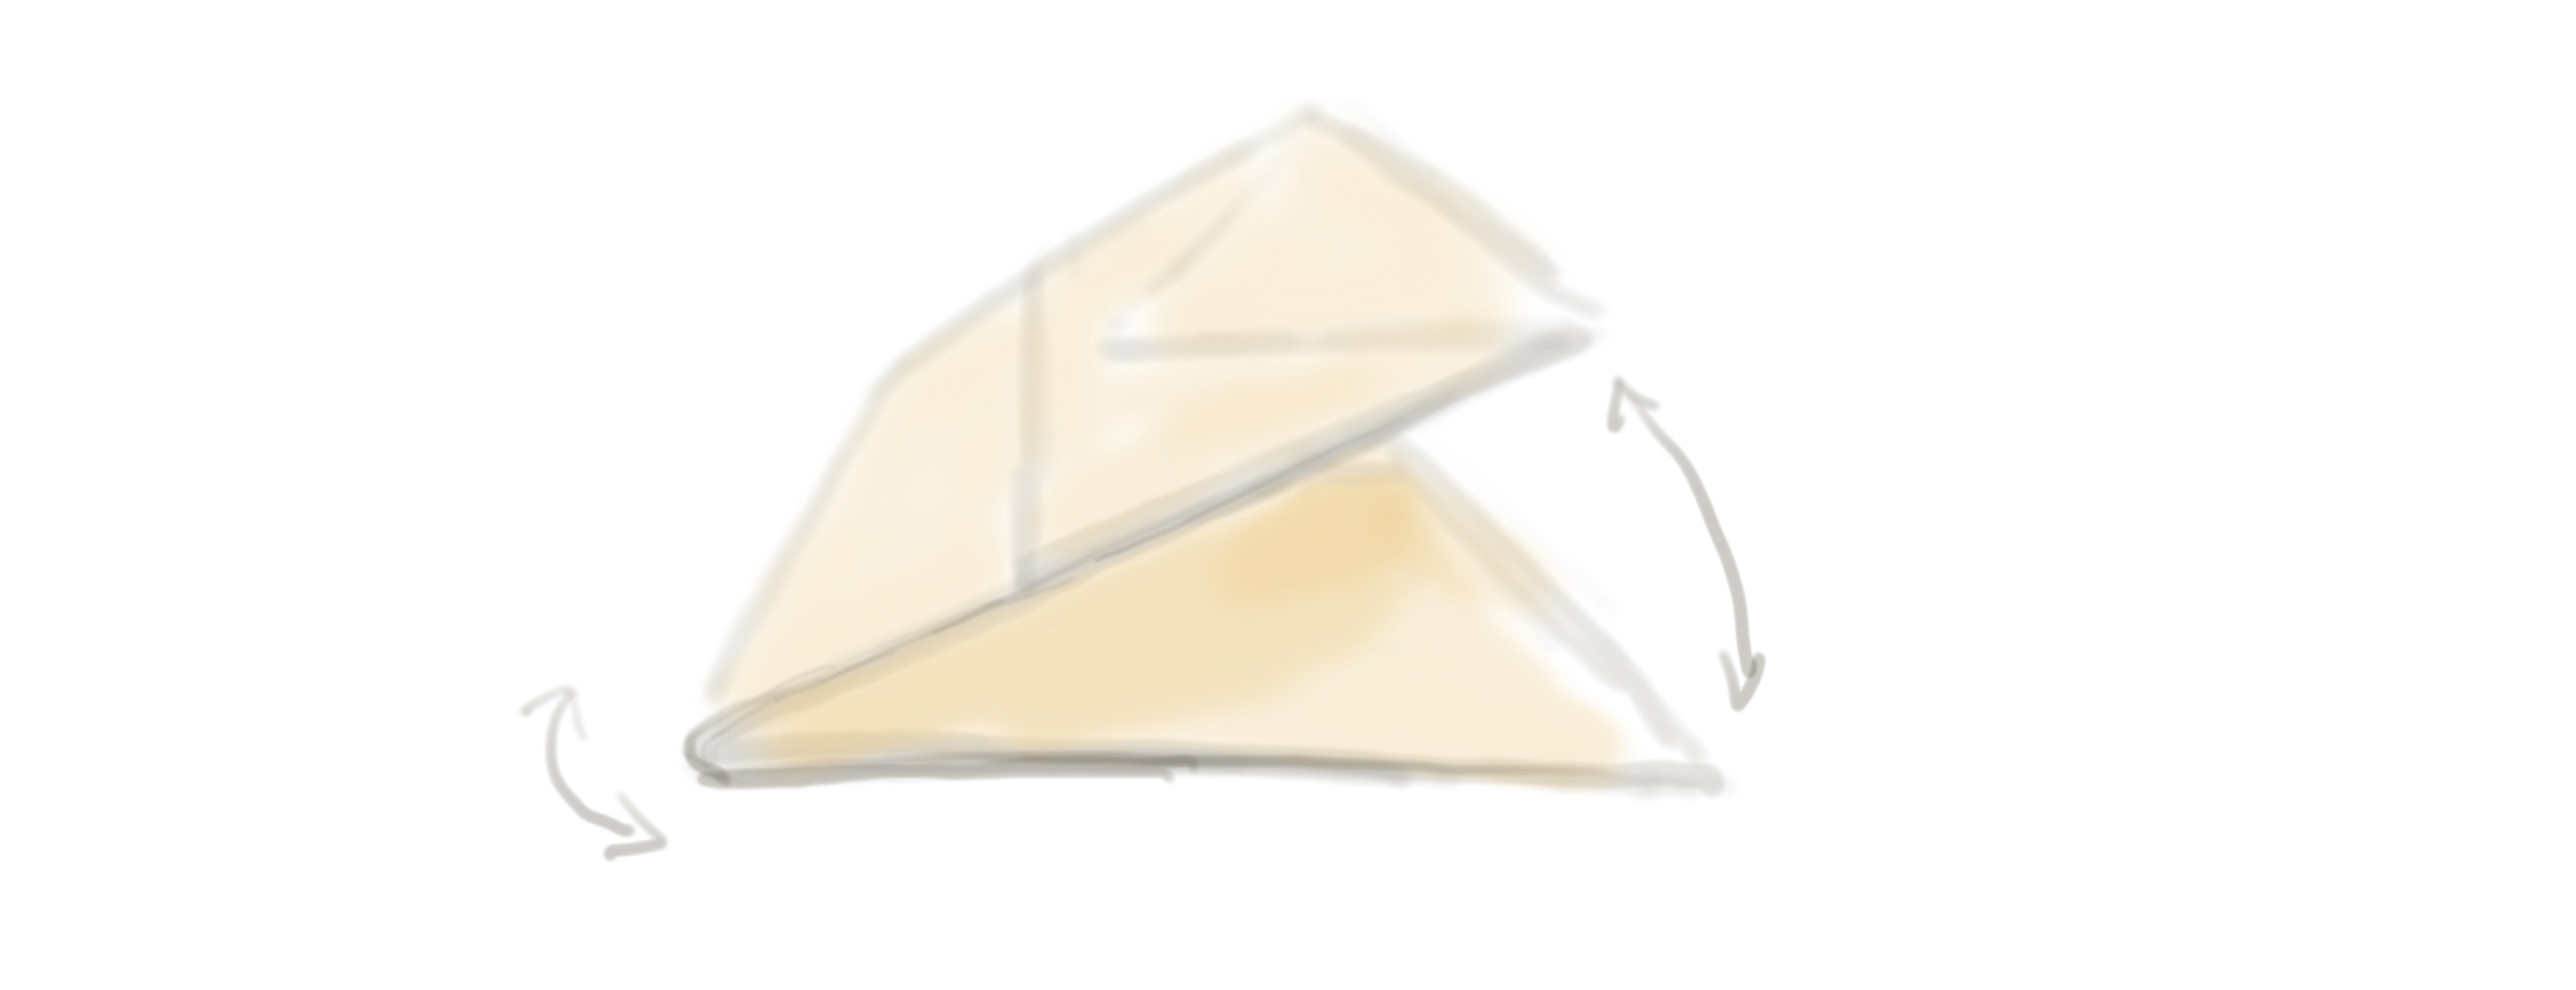
Slide the rubber band, yarn, or ribbon over the bags to the folds in the center.
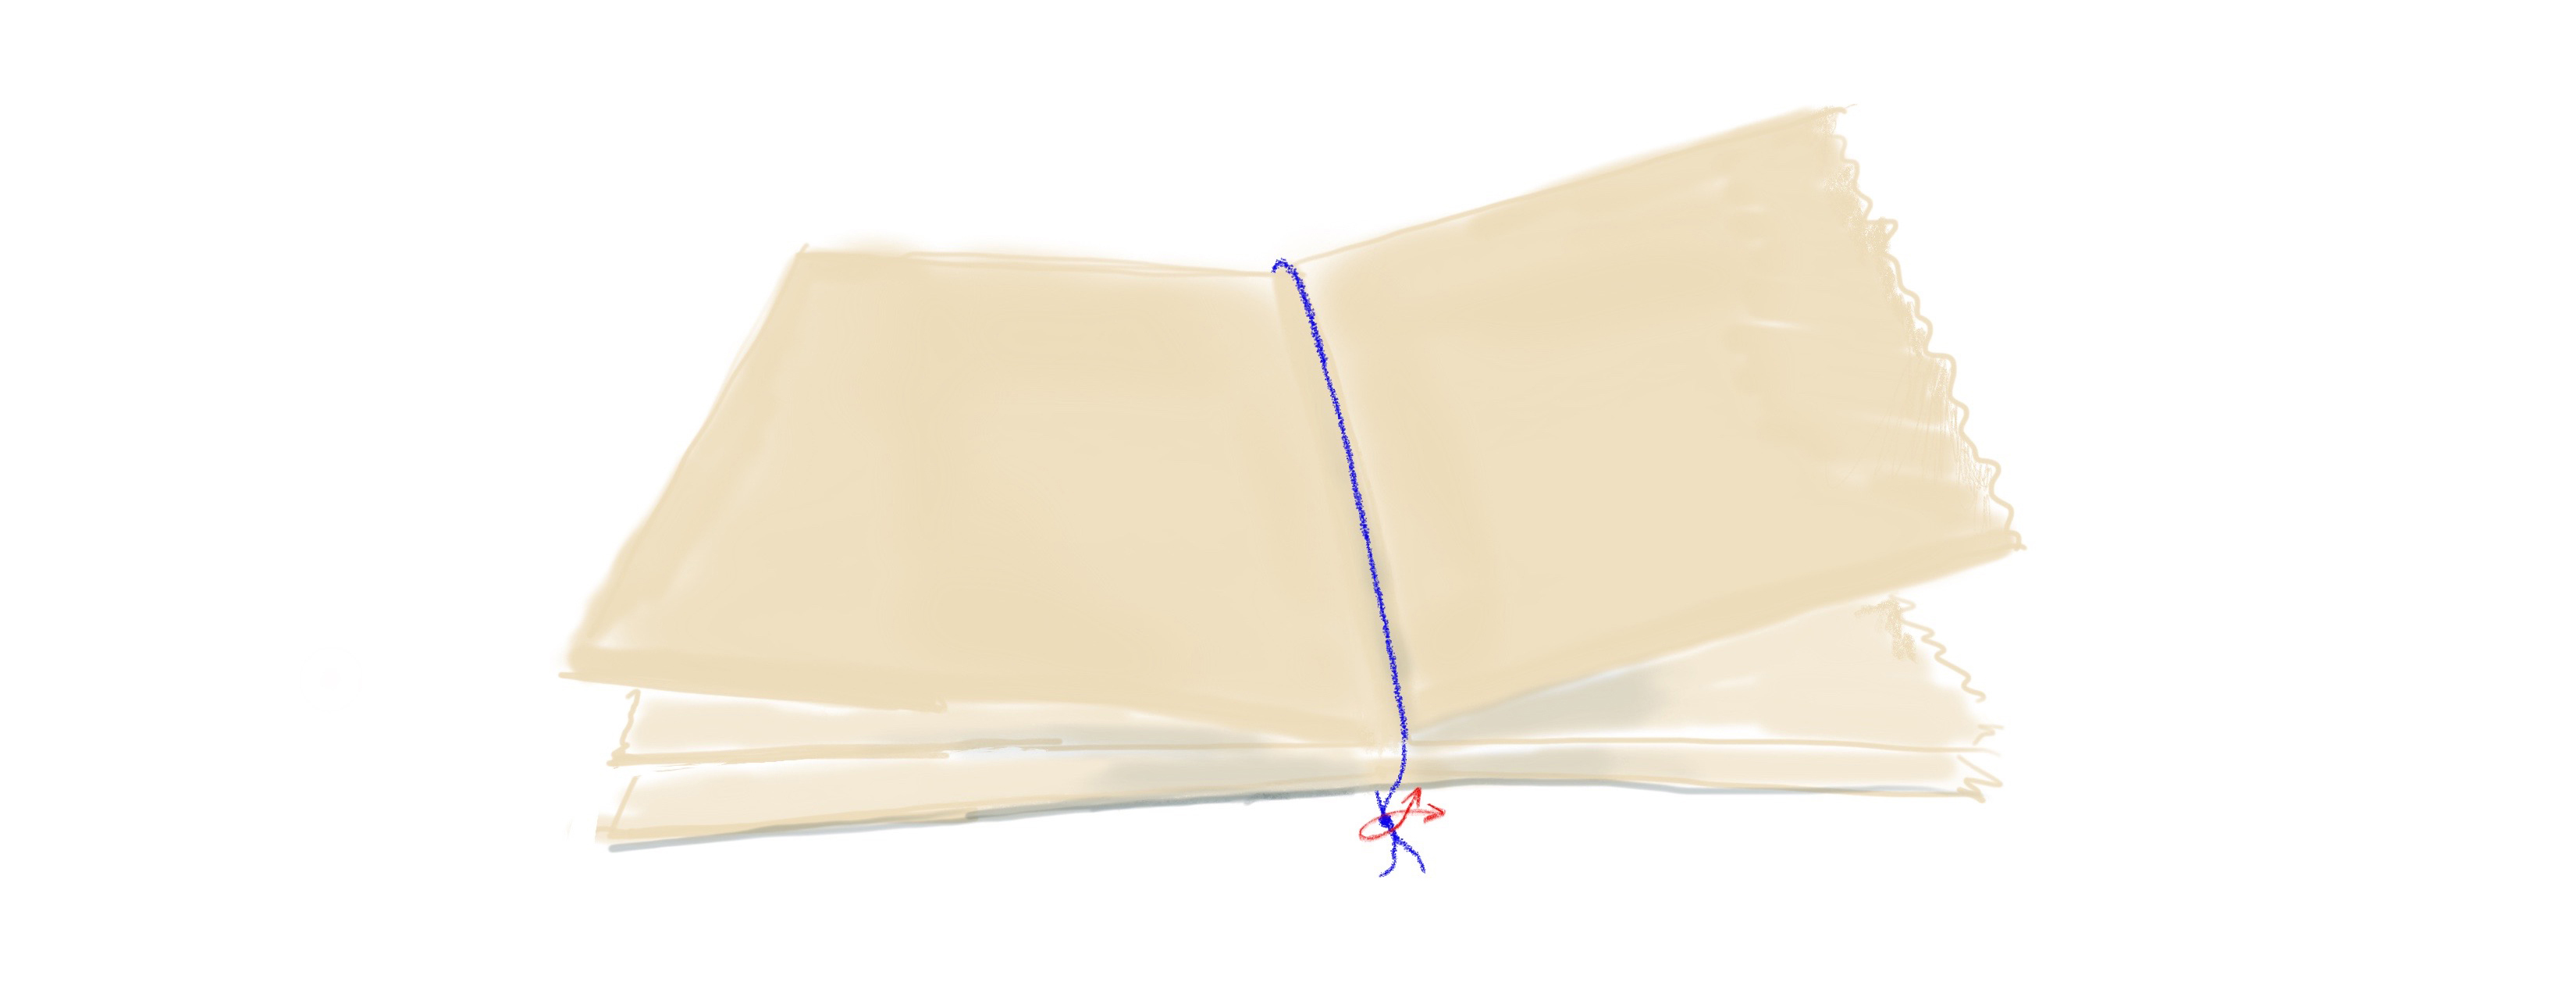
Then fold everything in half. You now have a book! The rubber band, yarn, or ribbon will hold all the bags together.
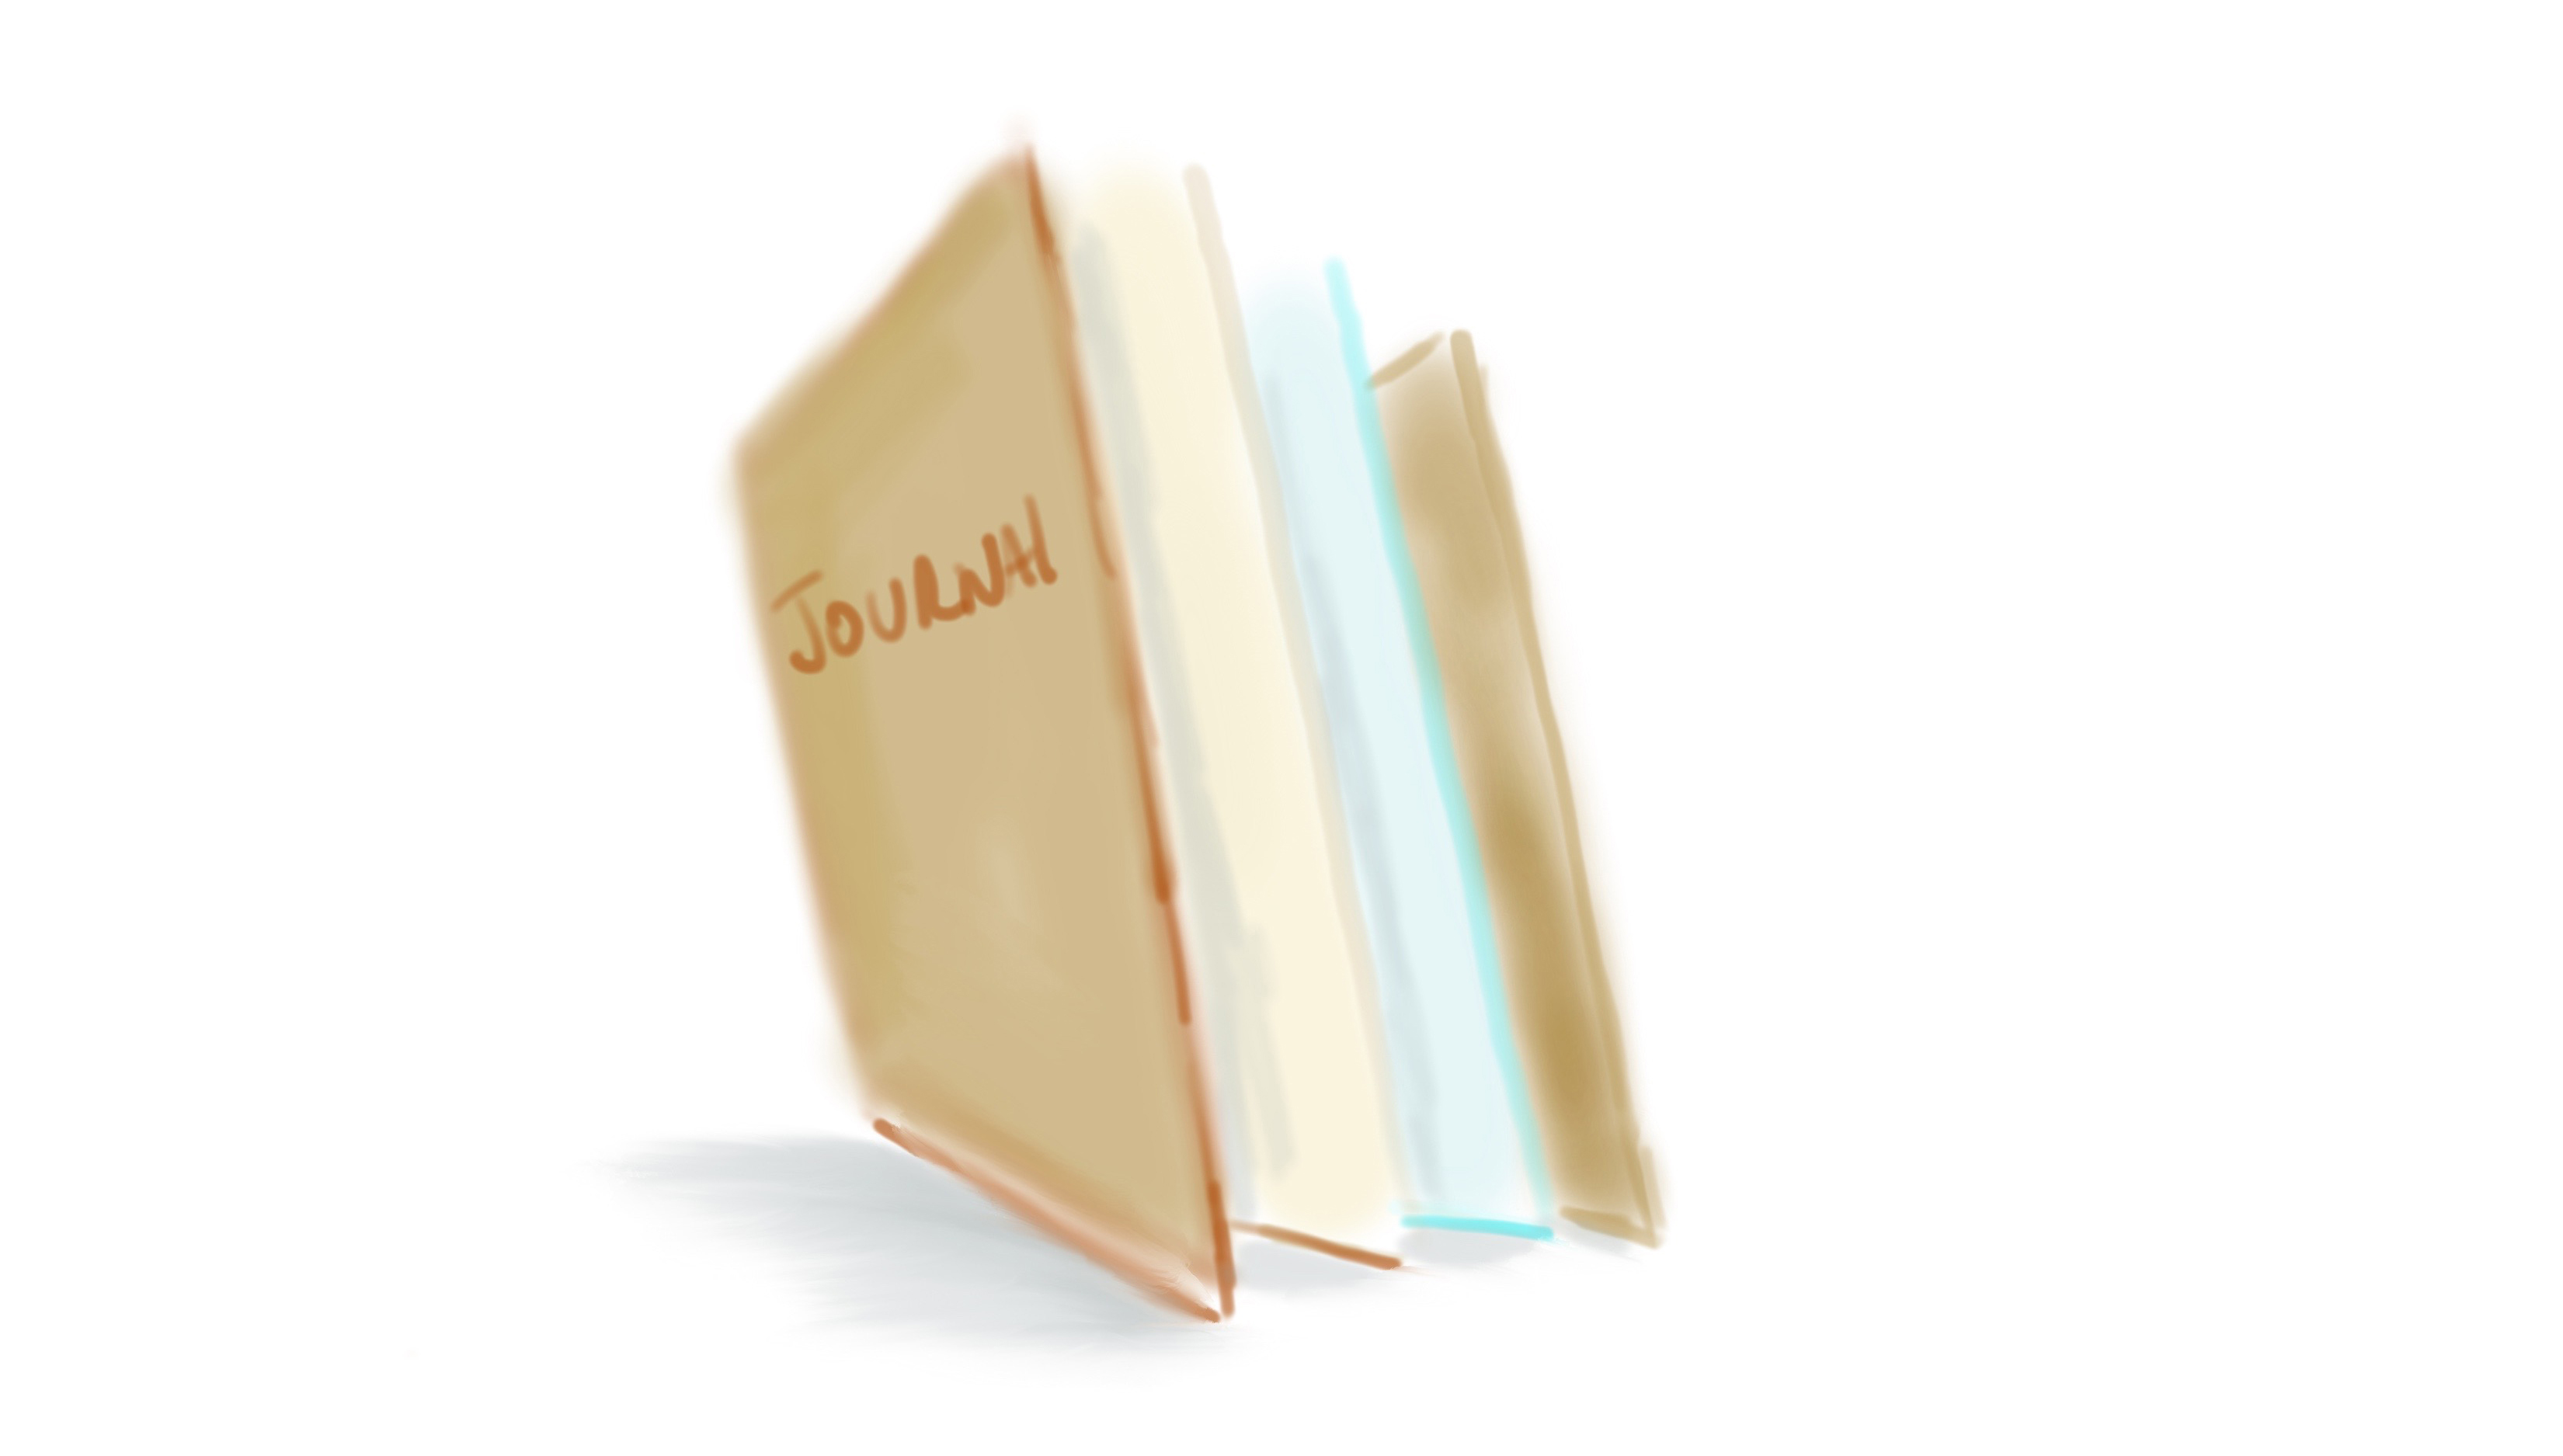
You can draw on the covers to decorate the journal. You can use words. You can decorate with the different papers you collected.
Open the first page. You can write and draw on all the pages. Maybe you would like to draw on one side and write about your drawing on the other side. You can use the journal to write a story and illustrate it. Use your imagination!
You can add more pages (paper bags), if you want. Slide more bags under the rubber band, yarn, or ribbon. Also, your book has pockets, because the pages are paper bags! Draw and write on pieces of paper and put them into the pockets.
JOURNAL #2
SUPPLIES:
- Two pieces of cardboard, the same size. These will be the covers. Ask an adult to help you find the materials. You can use an empty cereal box, cracker box, or any box. The covers do not have to be large.
- Lined and/or blank paper for the pages. Whatever kind of paper you have at home will work.
- Yarn or ribbon for binding
- Scissors
- Glue stick, liquid glue, or tape
- Pencil
- Colored pencils, crayons, and/or markers
- Decorative papers: gift wrapping paper, magazine pictures, and/or colorful advertisements
MAKING THE JOURNAL:
Cut the two cardboard covers, from any box you can find. Make the two covers the same size. Cover them with blank paper so you can write or draw pictures on them. Or you can collage with the decorative papers you collected.
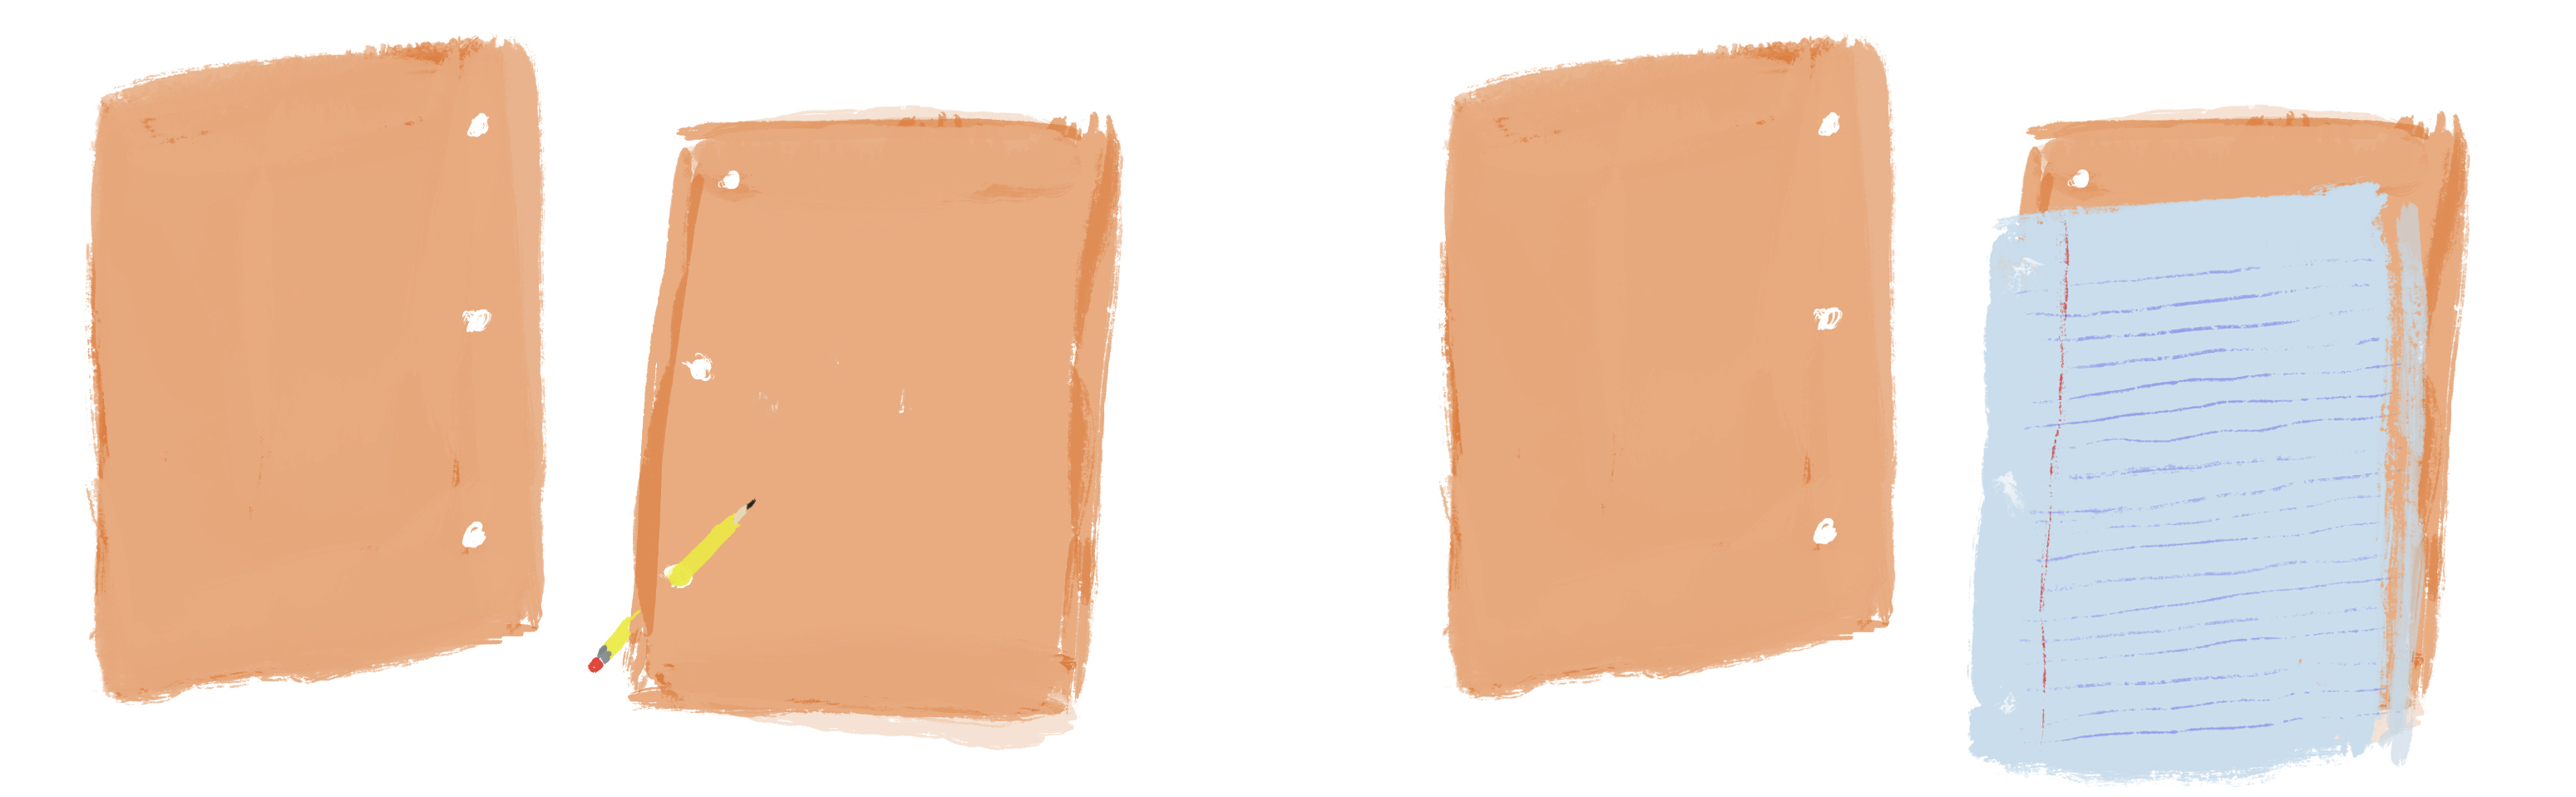
Cut blank and/or lined paper for the pages, as many pages as you like. Cut each page a little smaller than the covers. Stack the pages. Put them in between the two covers. Ask an adult to punch three holes through the covers and pages. Then use a pointy pencil to enlarge the holes so you can use the yarn or ribbon to tie everything together. There is no one way to bind your journal. Bind it the way you would like. Tie loosely so the book will open easily and lay flat. Draw or write in your journal. Have fun!
JOURNAL #3
SUPPLIES:
- Three ziplock plastic bags
- Two pieces of cardboard (cereal boxes or whatever box you have that will work)
- Paper for writing and/or drawing
- Stapler, yarn, or ribbon
- Scissors
- Pencil
- Colored pencils, crayons, and/or markers
MAKING THE JOURNAL:

The ziplock bags are the pages for this journal. Cut two pieces of cardboard so they will fit as the covers. Draw, write, or collage on the covers. Place the bags one on top of the other. Make sure the bags all open on the right side. Staple the book together on the left side. Or ask an adult to make three holes on the left side and bind your covers and pages with yarn or ribbon. Then fill the bags with your drawings or writing or small treasures that you find, like leaves. Or press little flowers that you find. Write about your explorations. Put everything into the baggies and zip them up. What else can you think of to put in them?
LACMA would love to see your journal! Ask an adult to post your photos to social media and tag @lacma.
All drawings by Albert Valdez.